

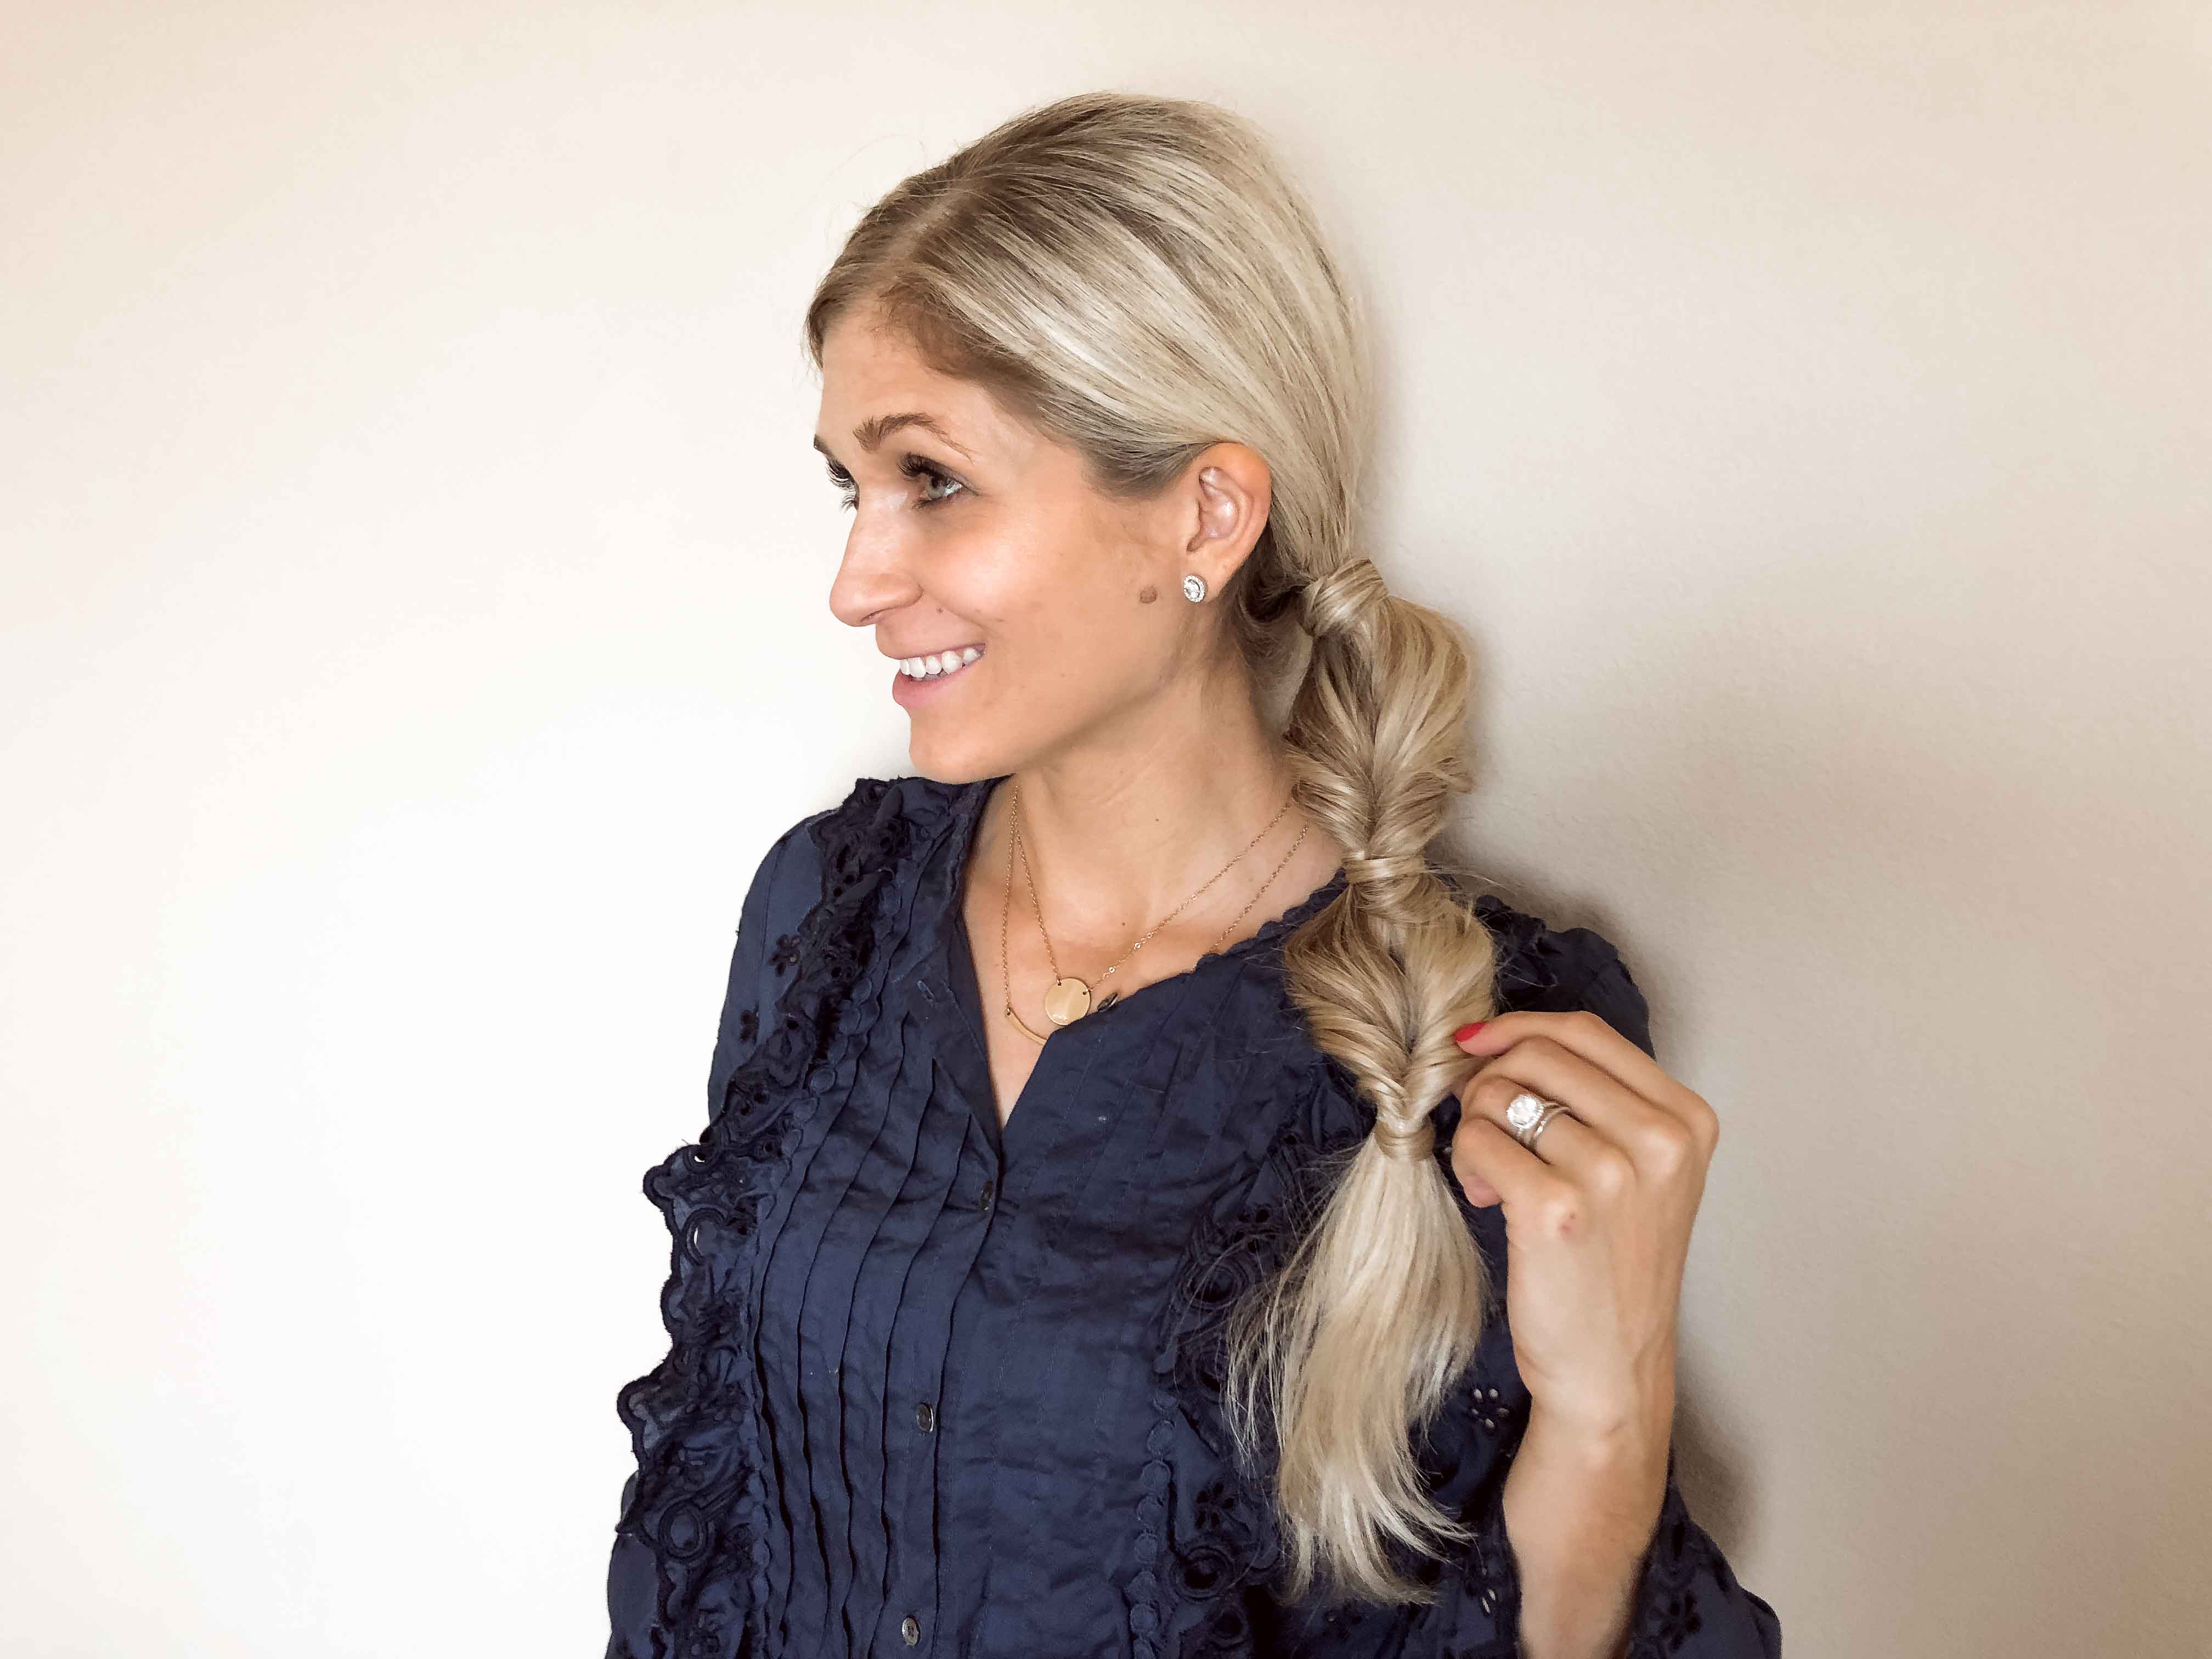
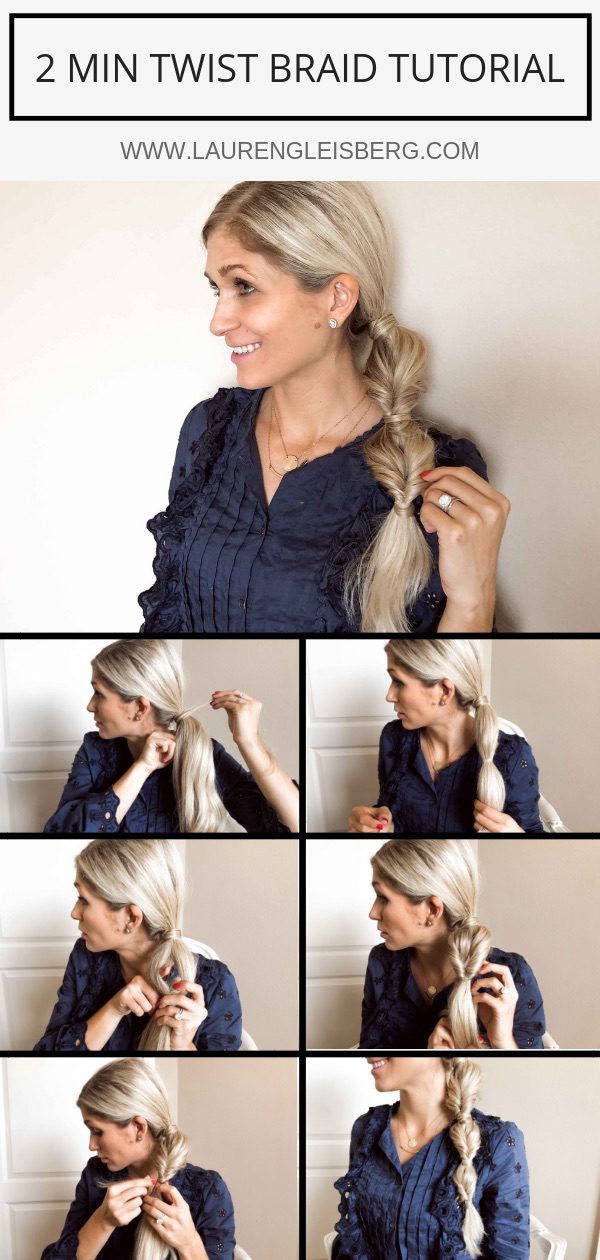
This quick and easy braid is going to become one of your go-to hairstyles… I guarantee it. I am calling it a 2 Min Twist Braid because it seriously takes 2 minutes and it looks like it’s twisted (even though there is no twisting involved). If you want to learn this hairstyle, check out either the video or picture guide I put together below for the ponytail twists braid tutorial.
VIDEO TUTORIAL
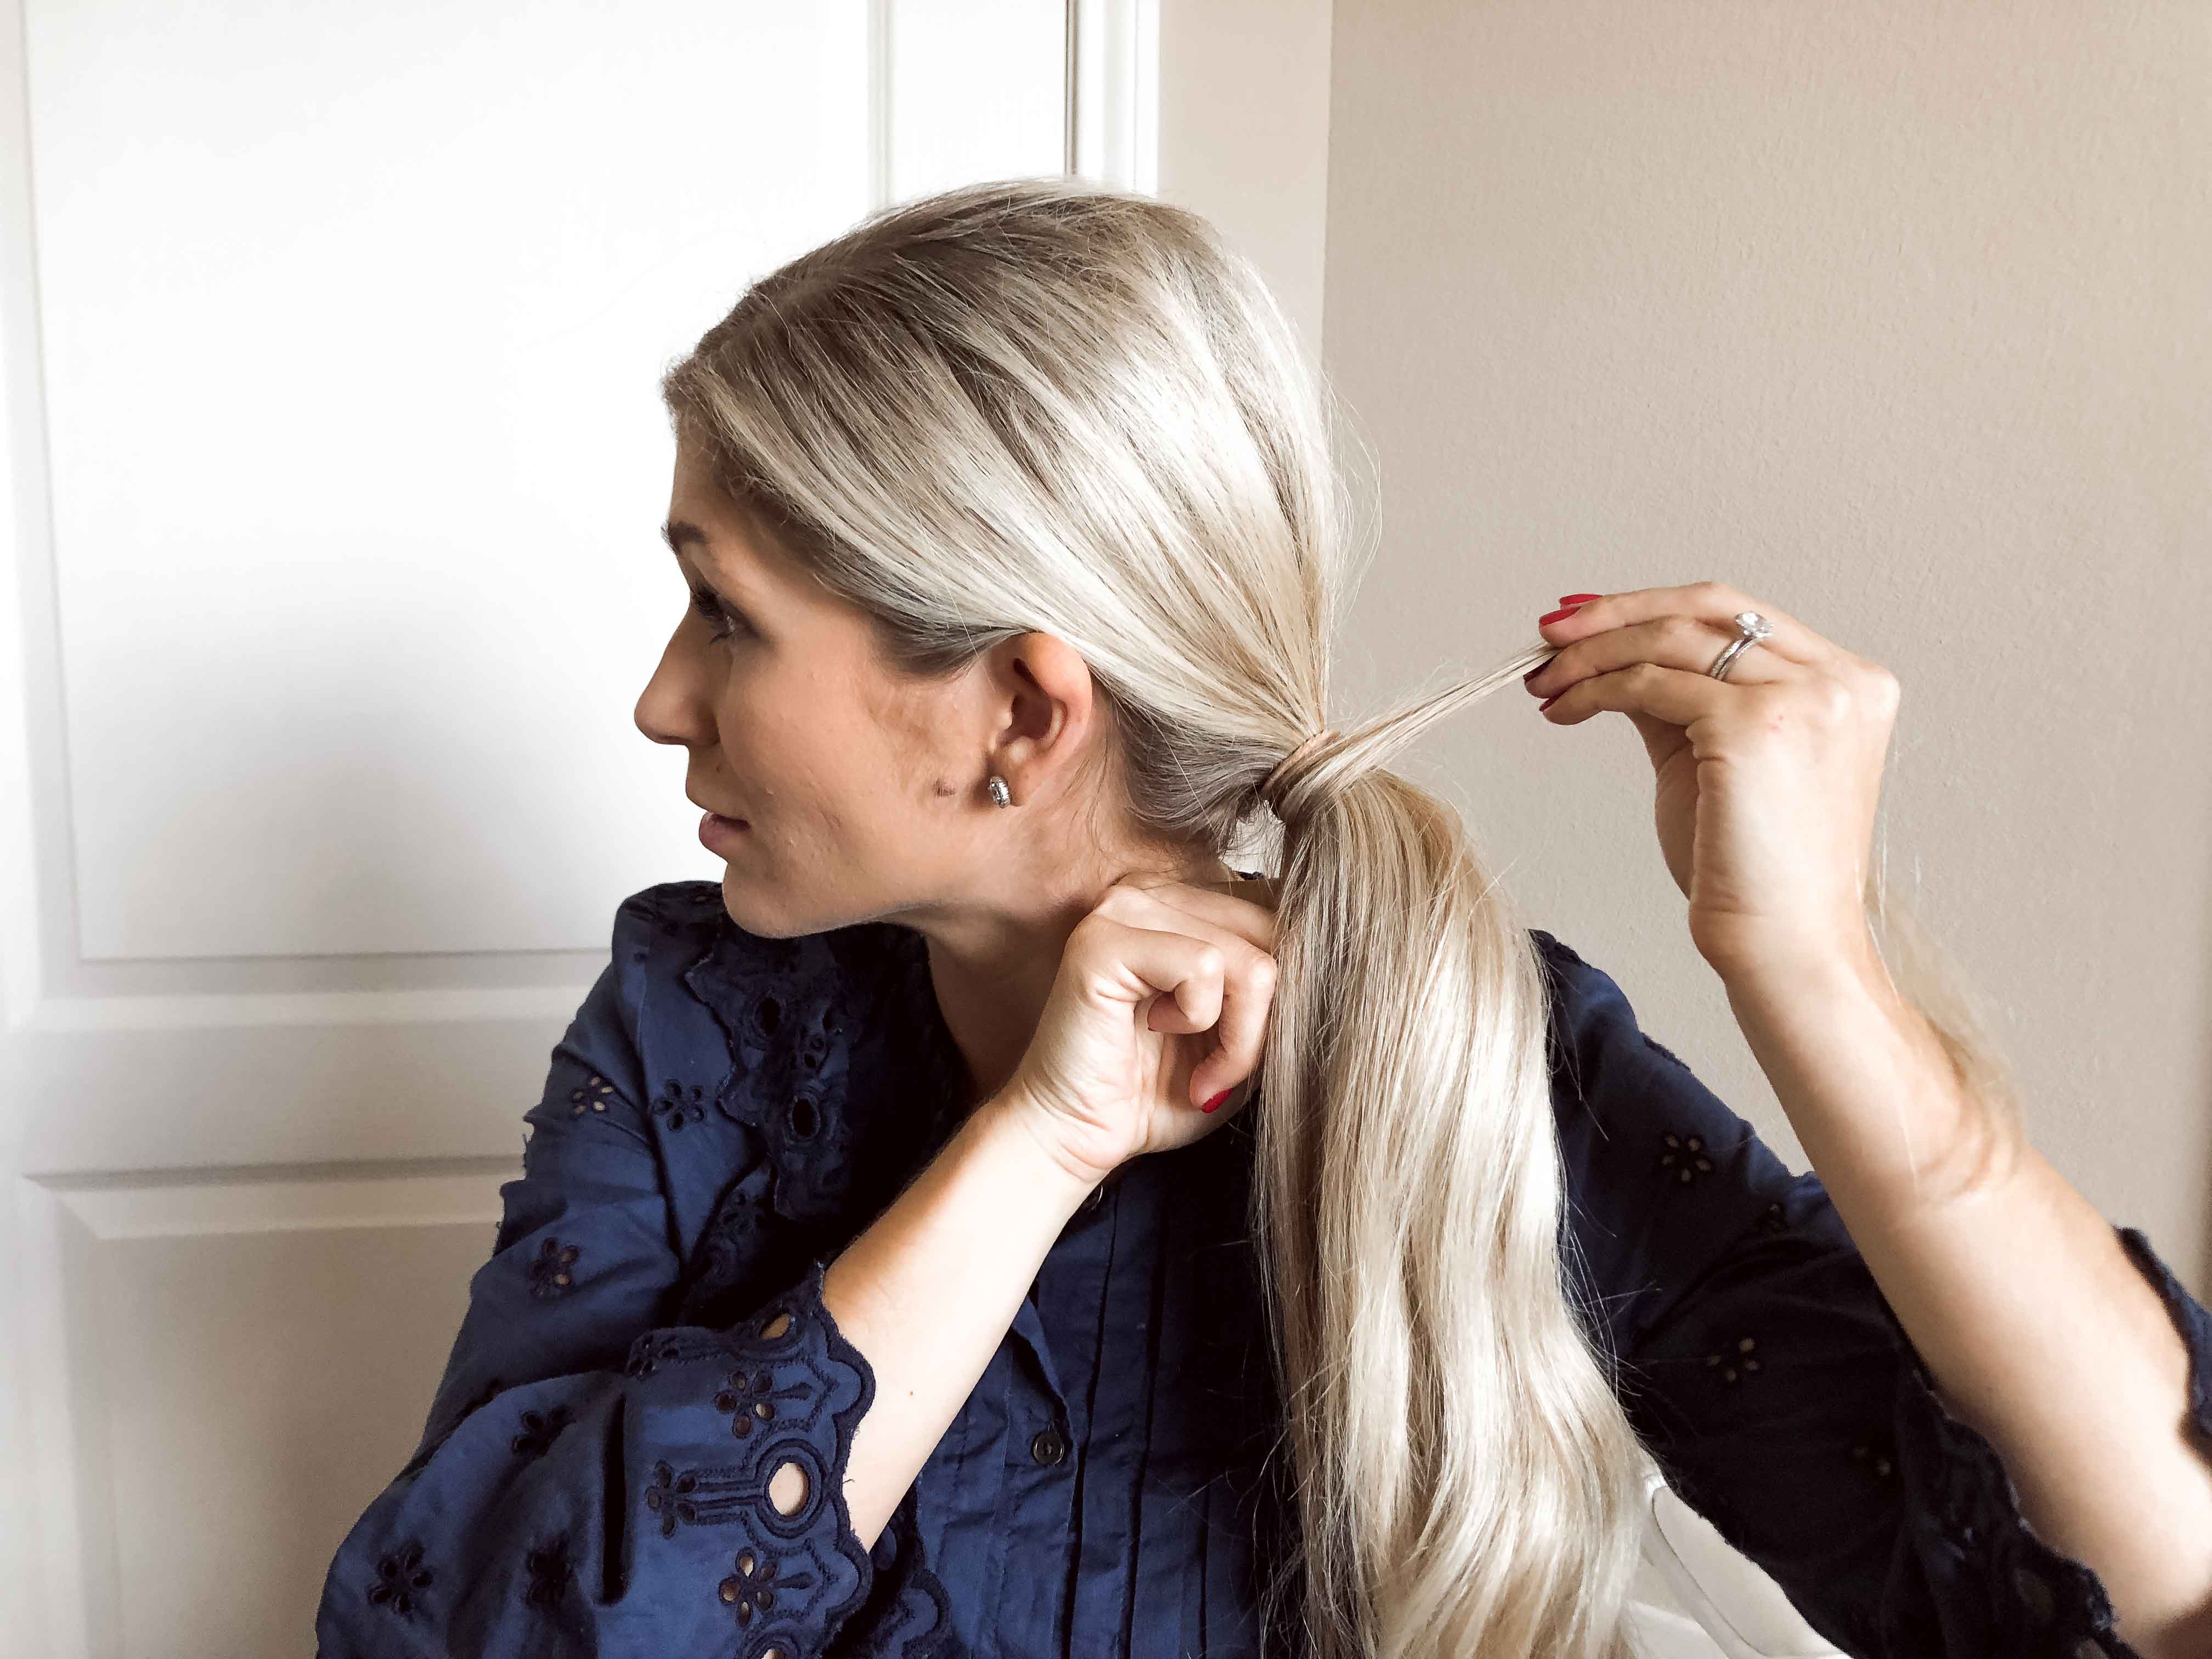
STEP 1: PONYTAIL + WRAP
Pick your ponytail… low pony, high pony, side pony or pigtails. For this tutorial, I am doing a low, slightly to the side pony. Secure your ponytail with a normal hair band – it keeps the ponytail in place longer as opposed to the clear elastics we will use later on. Take a small strand of hair from the ponytail, wrap it around the elastic and secure it with a bobby pin.
STEP 2: ADD YOUR 1ST CLEAR ELASTIC
About 2-3 inches down from your ponytail holder, create a second ponytail with a clear elastic.
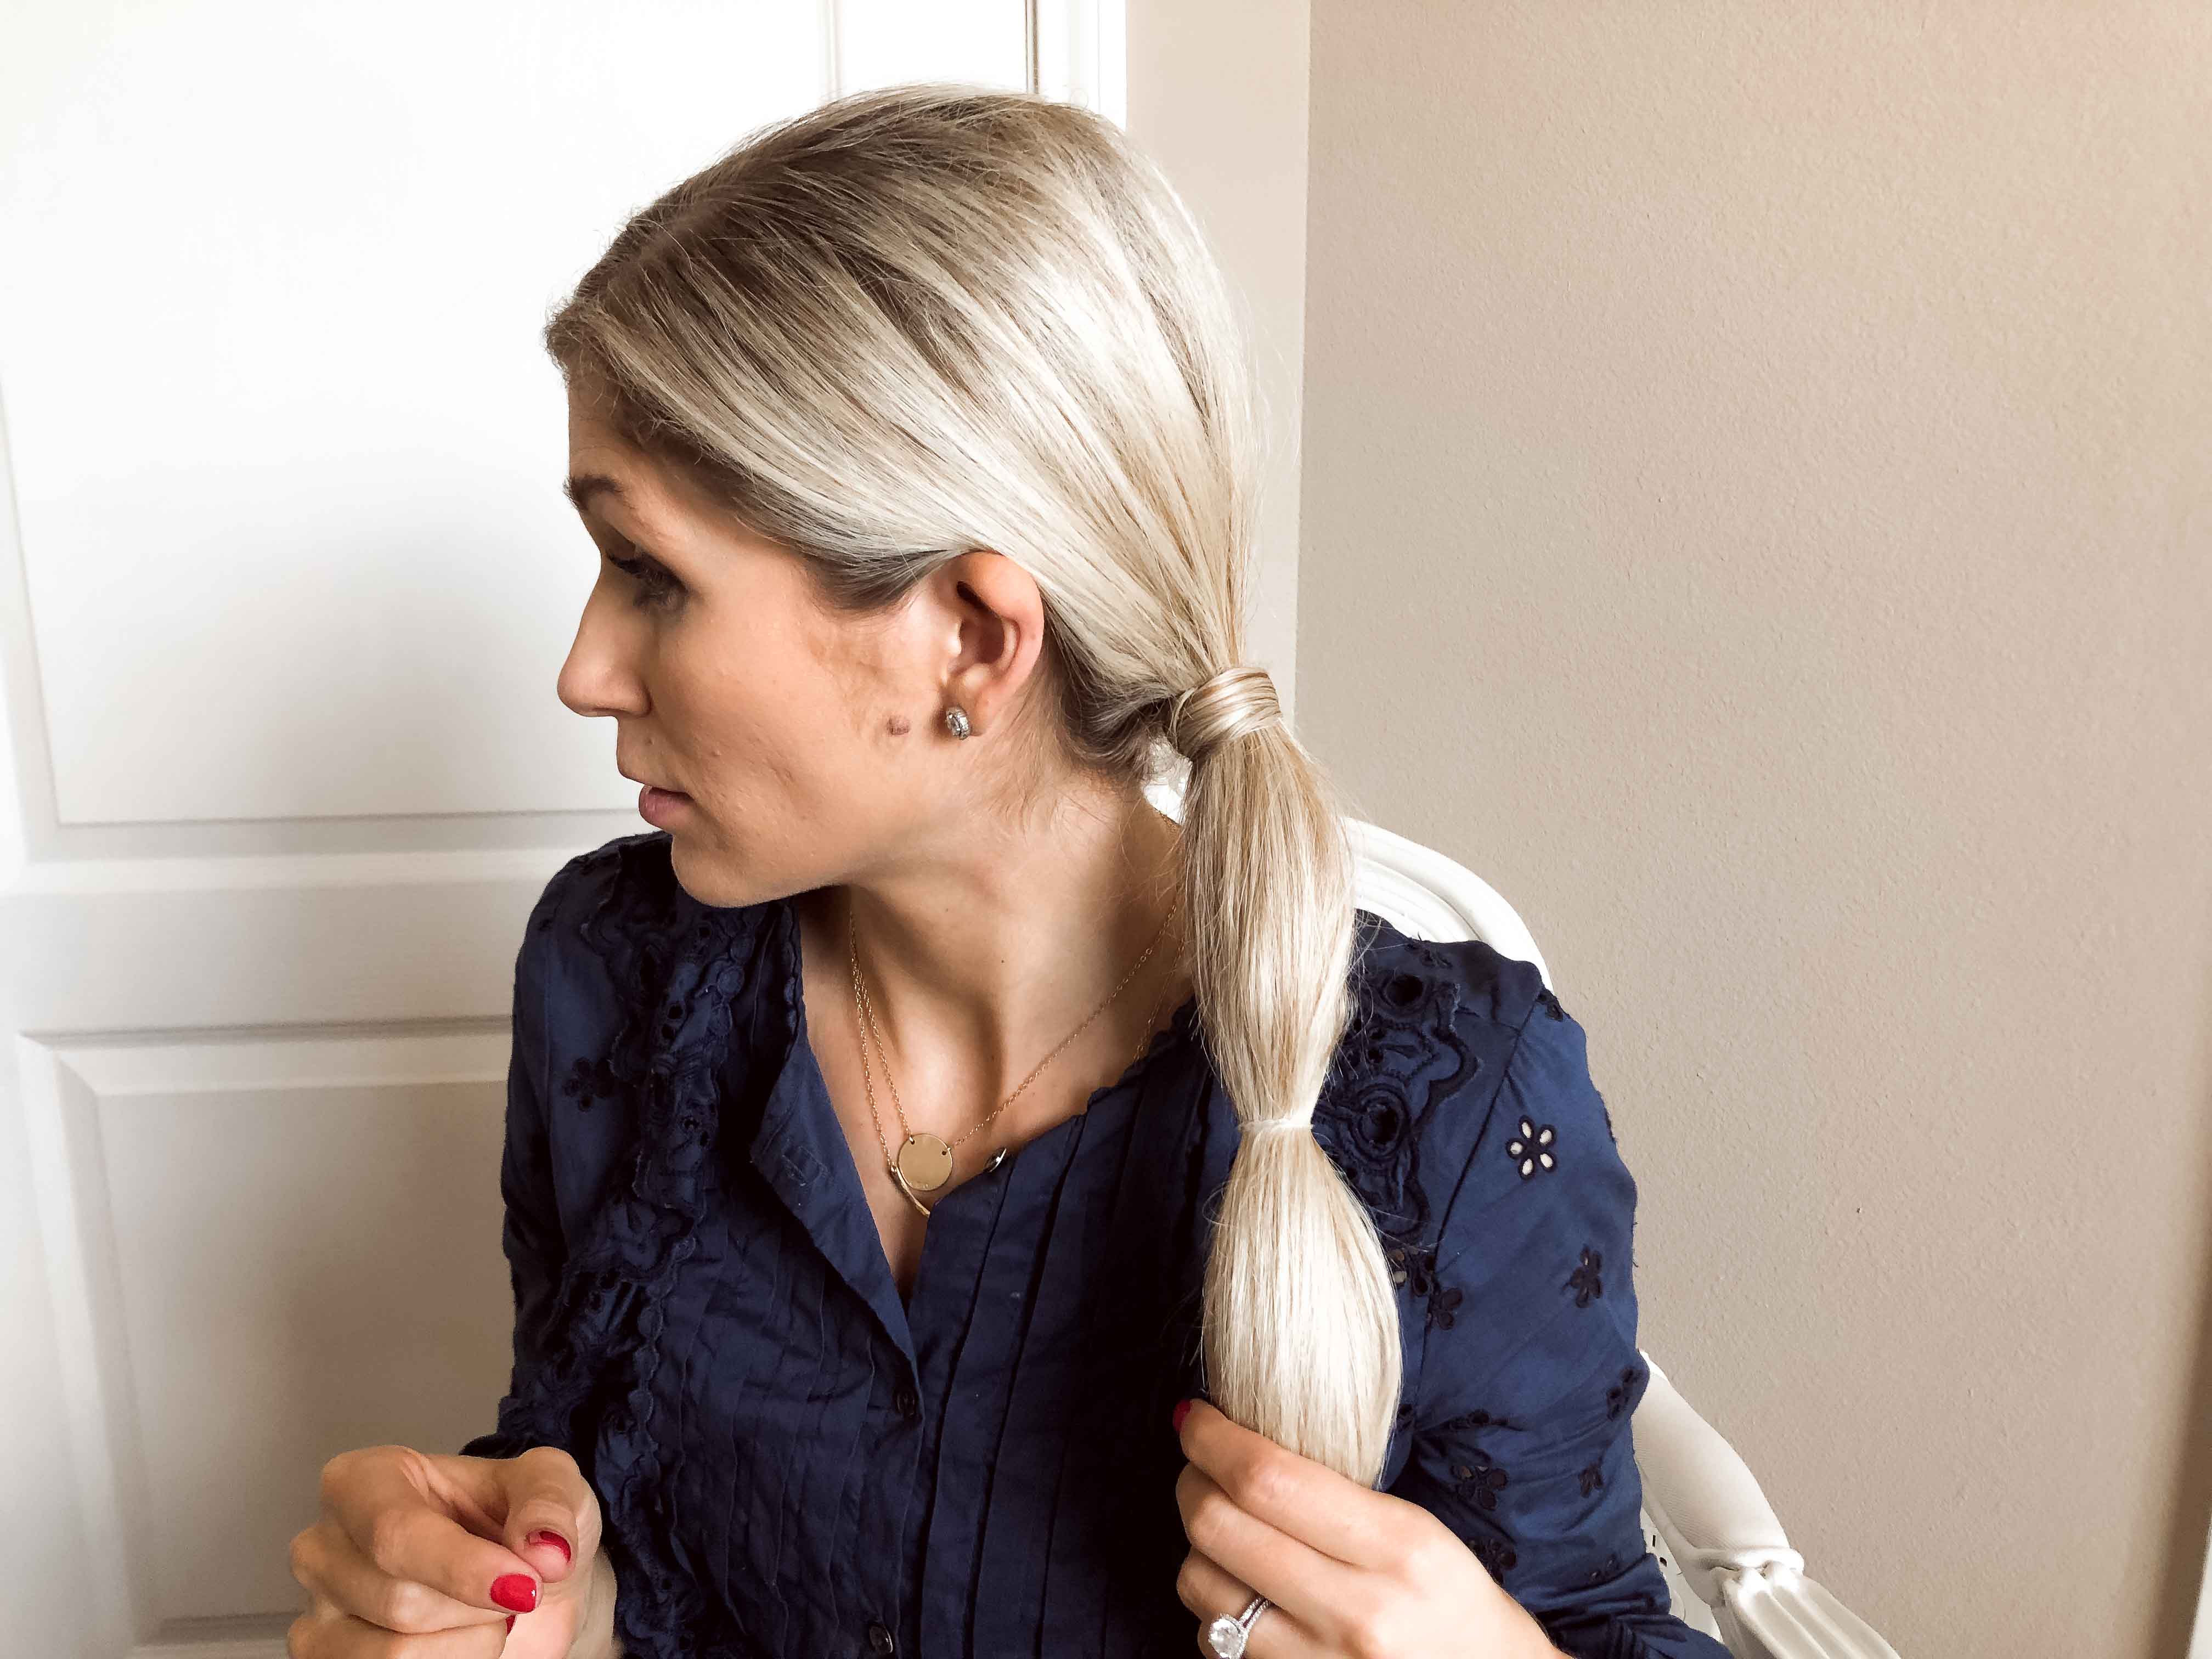
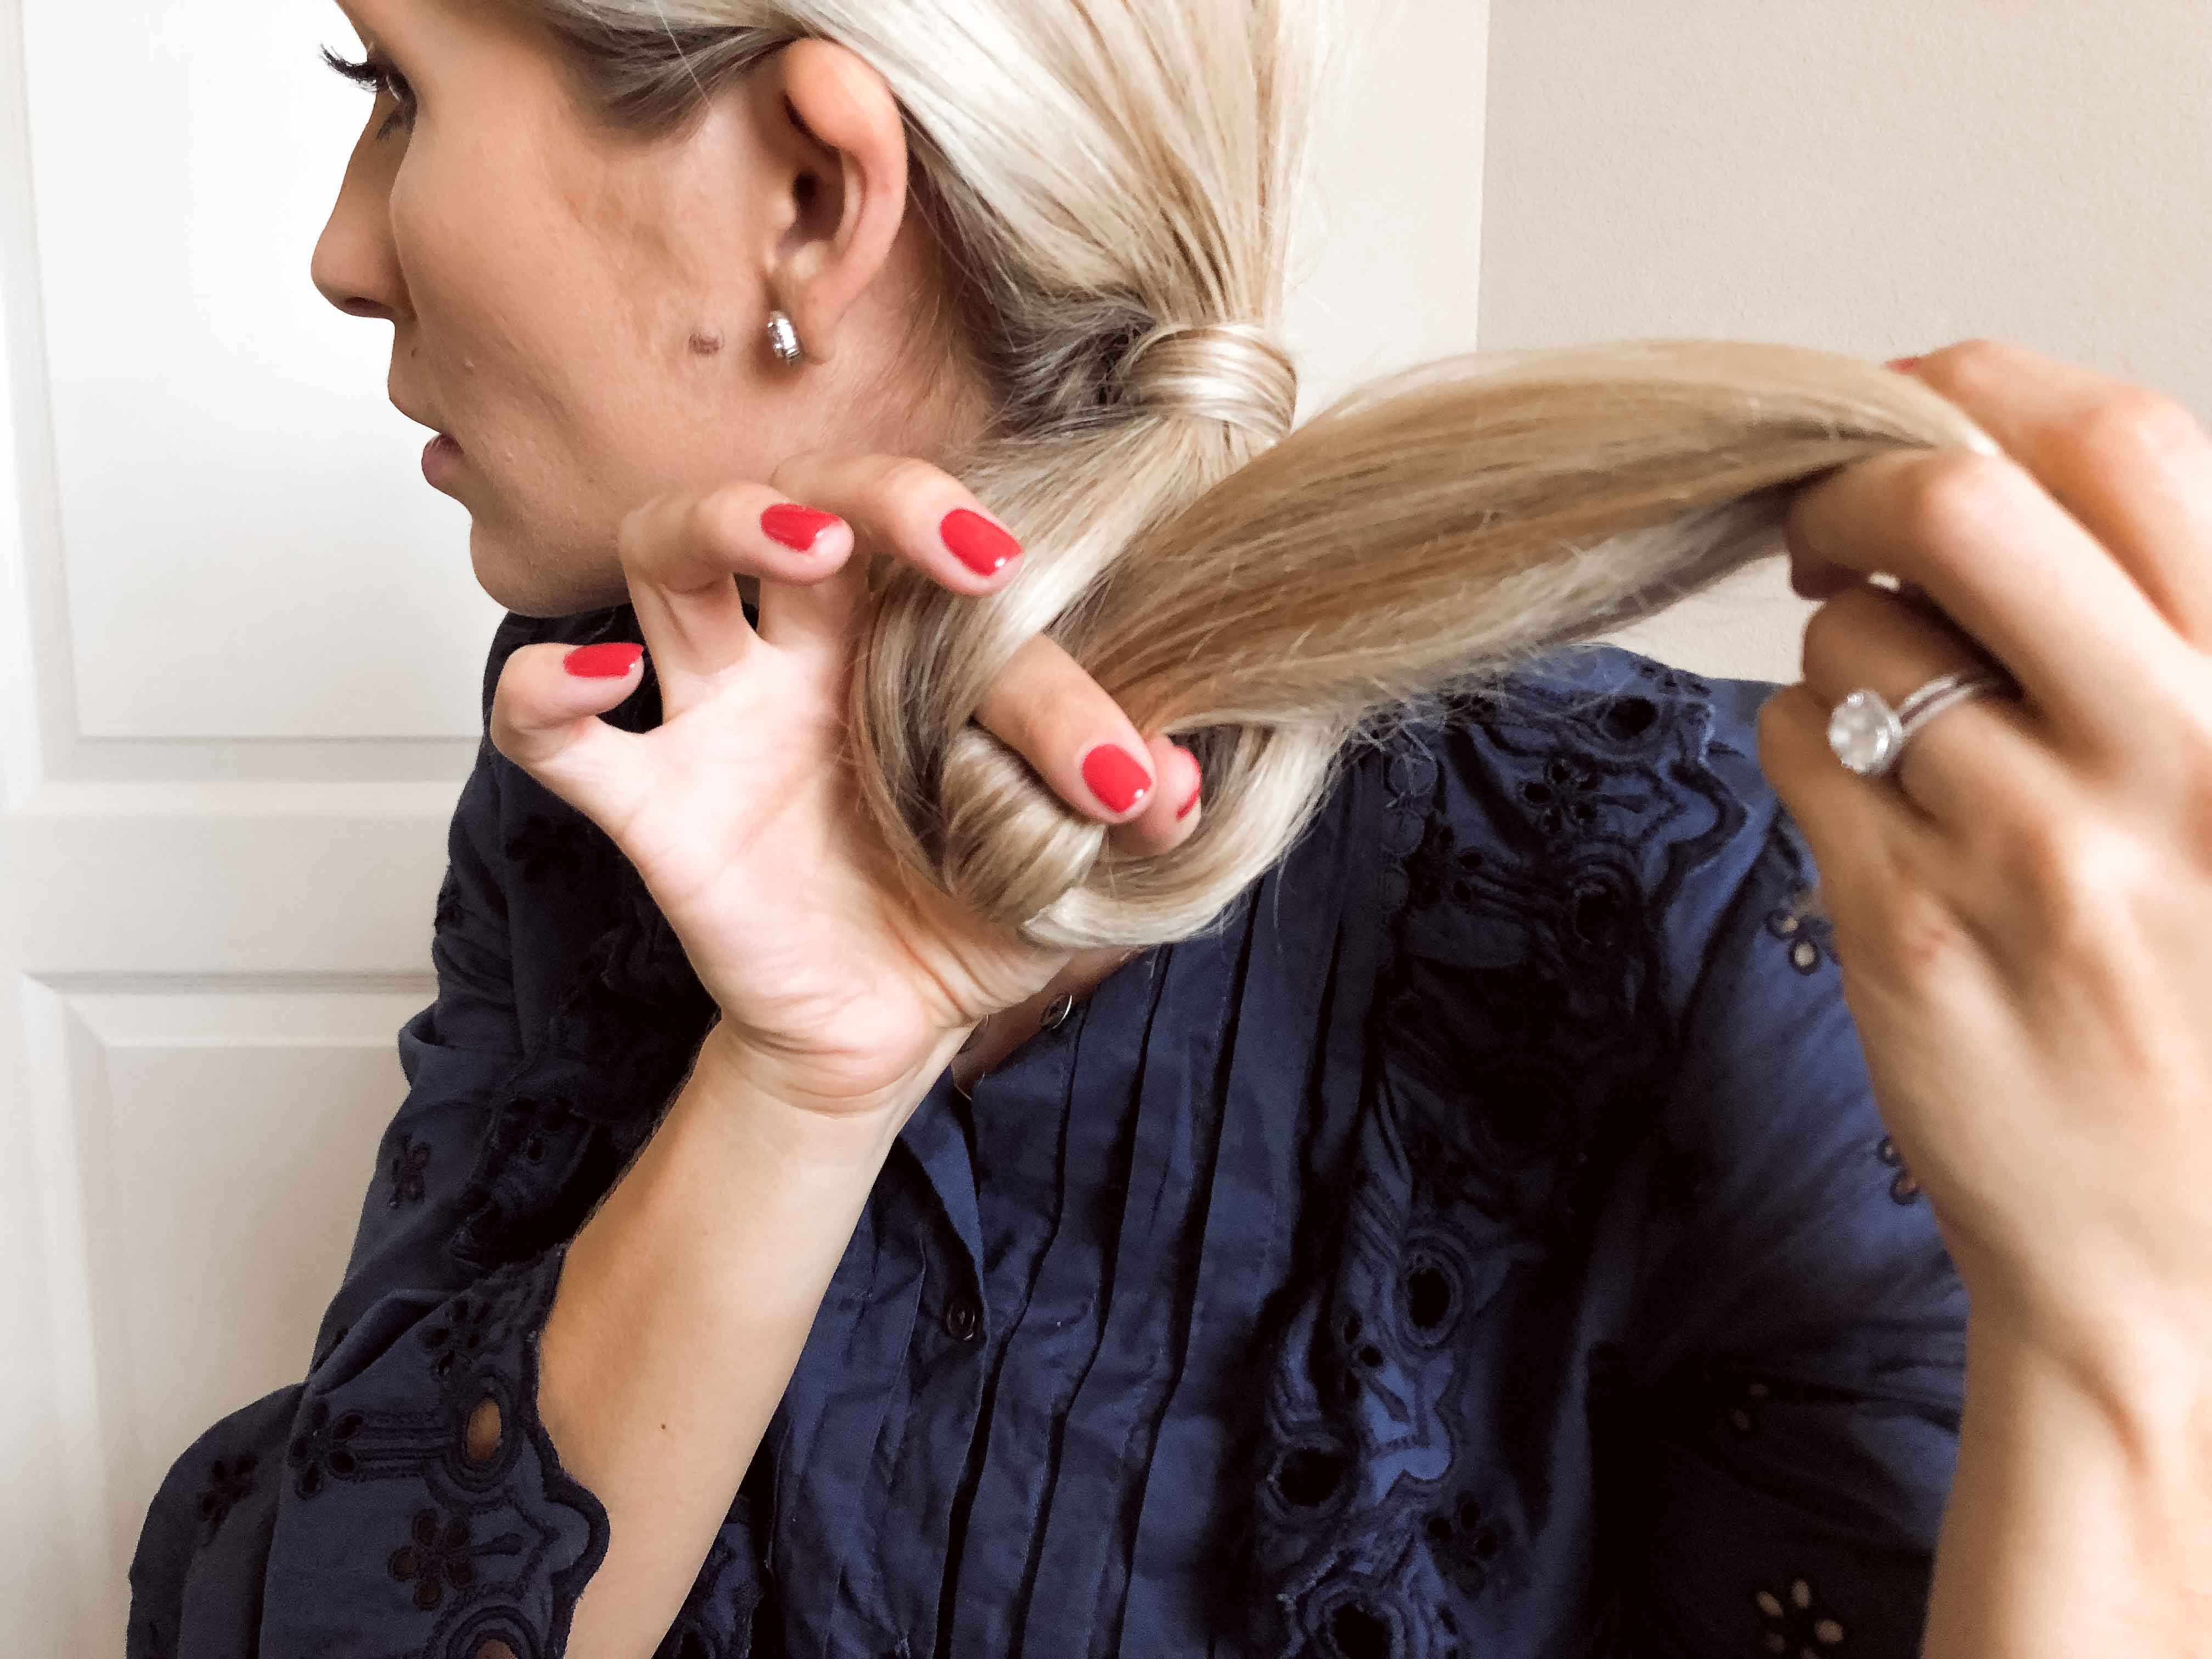
STEP 3: PULL OPEN THE BUBBLE
Using your pointer finger, push through your hair to open up the bubble created between the two hair bands.
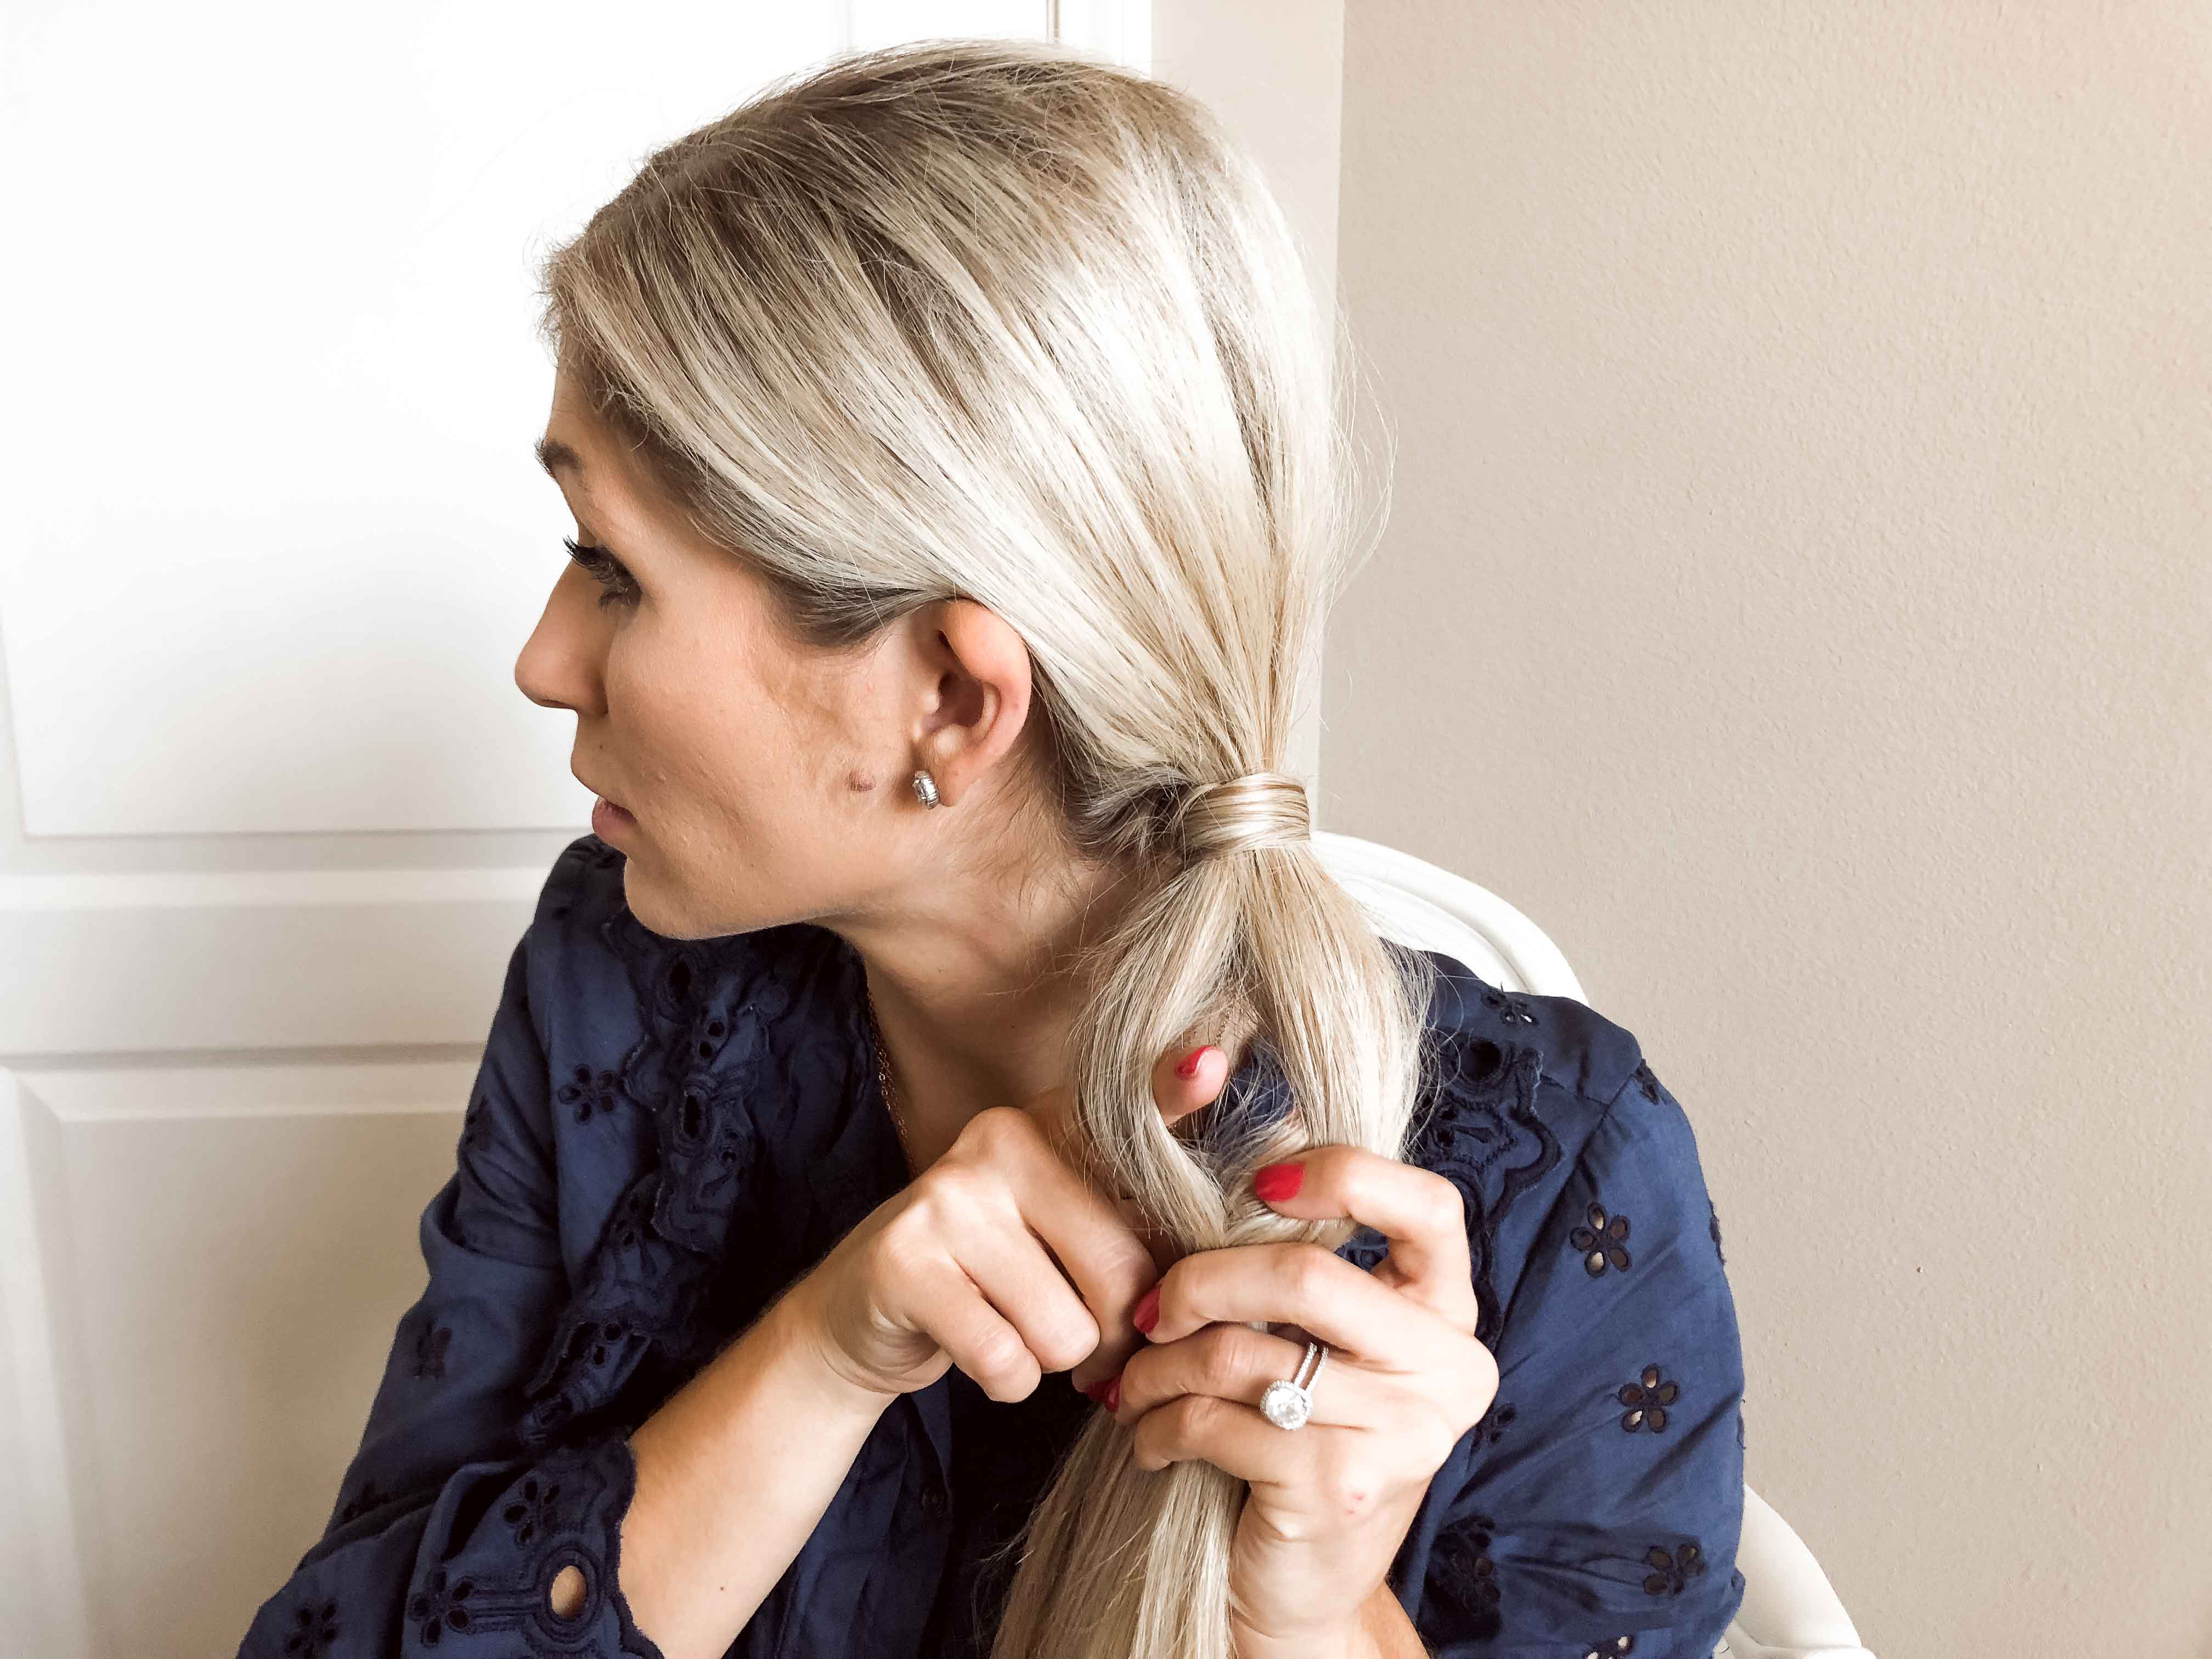
STEP 4: PUSH PONYTAIL BACK
Push the ponytail back through the opening you created in step three. Gently pull down to create a twist. I prefer the look of the twist when the hair is pushed back and through but you can also choose to pull it up and forward for a different twist direction.

STEP 5: MAKE IT MESSY + FULL
Carefully and gently create a messy look by tugging on pieces of the twist. To do so, Hold the clear elastic band with one hand and with the other hand, pull pieces out of the twist to make it look fuller.

STEP 6: WRAP HAIR AROUND THE ELASTIC
Grab a small strand of hair from the remaining ponytail and wrap it around the clear elastic. Secure it with a bobby pin.

STEP 7: REPEAT
About 2-3 inches down from your first clear elastic, add a second one and repeat the above steps.
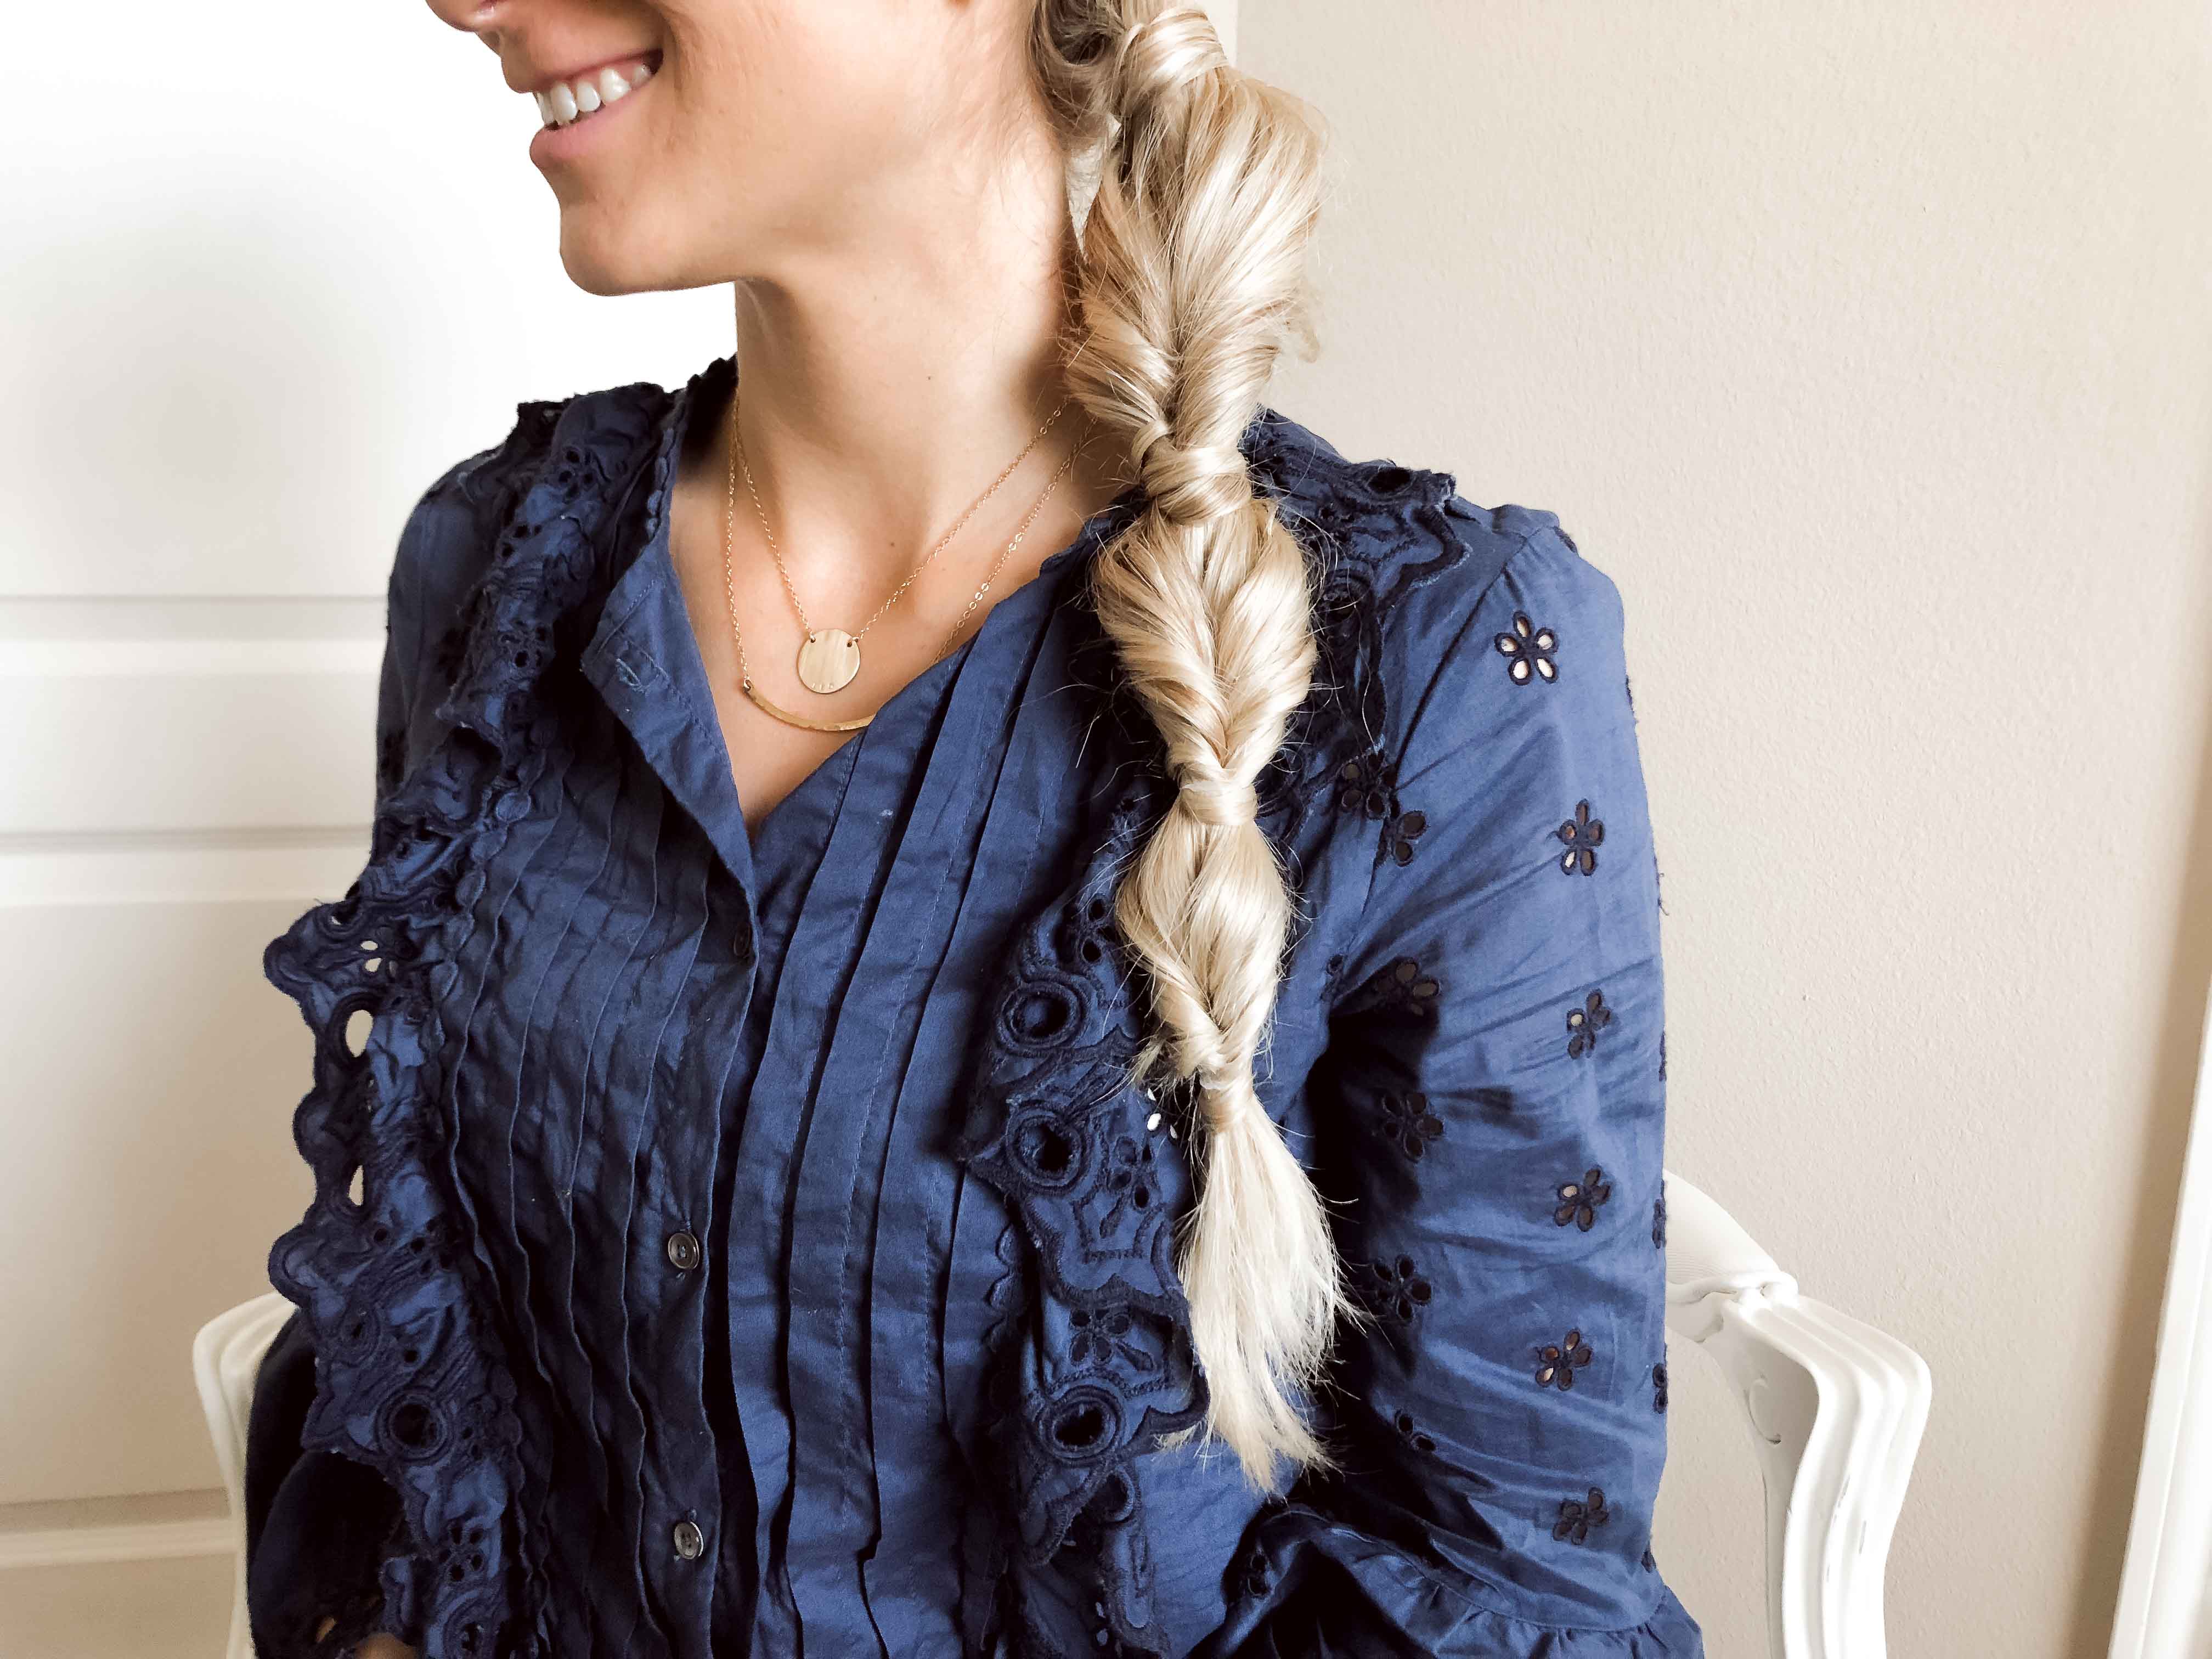
STEP 8: FINISH OFF THE STYLE
EVERYDAY LOOK: for an everyday look, I like to do 2 larger twisted sections and pull the hair a bit more for a messy, full look.
GYM LOOK: when I wear this hairstyle to the gym, I prefer 3 smaller twisted sections and I don’t tug on the hair pieces as much so that I can get my sweat on while keeping my hair out of my face.
Leave a comment