

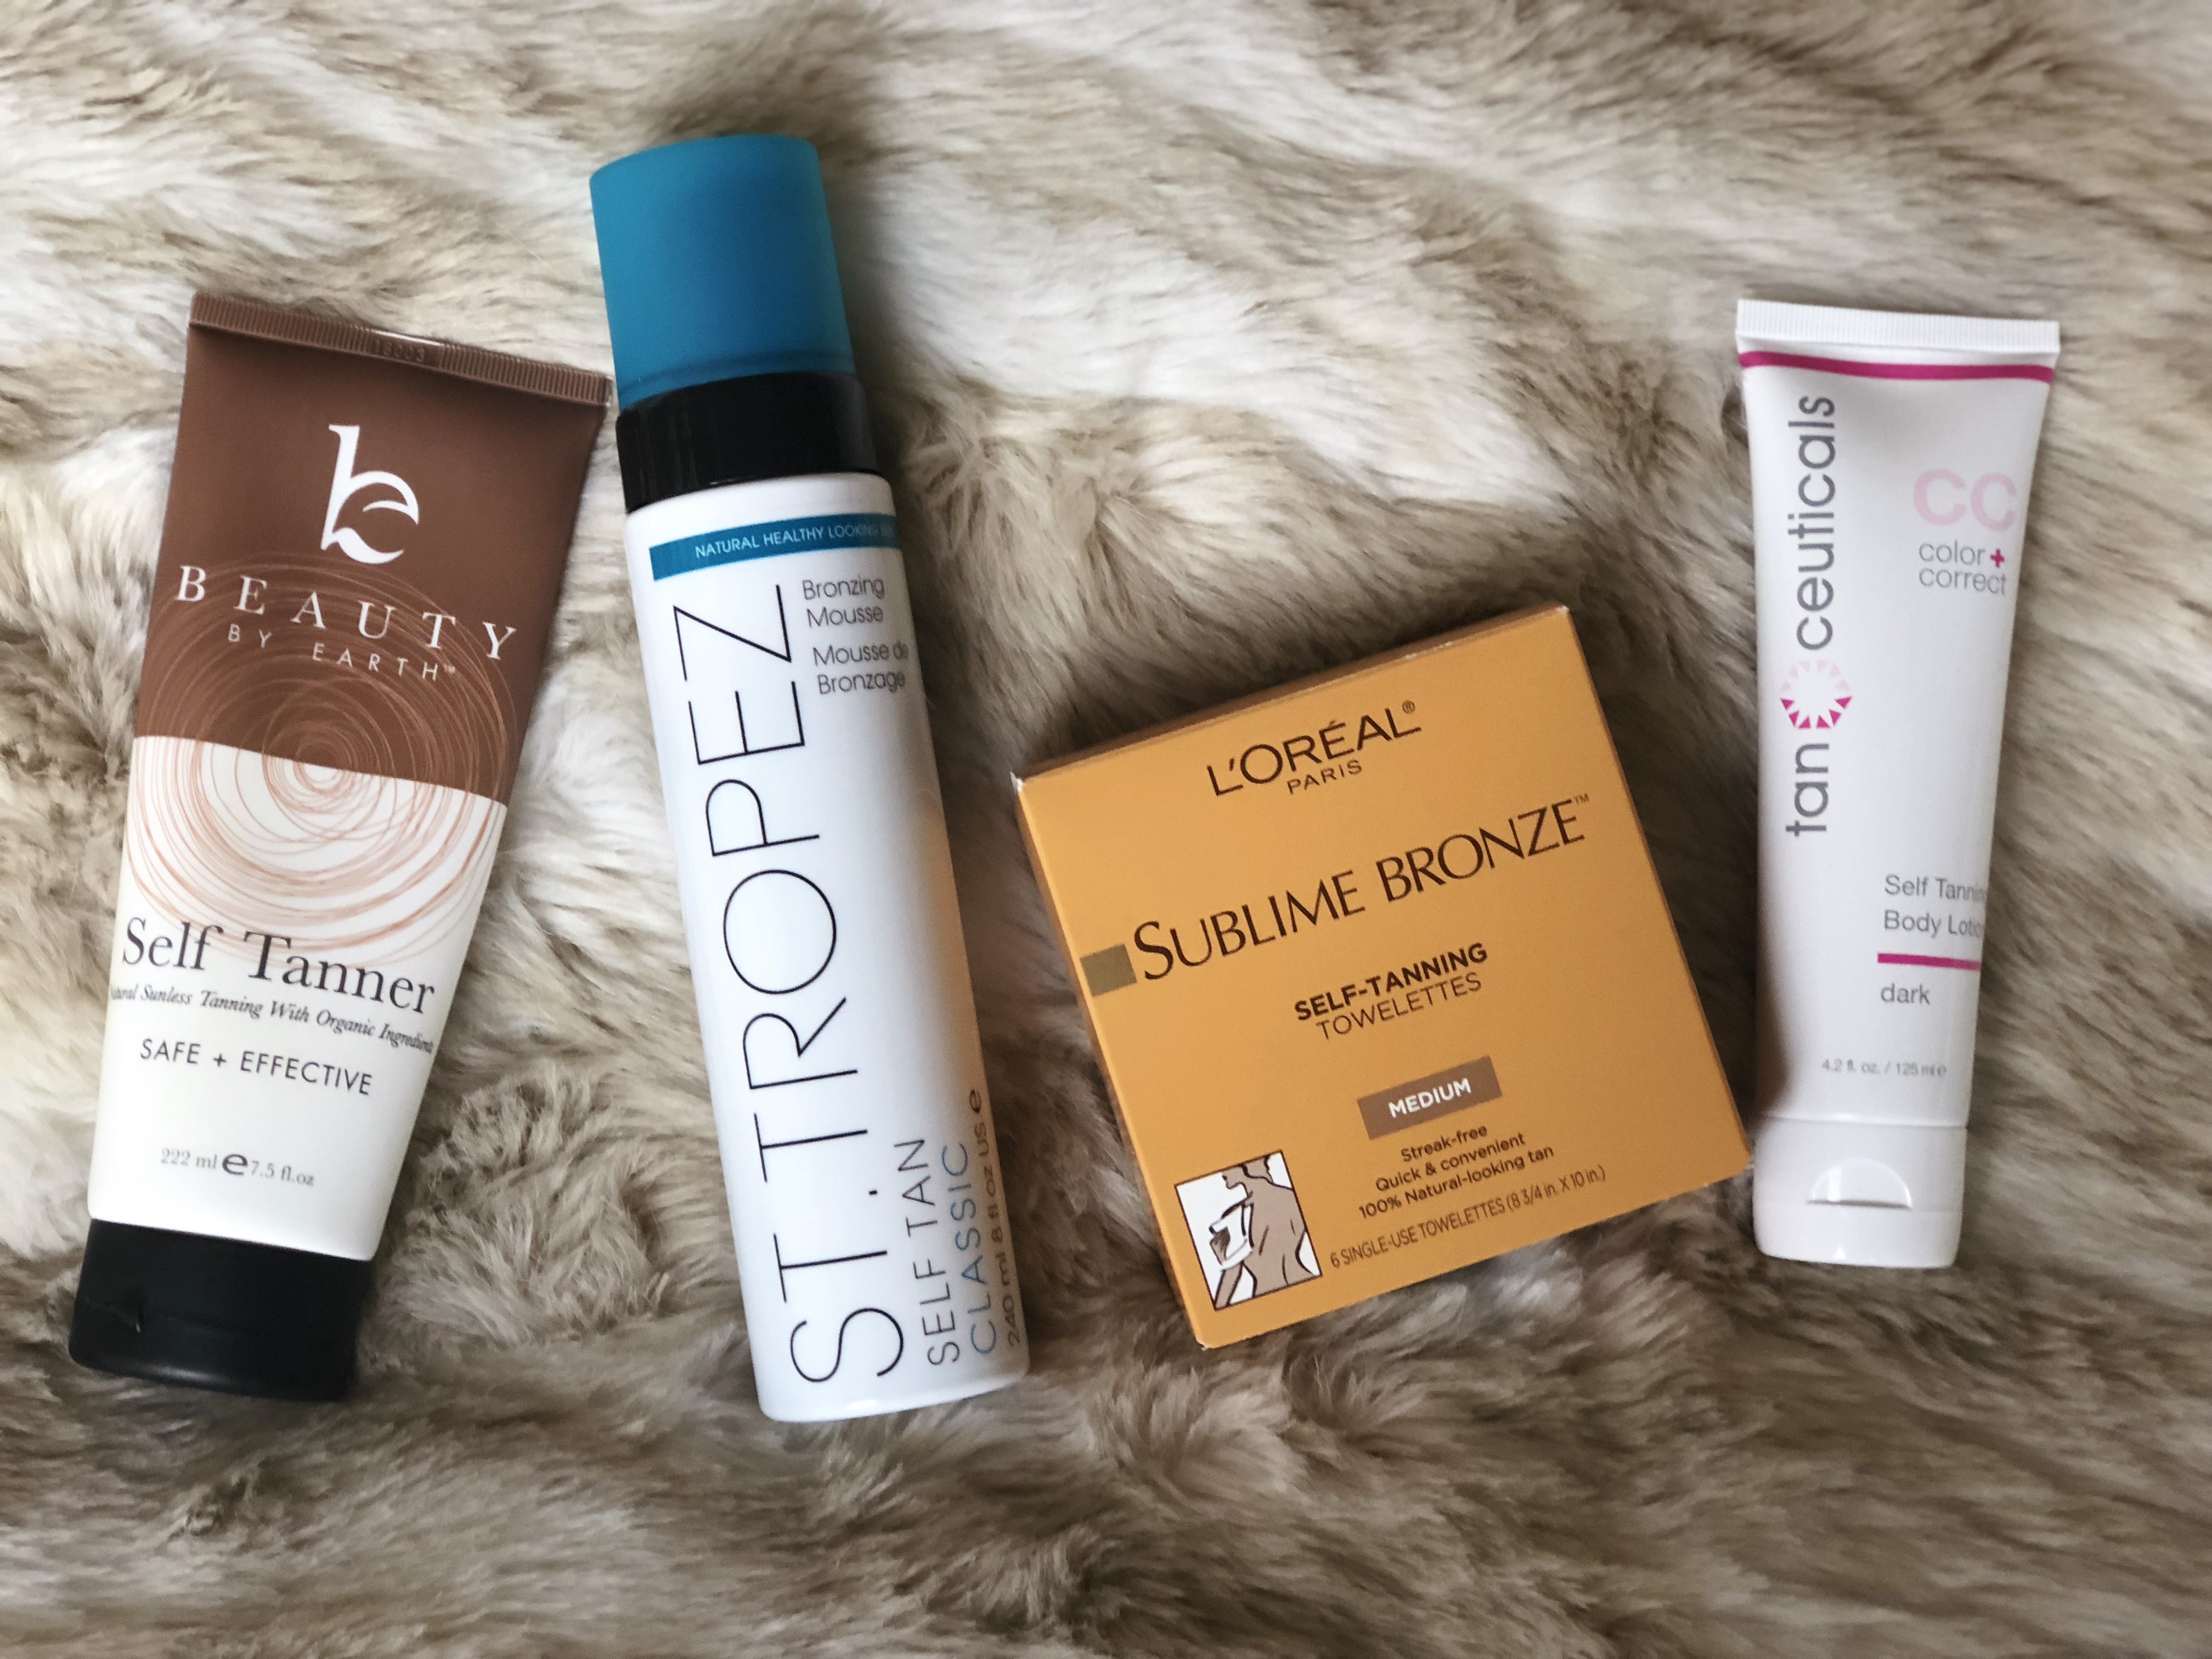
This is my anxiously-awaited self tanner review post… these are the 4 best products I’ve found as well as my tips on how to apply self tanner for a streak-free, even look. I have you to thank for this post today because about two months ago, I posted on Insta stories that I was looking for a more natural (as in less chemicals but also natural color lol) self tanner. You shared HUNDREDS of suggestions. I took the top 8-ish and tried them out. These are the 4 best self tanner products I found.
IN THIS POST:
- about self tanner/science (because I’m a nerd and like to know this stuff)
- how to best apply self tanner
- self tanner timeline: when to apply
- 4 amazing self tanner products + reviews
We all know the skin is our largest organ. What we put on it is important because it’s absorbed and can travel through our bodies quickly. Haven’t you heard of the rub garlic on your feet and you can taste it in your mouth trick?! Has anyone actually done it?? I’m going to make my husband try it out… this could make for a fun Insta story.
Okay, back to self tanner… I hate to admit but I used to be a tanning bed queen. I grew up in Wisconsin and that was just what we did in the winter. 3 PM rolled around… I got out of school… off to the tanning salon I went! I looked like I just got back from a tropical vacation 365 days of the year.
Then, self tanners became more popular and were advertised as healthier… I was hooked! I’ve probably tried over 50 different products. Only recently though have I become increasingly interested in using more natural products, which sparked this post.
ALL ABOUT SELF TANNER
Let’s hit some of the basics for a second. Dihydroxyacetone aka DHA is the active ingredient in self tanners and spray tans. It is a sugar that interacts with amino acids found in the top layer of the skin to produce melanoidins or pigments that make the skin appear brown/tan. Most research shows that DHA does not pass through the stratum corneium which is the outermost layer of skin known as the “dead skin layer.” Most believe applying a cream form of DHA does not penetrate the skin but there are also some reports that say it may move deeper into the skin.
My opinion? Everything in moderation including DHA.
The interesting thing about DHA is that it is actually clear. So, the whole “orange self tanner thing” can actually be a results of other things which I will talk about.
SELF TANNER + SKIN TONE/TYPE
I’ve personally found that a lot of what constitutes a “good self tanner” has to do with finding what is right for you in terms of your skin tone and type.
Here’s something I’ve read…
COOL SKIN TONE (blue veins/rosy cheeks): green based self tanner
WARM SKIN TONE (green veins/bronze when tanned): violet based self tanner
NEUTRAL SKIN TONE (a mix of all of the above): either
When you apply a tanner you may notice that some actually appear to have a green hue, violet hue or no hue at all. Taking into consideration your skin tone may have a big effect on how well a particular self tanner looks on you.
Also, there are obviously high end self tanners and drug store options. Now, DHA is DHA but it’s all the other stuff that can make a difference. For example, some products have more balanced concentrations of DHA. What I’ve found is that those who are fair skinned may have to use higher end options whereas someone like myself who tans easily and gets a bronzed tan sitting in the sun for an afternoon can get away with drugstore options.
I just want to share that so you keep it in mind but the ones I’ve listed below I found to be pretty neutral so they should work well for a variety of skin tones.
HOW TO APPLY SELF TANNER
I just want to share a few of my application tips and tricks because how a self tanner looks has A LOT to do with the prep and how it is applied.
STEP 1: EXFOLIATE
Exfoliation is a must to get rid of build up on the skin. The reason this is so important is that the DHA will otherwise stick to that build up and give a patchy, uneven tanned look
What I use: THIS Lush exfoliate is my absolute favorite OR brown sugar is so amazing and inexpensive (seriously try it out and you will not be disappointed.
STEP 2: SHAVE
Shaving is another step of exfoliation but you also have to remove any hair on the skin for an even tan!
What I use: not sure if you care but THIS is the razor I have and THIS is the shaving cream I use
STEP 3: OIL DRY AREAS
After I get out of the shower, I apply some oil to the especially dry areas (ankles, feet, writsts, hands, knees and ankles)
What I use: straight up coconut oil; I always keep a jar in my bathroom as it’s an amazing moisturizer for the skin and hair
STEP 4: TAN
SELF TANNER TIMELINE
My self tanner timeline looks like: workout-shower-chill-tan-sleep-shower
Basically, I live my day and somewhere in that I make sure I get my workout in. I always tan at night. In the early evening, I’ll take a shower and do all my exfoliating/shaving.
Then, I’ll put on a robe and chill for a bit. I’ll do a few things around the house… pick up, do laundry, watch a show. I like to take a little bit of time between my shower and tanning give my skin a second. I always make sure I’ve washed my face before I tan!
About an hour later (shortly before bed), I apply my self tanner. Then, I put on a pair of loose-fitting PJs. I usually wear THESE (or something similar). I pick a dark color and ensure they’re long sleeve/pants. Self tanner just has a way of rubbing off a tiny but so I get ahead of that with what I wear to bed.
I’ve also just thrown an extra sheet over my sheets to catch anything that may rub off. Plus, I’ve never had self tanner stain… if a little rubs onto the sheets, I just pop them in the wash. The reason I tan at night is because it allow the tan to develop while I sleep.
The next morning, I shower off my tan, which is incredibly important. This will get rid of the smell and any tan residue.
TIPS: Do NOT exfoliate and do NOT use oils after you tan.
I apply a bit of moisturizer each day and
Also, if I am using a self tanner for an event, I do that 2 days prior. For example, if I have a party Saturday evening, I’ll tan on Thursday evening. Friday, I’ll shower off in the AM and moisturize so by Saturday PM, my tan is set.
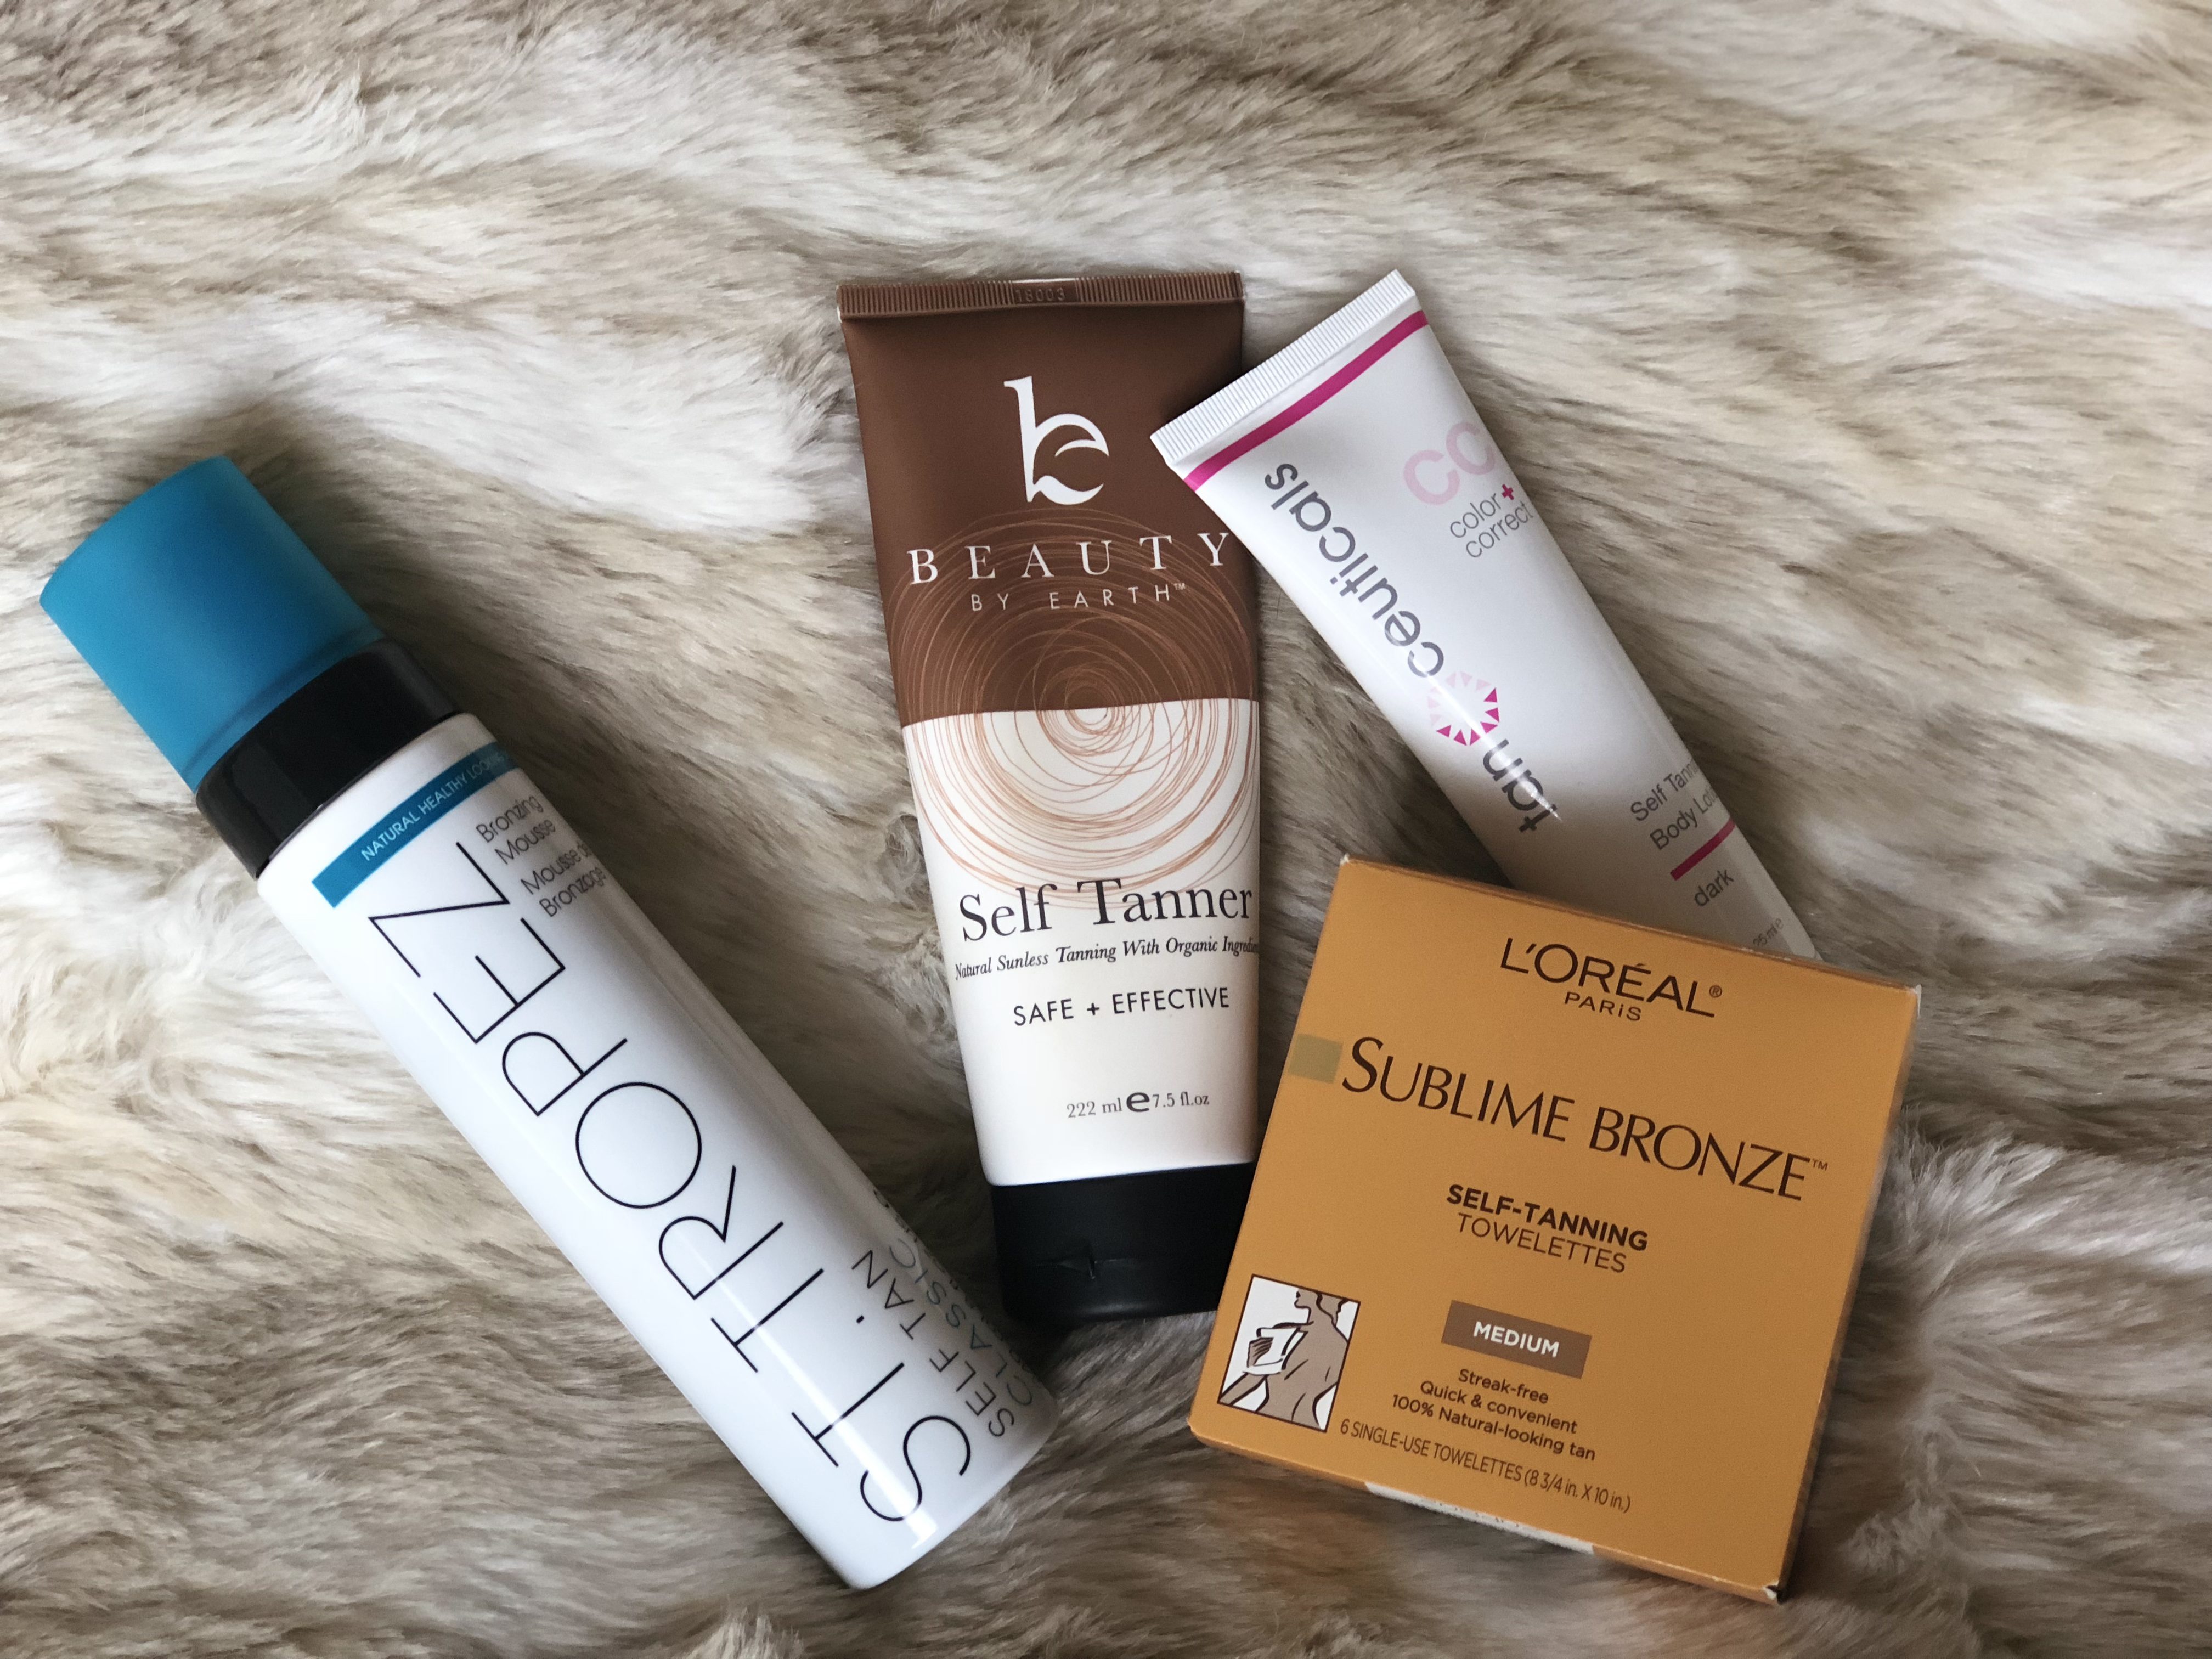
4 BEST SELF TANNER PRODUCTS + REVIEWS
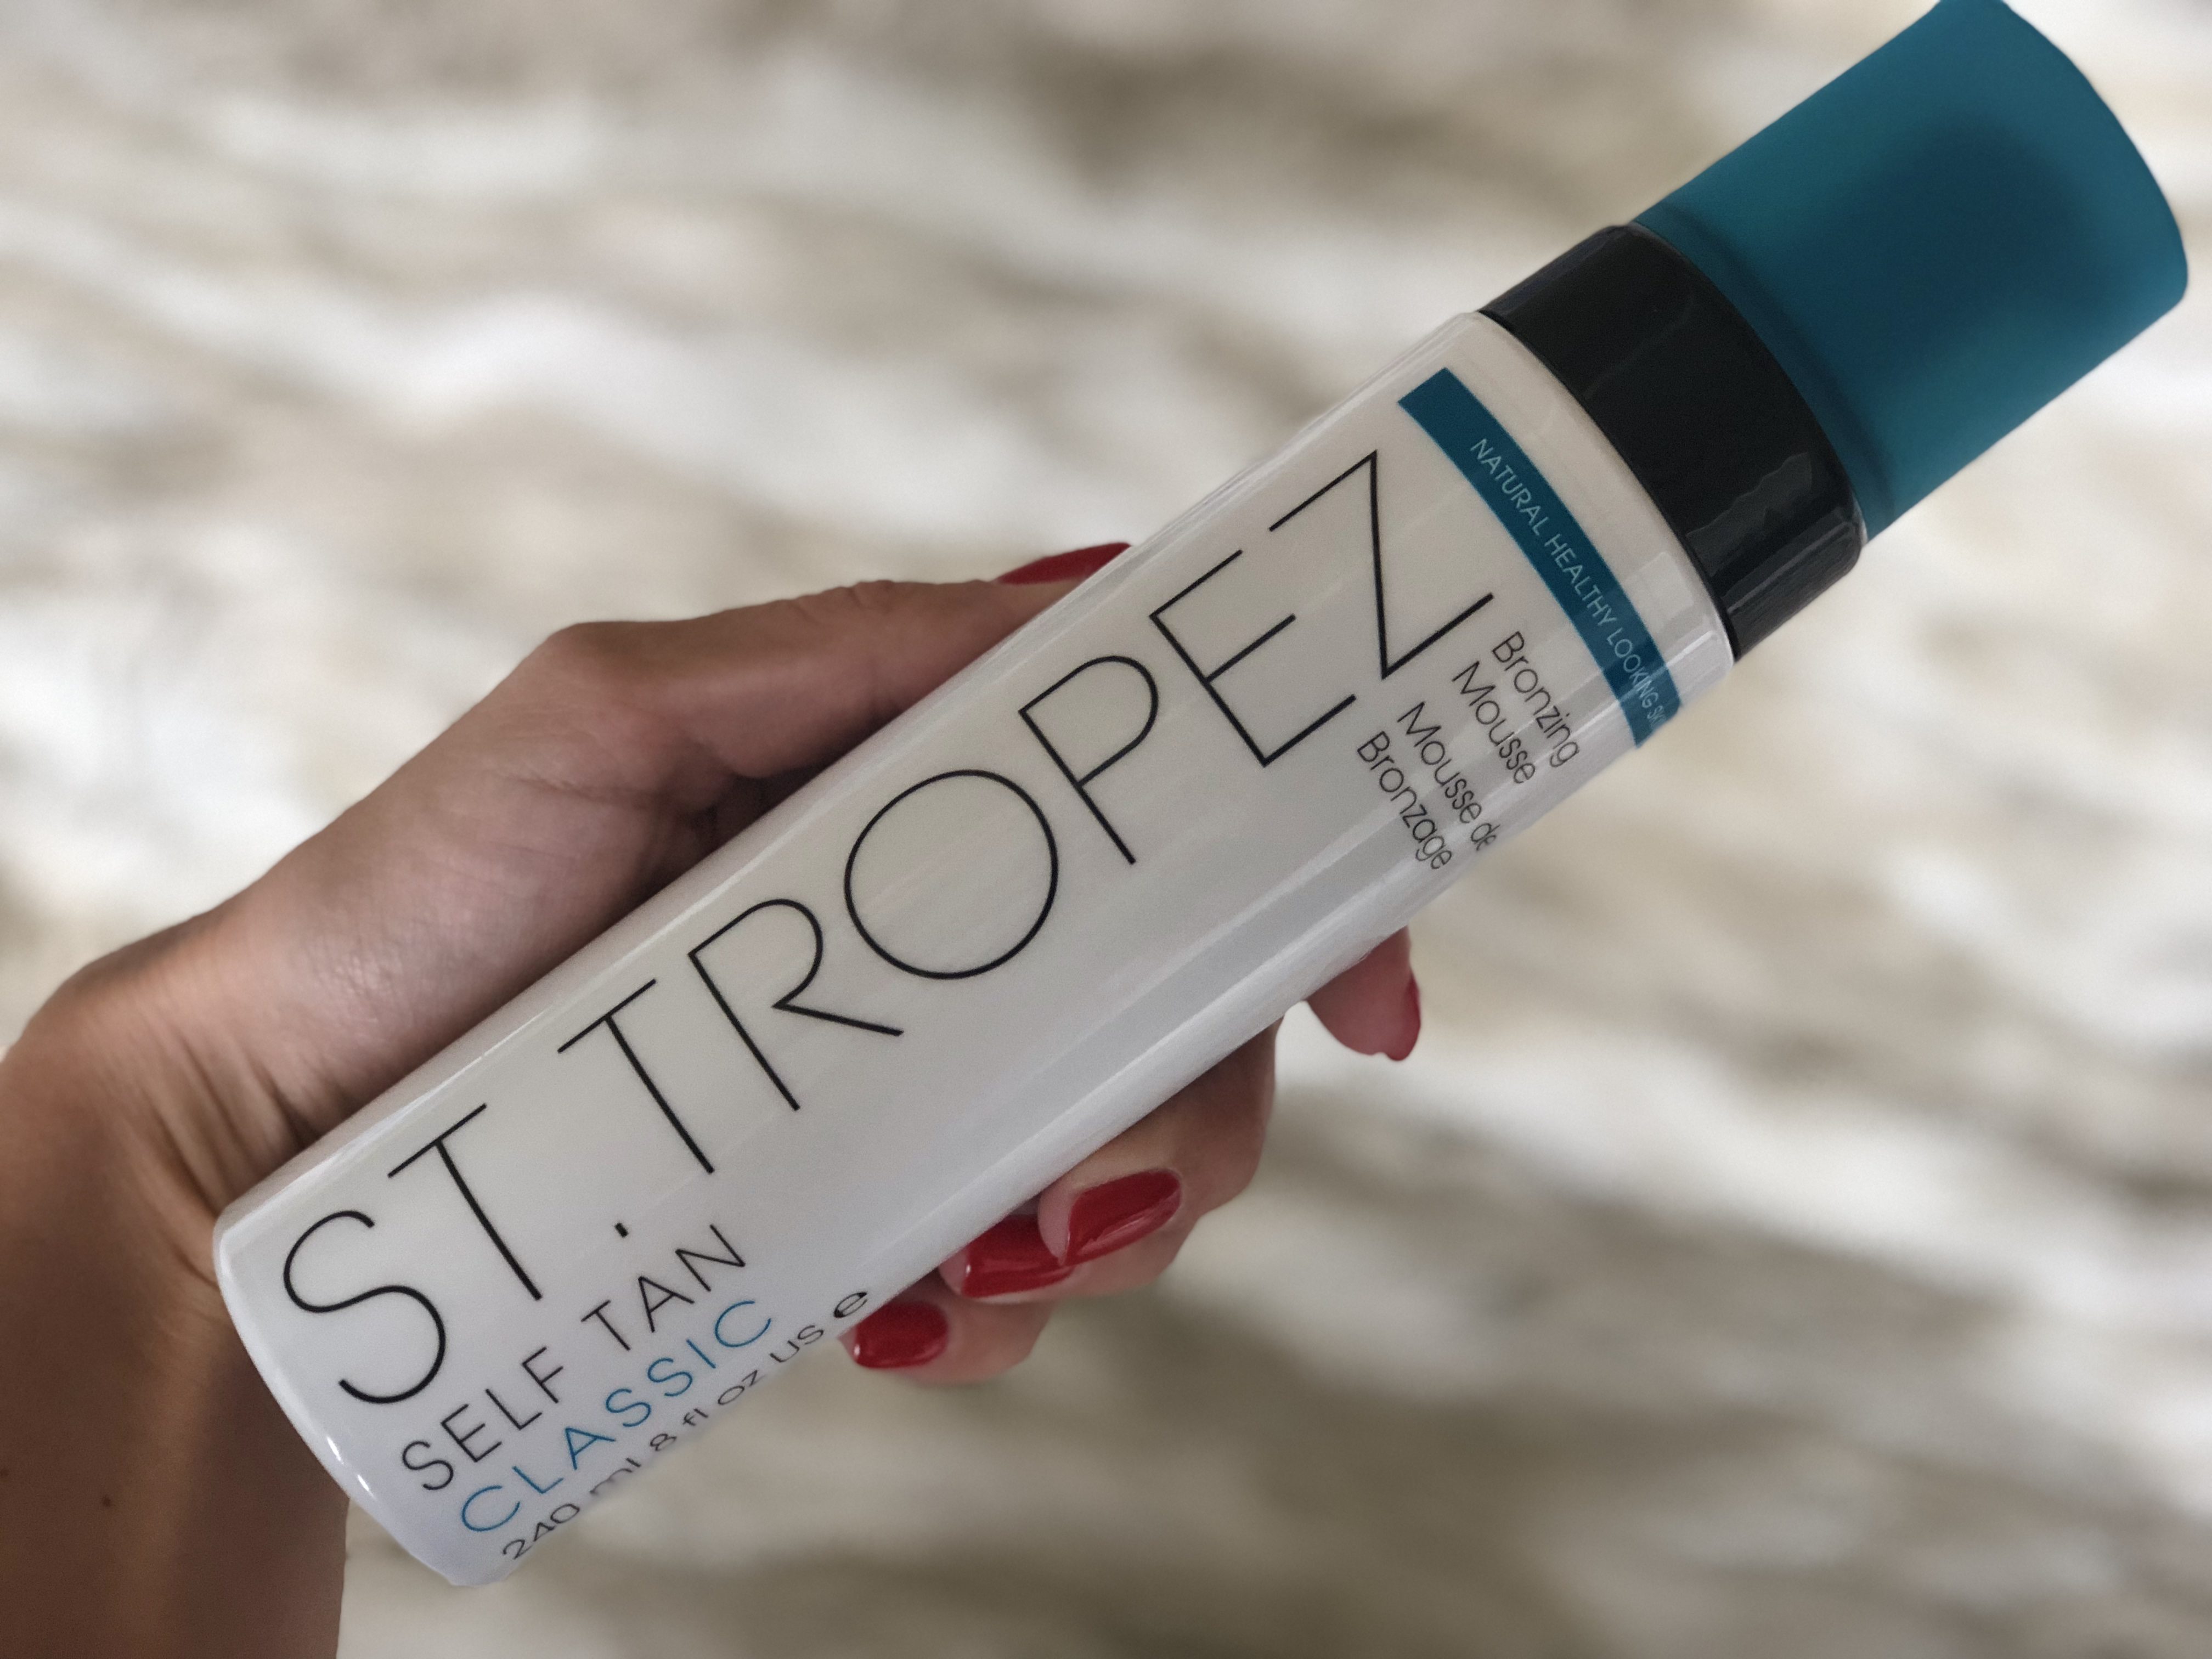
ST. TROPEZ (this one![]() )
)
PRO – beautiful bronzed color, long lasting (4-5 days)
CON – wasn’t crazy about the mousse, pricey, streaky
REVIEW – this one is a knockout. I feel like it’s on the top of everyone’s self tanner list. I had not tried this product prior to a few weeks ago even though I heard so, so much about it. The price is definitely on the high end and kept me from purchasing previously. For the sake of this blog post, I had to buy it to try out… and it was a knockout. Beautiful!
The color really does give you that sunkissed, straight from vacation look. I had a photoshoot and my photographer said “did you just use one of your self tanners… which one? It looks really great.” I mean when a color is what the product is all about this one has got to be a 10/10.
As for what I didn’t like… I am not crazy about the mousse consistency. I thought it made it more difficult to apply as compared to a lotion which I feel I can put on more evenly. Plus, the price is just not all that appealing. Also, it did streak for me. I even took a picture (okay, how hilarious is that picture!) because that really upset me since I was loving it so much. It got streaky after I gave my son a bath and was knee deep in the water with him. At that point, I had not showered off the tan, which was likely the issue. The other times I used this product, I didn’t have a streaky problem but I wanted to include that it did happen.
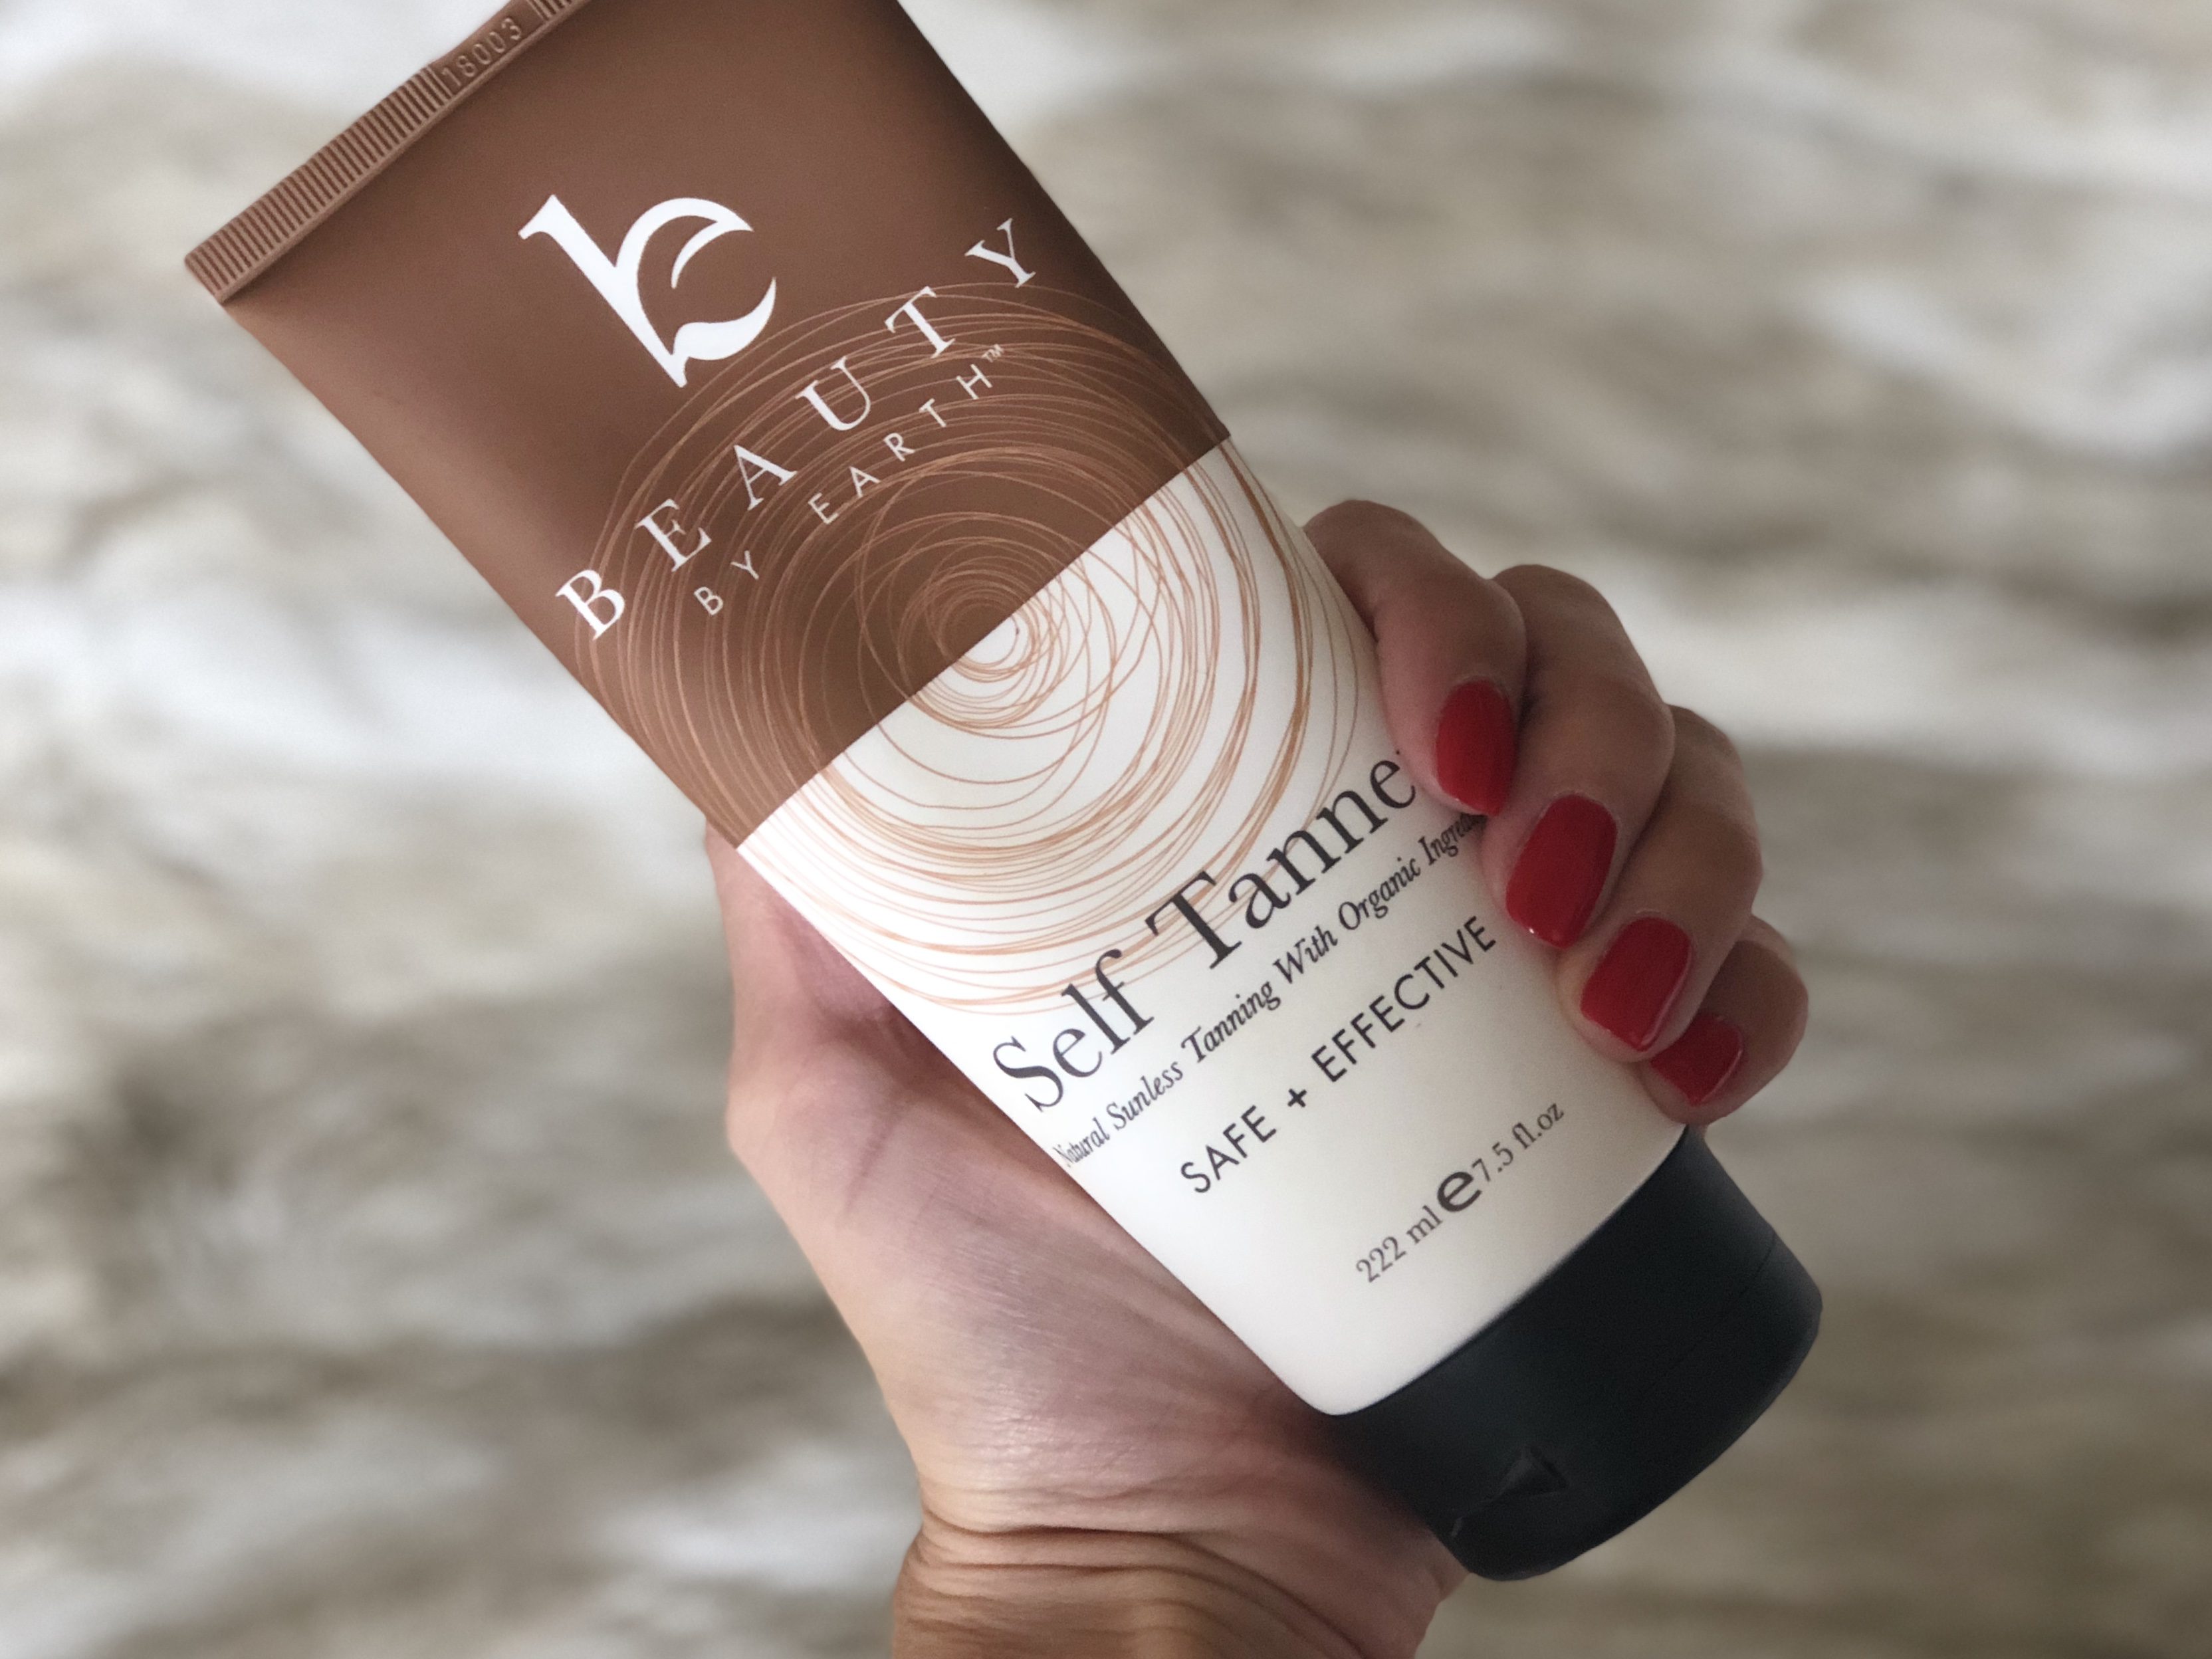
BEAUTY BY EARTH SELF TANNER (here![]() )
)
PRO – natural looking tan color (great for every day), nice smell, easy application
CON– faded quicker
REVIEW – I was excited to try this one because when you post an Insta story asking for recommendations and an old friend you first knew in elementary school texts you to say she has tried them all and has one she absolutely loves (thanks, Kimmy!), it had to be good, right?! It was! I really liked this product. It comes out as a white, nice-smelling lotion that I applied just like I would any other lotion.
The tan developed really fast! I felt like I was tan two hours after I applied it which is good to know in case I ever have a last minute need to tan crisis – haha.
My mother-in-law was in town when I was first testing these. She applied St. Tropez to one arm and this Beauty by Earth tanner to the other. In the AM, we looked at them and both agreed the Beauty by Earth color appeared to be more natural tan looking! The color on both of us looks like a nice tan without screaming fake tanner, you know what I mean?! A bronzed yet subtle tan.
BUT, I do feel that it faded quicker and wasn’t as long lasting, which is really only the negative thing I could say about the product. It gave me a good tan for 3-4 days.
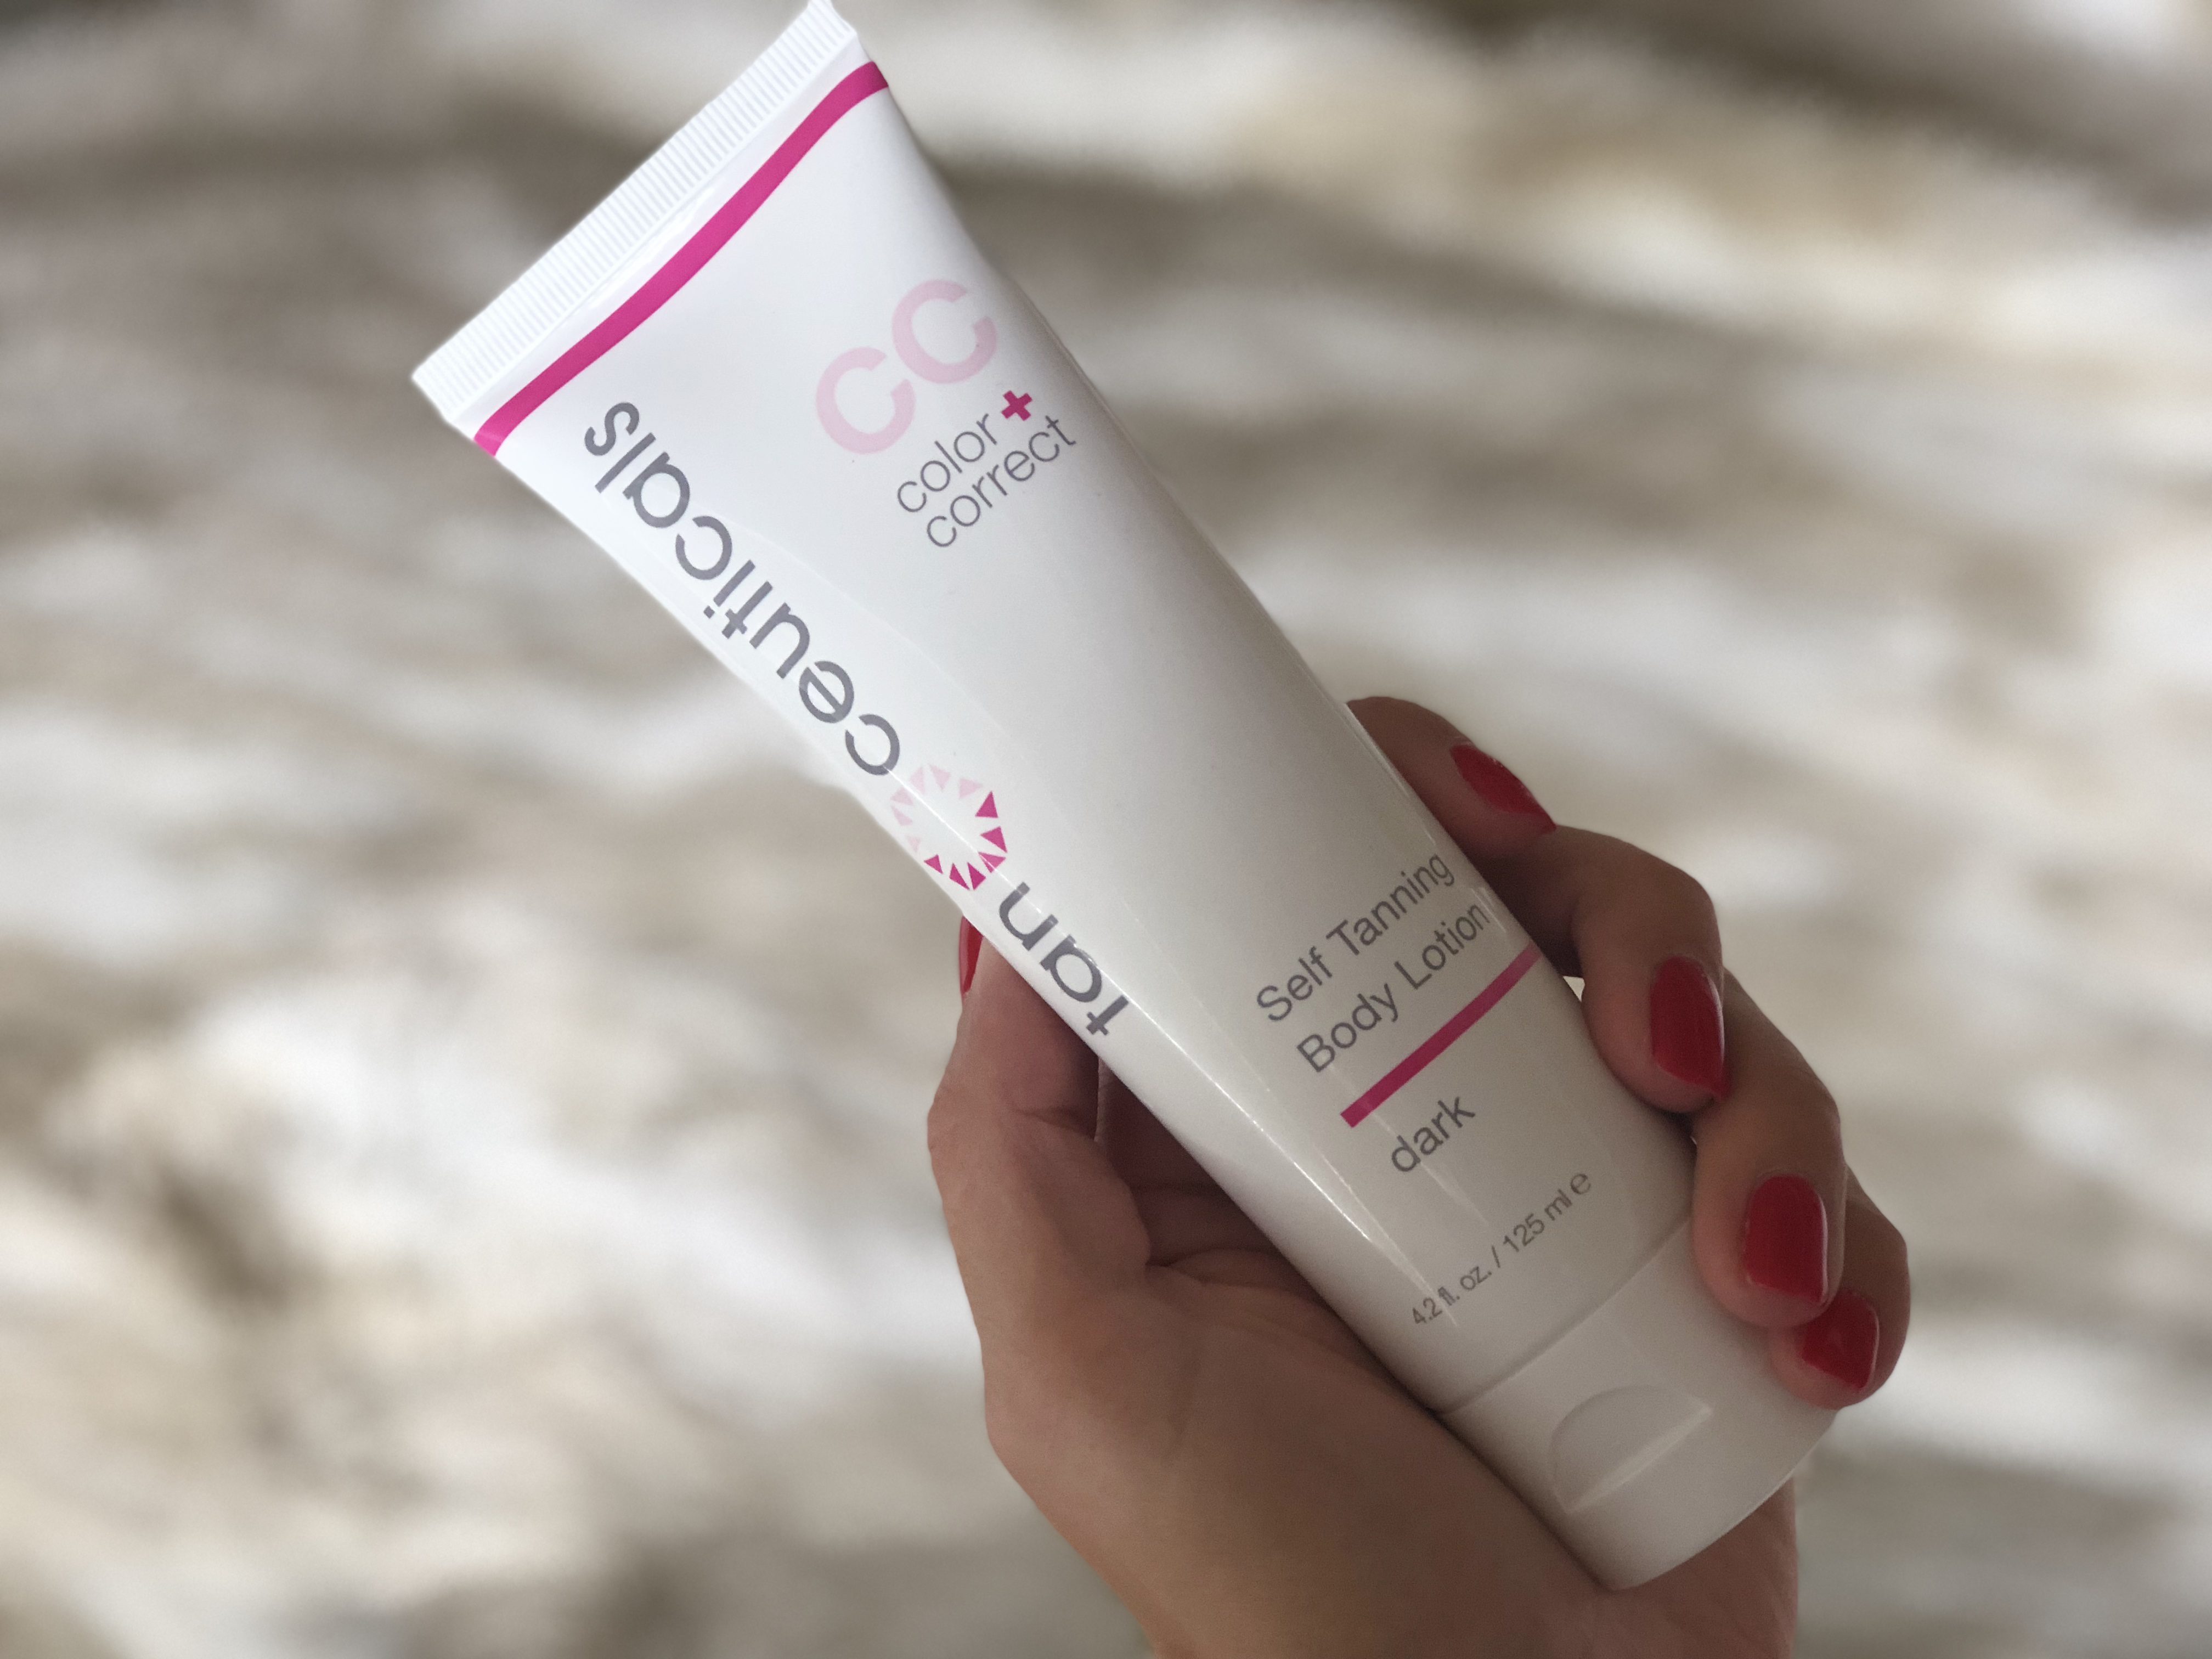
TAN CEUTICALS CC (here![]() )
)
PRO – glowy tan, easy application
CON – eh.
REVIEW – this product was HIGHLY recommended by many of you and I don’t have a bad things to say about it. The tanned color is glowy. Maybe I just have had really good days when I applied it or perhaps that is actually the product… it just looks radiant.
If self-tanner smells really bother you, get this product! It’s a pleasant, coconut smell and the application is flawless. It went on smoother than any product I’ve ever tried.
As for a con, like I said, I really don’t have one. I do think for every day use, I would opt for the Beauty by Earth option though but this is worth a try if you’re sensitive to the self tanner scent and want to try an option to work with you skin because I read in the reviews many women with fair skin liked this one.
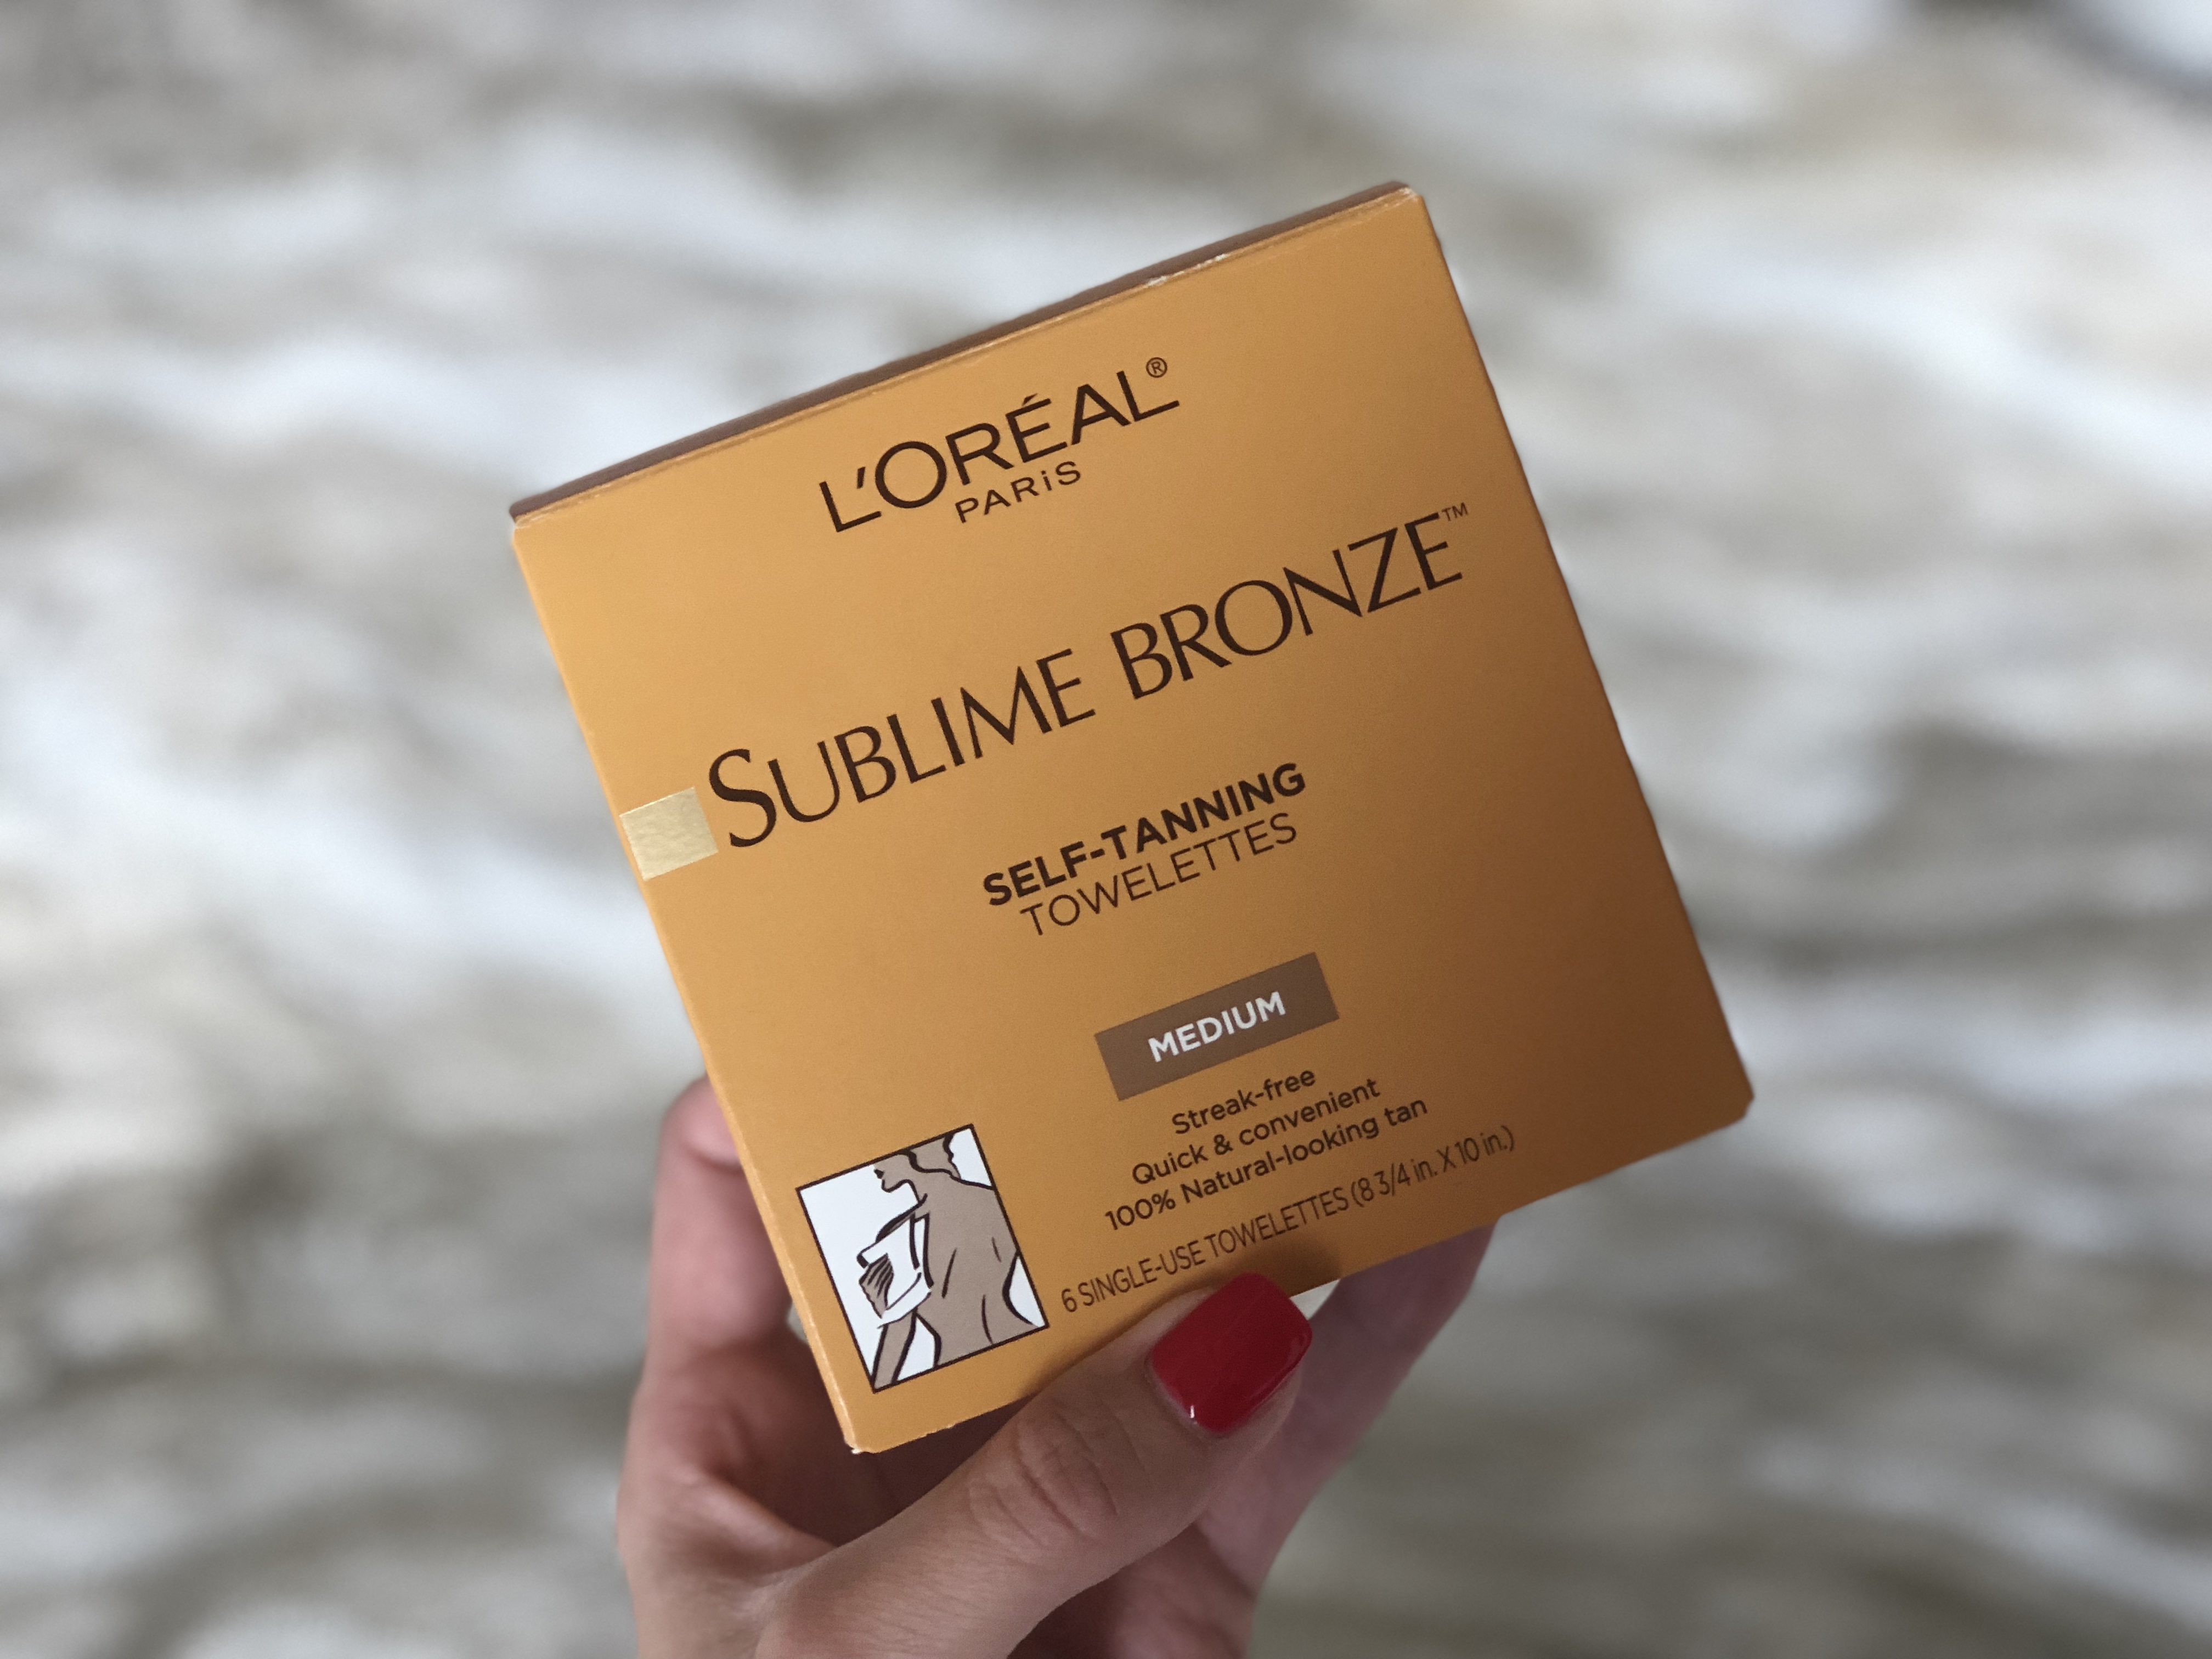
LOREAL SUBLIME BRONZE (here![]() )
)
PRO – price, color
CON – smell
REVIEW – this one wasn’t in my natural line up review but I had to share it because it is without a doubt my favorite drug store option. It gives the best look for $8.99 The wipes make the application process so easy. There is definitely a typical self-tanner smell to this but after you wash it off in the AM, it gives a beautiful tanned color. It’s definitely my top choice for drug store options and the wipes are my preference over lotion (but I have used and loved the spray bottle!)
HEAD TO HEAD SELF TANNER REVIEW
If I can be a self tanner snob and have options in my cabinet, this is how I would use each product and when. Also, if you have a priority (like you’re wanting to tan for a party or you’re wanting a little color for your daily life), this may help point you in the right direction.
BEST FOR AN EVENT: St. Tropez![]()
BEST FOR EVERY DAY: Beauty by Earth![]()
BEST SMELL: Tanceuticals![]()
BEST DRUG STORE OPTION: Loreal![]() Sublime Bronze
Sublime Bronze
MY FAVORITE/MOST USED: Beauty by Earth![]()
My biggest recommendation is to maybe take 2 of the items I mentioned that most seem like they woudl be best for you and compare. If I had to choose 2, they would definitely be St. Tropez![]() and Beauty by Earth
and Beauty by Earth![]() (if I would splurge) or Loreal
(if I would splurge) or Loreal![]() and Beauty by Earth
and Beauty by Earth![]() (to save a bit more money).
(to save a bit more money).
Hope you day is as beautiful as I know your self tan will be lol.
xo Lauren
Leave a comment