

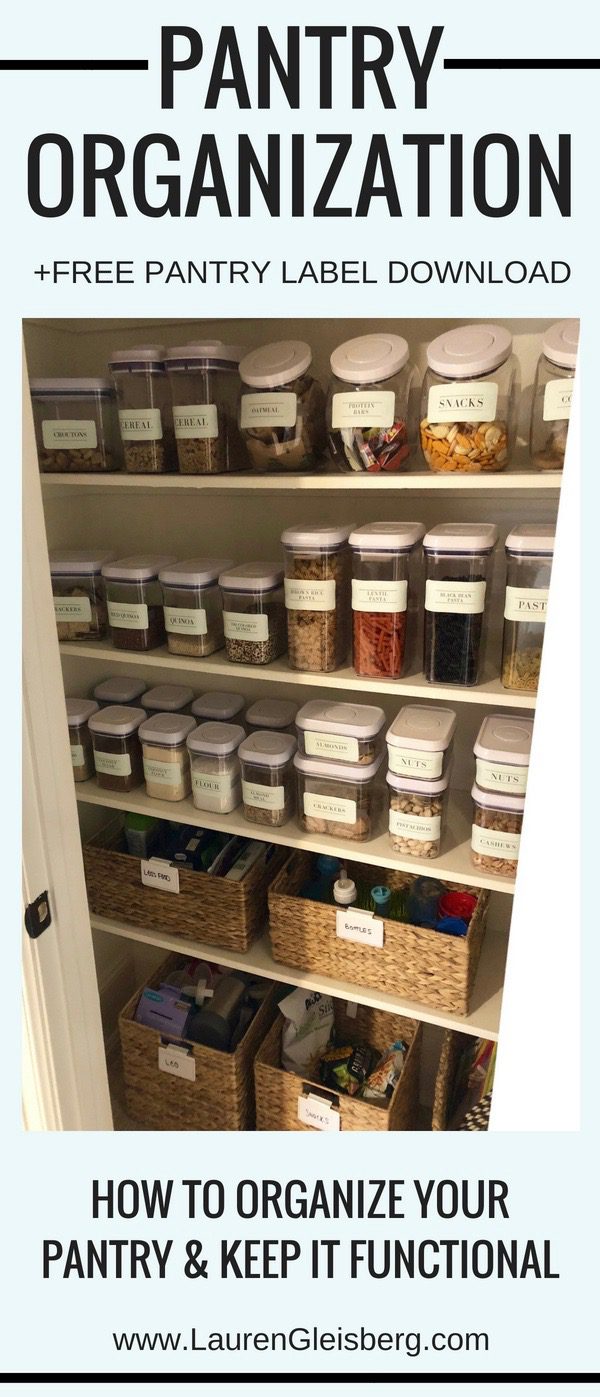
An organized pantry has been on my bucket list since I saw Khloe Kardashian’s pantry go viral online. BUT, you know me… I’m way too practical to have my entire pantry is labeled pricey, breakable jars. My husband would also never keep up with it (I couldn’t either if I’m being honest, ha). I also don’t have a large pantry so I had to be smart about utilizing the space I have.
IN THIS POST:
- how I organized my pantry (simple system anyone can use)
- my pantry layout/food item categories
- how to organize an entire pantry for $50 + the 3 Amazon items you’ll need
- FREE pantry label downloads
You know I’m crazy when it comes to cleaning and organization. I mean… I created a 6 Week Organization Challenge for fun.
I think one of the reasons I’m so into organization is because of how clear it keeps my mind. I work from home and notice that when my space is a mess, my brain feels the same way. When things are neat and tidy, I feel more productive and focused.
I’ve always kept my pantry clean but had dreams of doing a pinterest-style overhaul. For my birthday this year, my husband and parents both gifted me food storage containers, baskets and organization accessories.
I knew the most important piece to the pantry organization in my current home = practicality
In my last apartment, I made the mistake of not taking into consideration function. I couldn’t keep up with how I organized the pantry. It looked like a display at Whole Foods. But because what I buy week to week isn’t exactly the same, I never knew where to put things. I ended up just shoving things in the pantry and closing the door.

HOW I ORGANIZED MY PANTRY
This time around… I knew the pantry organization approach had to be something I could live with (as well as my husband).
If you’re interested in organizing your pantry, I would suggest you live in the space for a month or two… this allows you to go on several grocery shopping trips and have a variety of food has passed through your pantry to give you insight into how to organize.
I decided to take note of what items were always stocked and what items changed week to week.
Items that change week to week:
- canned goods (sauces, beans, diced tomatoes, PB, coconut oil, etc.)
- snacks (chips, veggie sticks, pretzels, dried fruit)
- boxed items (rice, risotto)
- my son’s food
- misc. (A LOT of things fell into this category)
Items I keep stocked at all times:
- flour
- quinoa
- nuts
- pasta
- granola bars
- oatmeal
- cereal/granola
- breadcrumbs
- crackers
- cookies (oops, lol)
Organization Technique:
Items that change week to week -> baskets and bins
Items I keep stocked -> labeled jars and containers
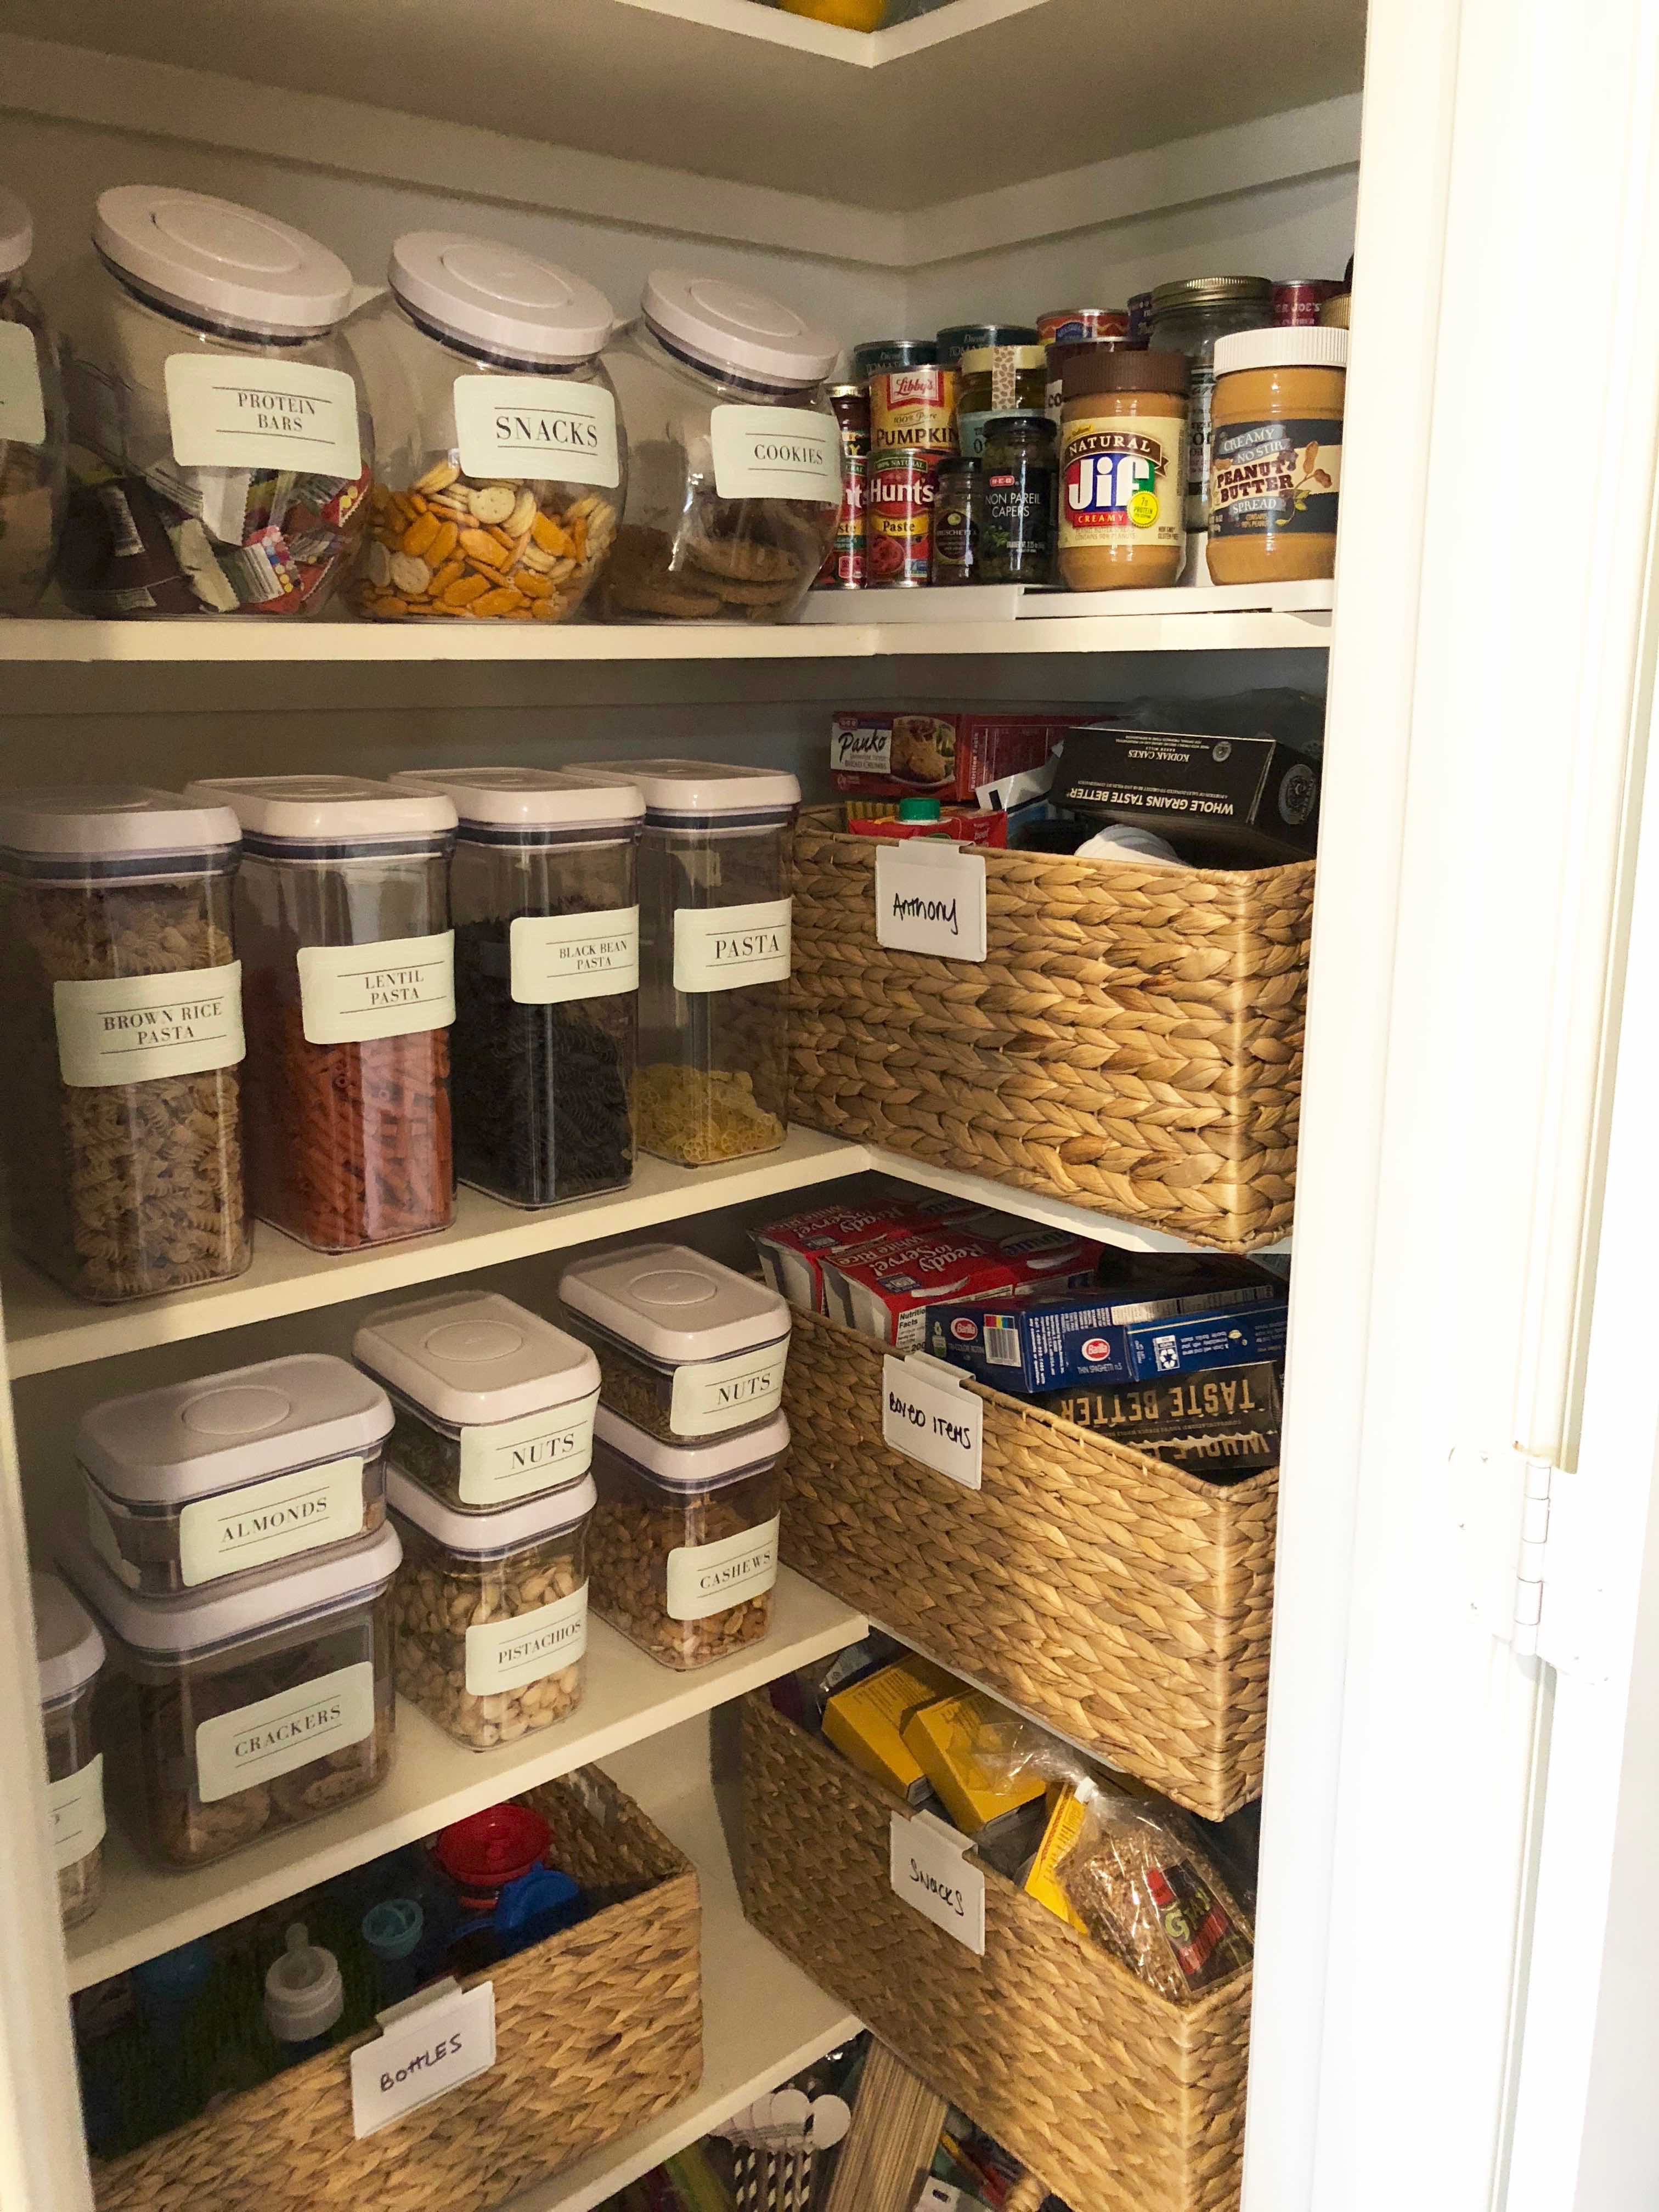
The priority with my pantry organization was that it has to be functional. Still, I wanted that eye-catching, Pinteresty look so it made sense get a few pretty jars and containers for items I keep stocked in the pantry.
Like I said, my bday gift this year from my husband and parents was to get pantry items from the Container Store… goodness is that place like an adult Disney Land!
ITEMS I PURCHASED FOR THE PANTRY
THESE![]() containers – I got a variety. I’m sure you’ve seen them around. Pro- they’re amazing. Con- they’re pricey. It’s a justified splurge even if you just get a few for items that can lose freshness fast.
containers – I got a variety. I’m sure you’ve seen them around. Pro- they’re amazing. Con- they’re pricey. It’s a justified splurge even if you just get a few for items that can lose freshness fast.
THIS tiered rack for canned goods is something I also picked up
THESE baskets were perfect for the items that changed week to week. I could use a broad label like “snacks” and just throw whatever snacks I had that week in there
THESE bins I placed on the floor along with THIS large one that serves as a catchall.
THESE label clips for the baskets
ORGANIZED PANTRY – HOW TO MAKE IT PRETTY
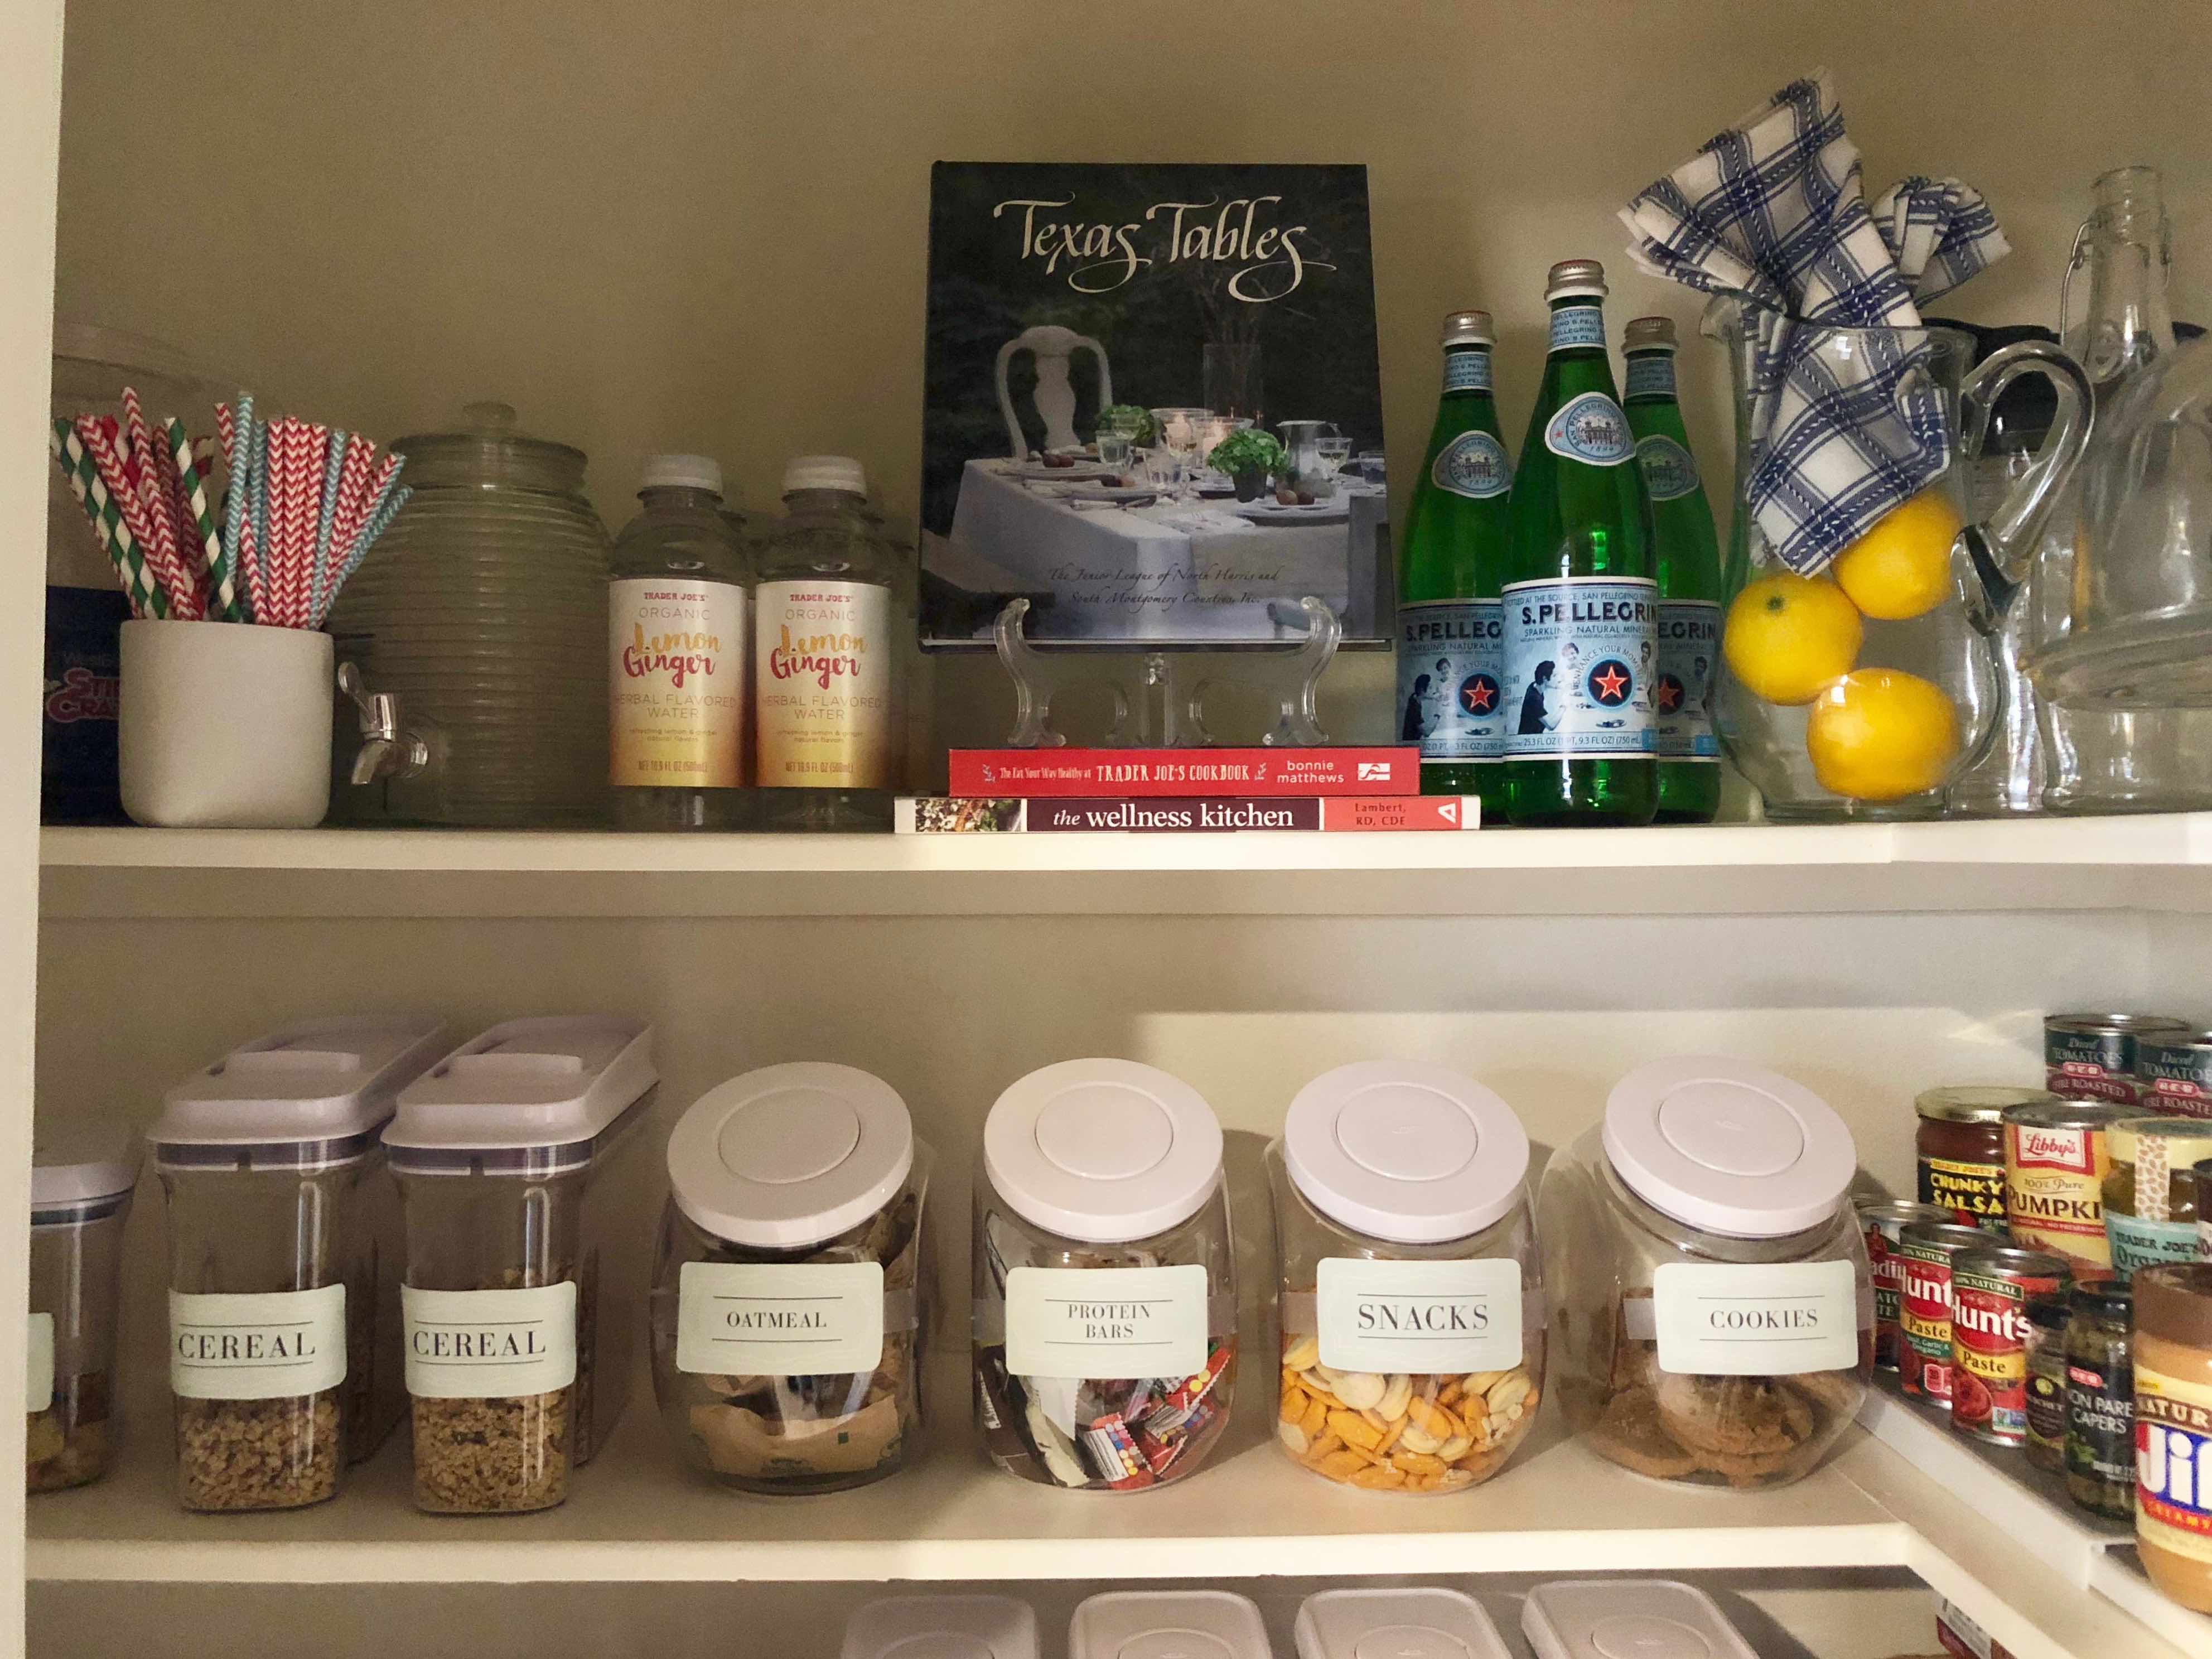
The final step was making the space pretty!
The top shelf of my pantry was the perfect place to add some eye-catching things. I actually was storing a few cookbooks, small appliances and vases there already which gave me the idea to spruce them up a bit. It was functional in that it was a place to store those items and a bit of TLC gave it an appealing appearance.
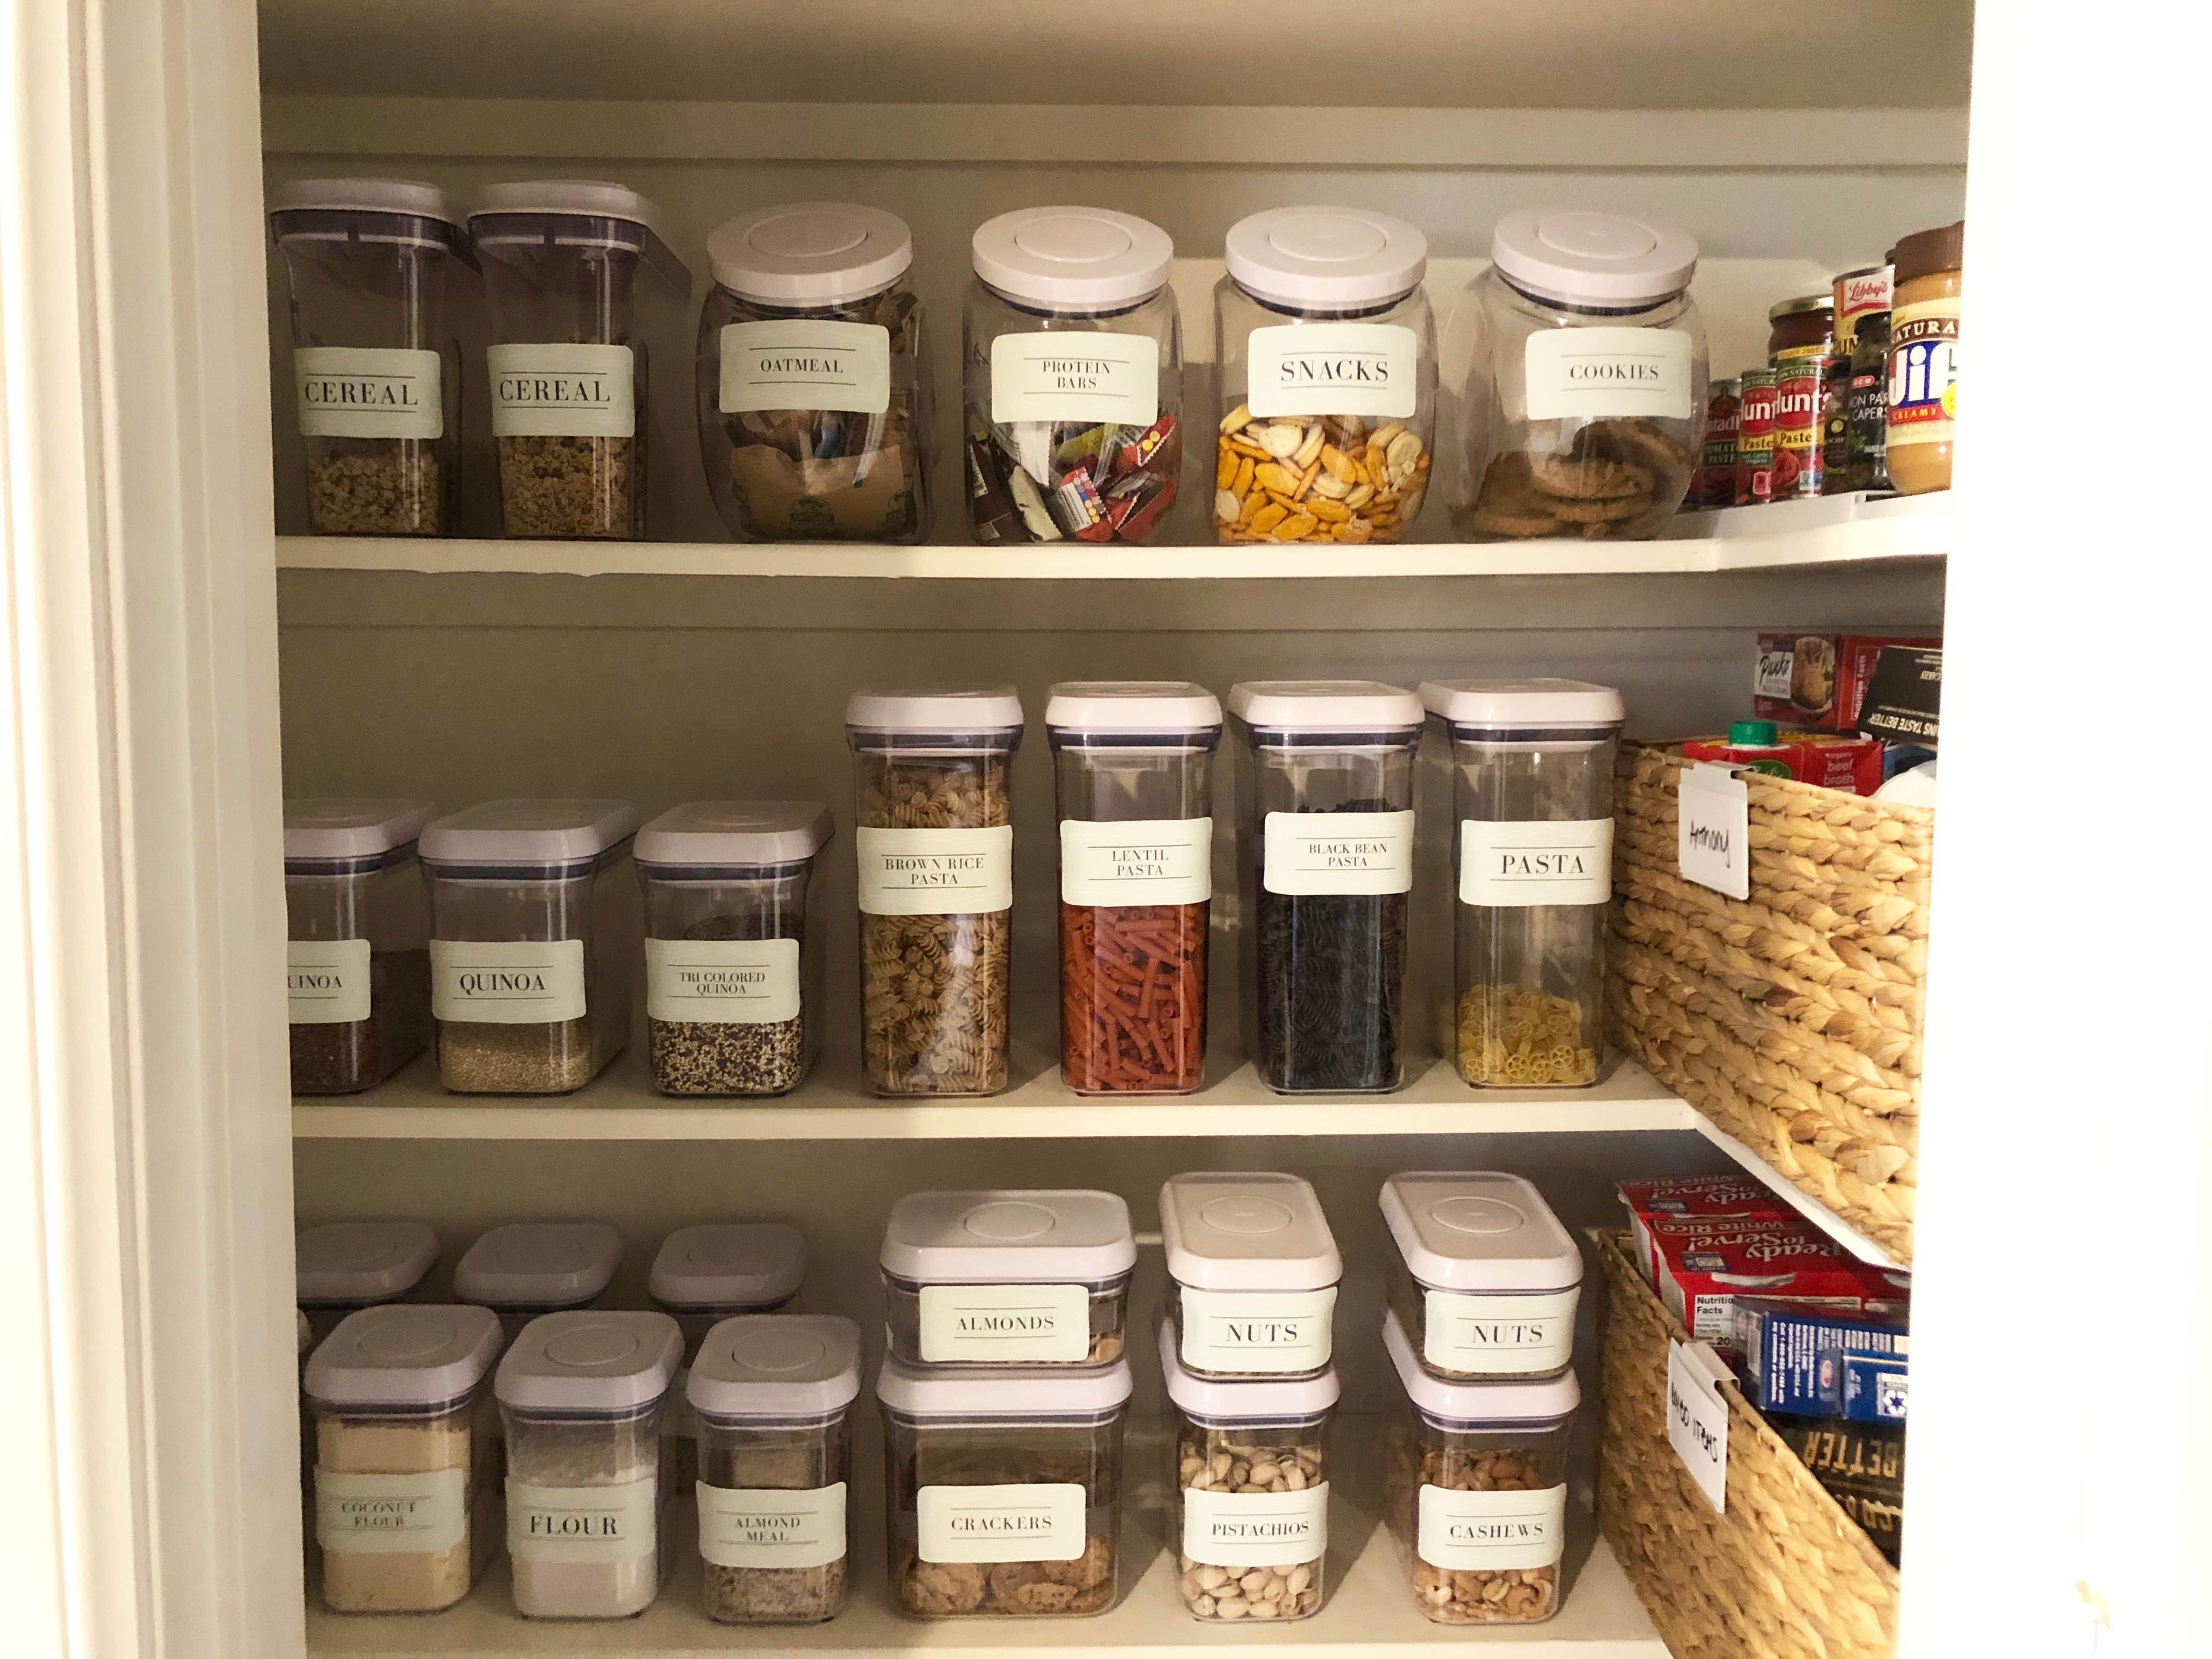
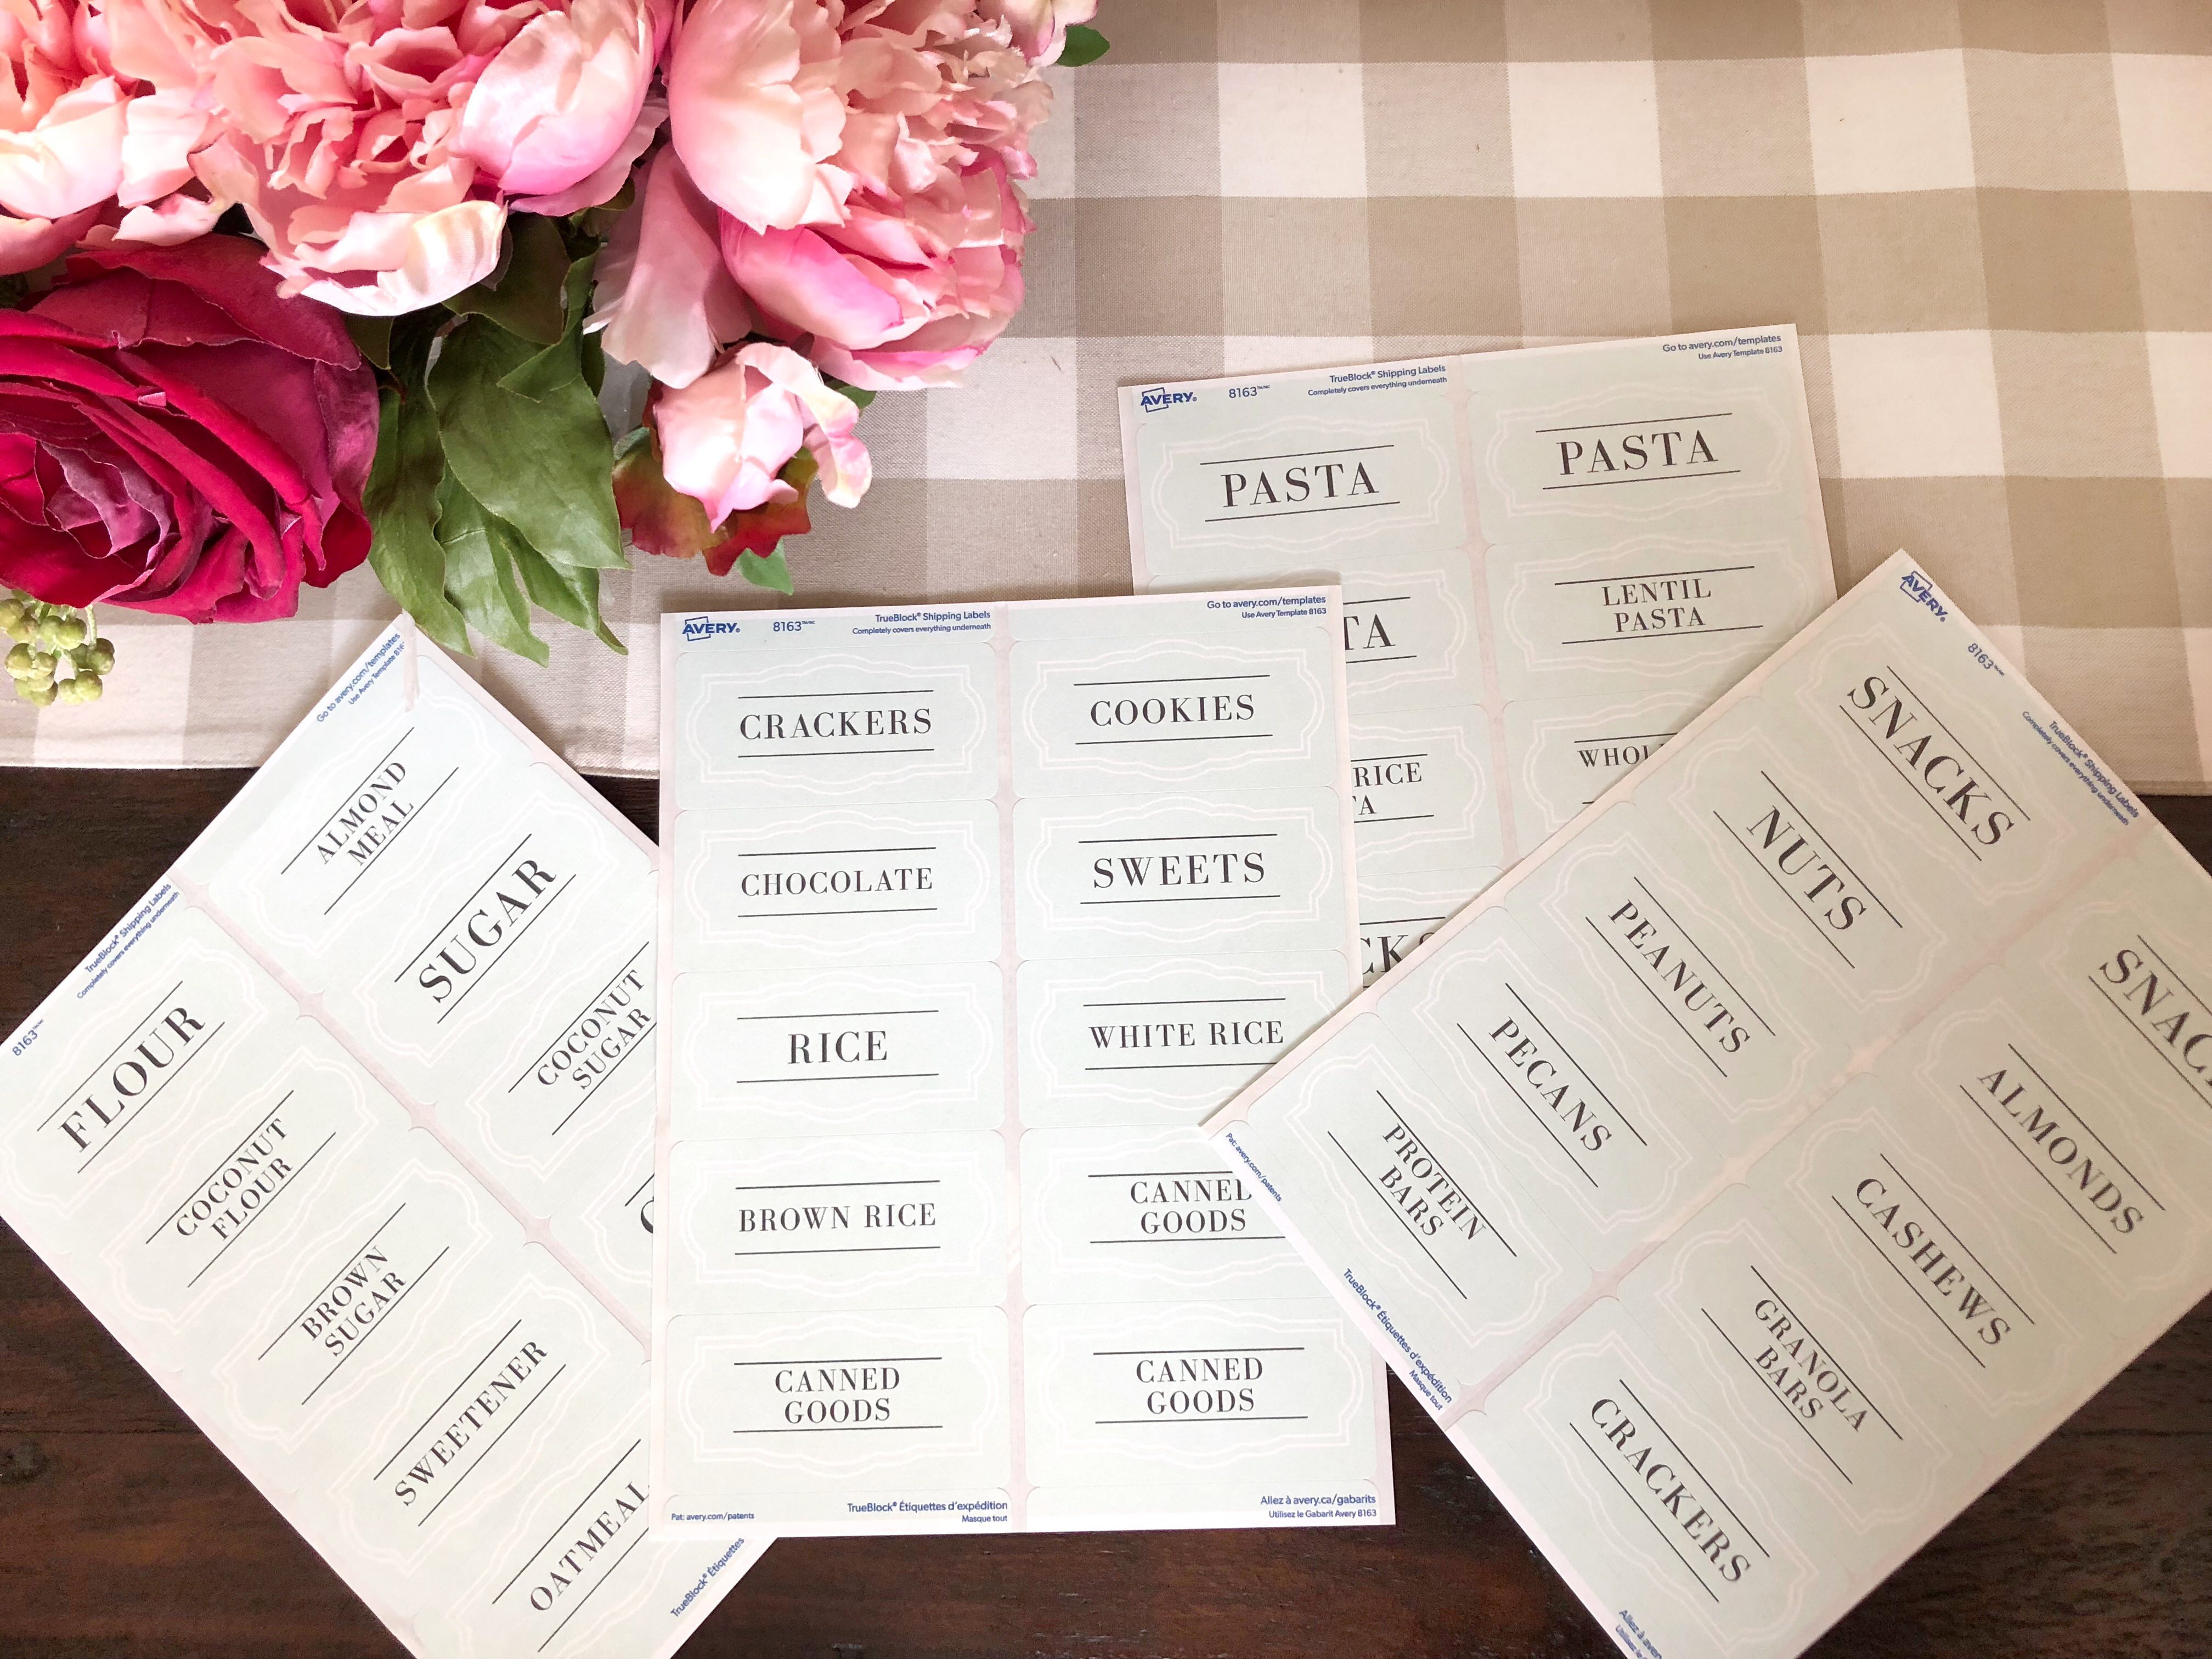
The real beautification came in with the pantry labels!
The black chalkboard stickers are pretty popular; I considered them but I wanted my labels to add a pop of color to the pantry. You can’t appreciate the pretty light blue color of the labels in this pantry lighting but it is pretttty.
TIP – I highly suggest colored labels because I feel that’s what can pull together the space. If you’re using clear containers or a mix of ones you already have at home… go for a colored label to make the pantry feel more cohesive.
Have you heard me mention my amazing graphic designer, Christina?! She was the first LG team member and has been with me for almost 3 years now… she takes my word document workouts and makes them a beautiful plan.
I told her I wanted to create pantry labels in a beautiful blue color with a border detail and cute font. I think what we came up with is STUNNING.
I had her create them on Avery 8163 2″x4″ labels. I printed them and then I chickened out a bit. After spending all this money on containers, I didn’t want to slap a sticker on them haha.
So, I printed mine on card stock, cut them out and used sticky tack to stick them to my containers. I then decided I loved it and just put the labels right on there! Just thought I would share that option for those who may not be into labels.
I love opening my pantry so much that I wanted to share the free pantry label download with you – see below!
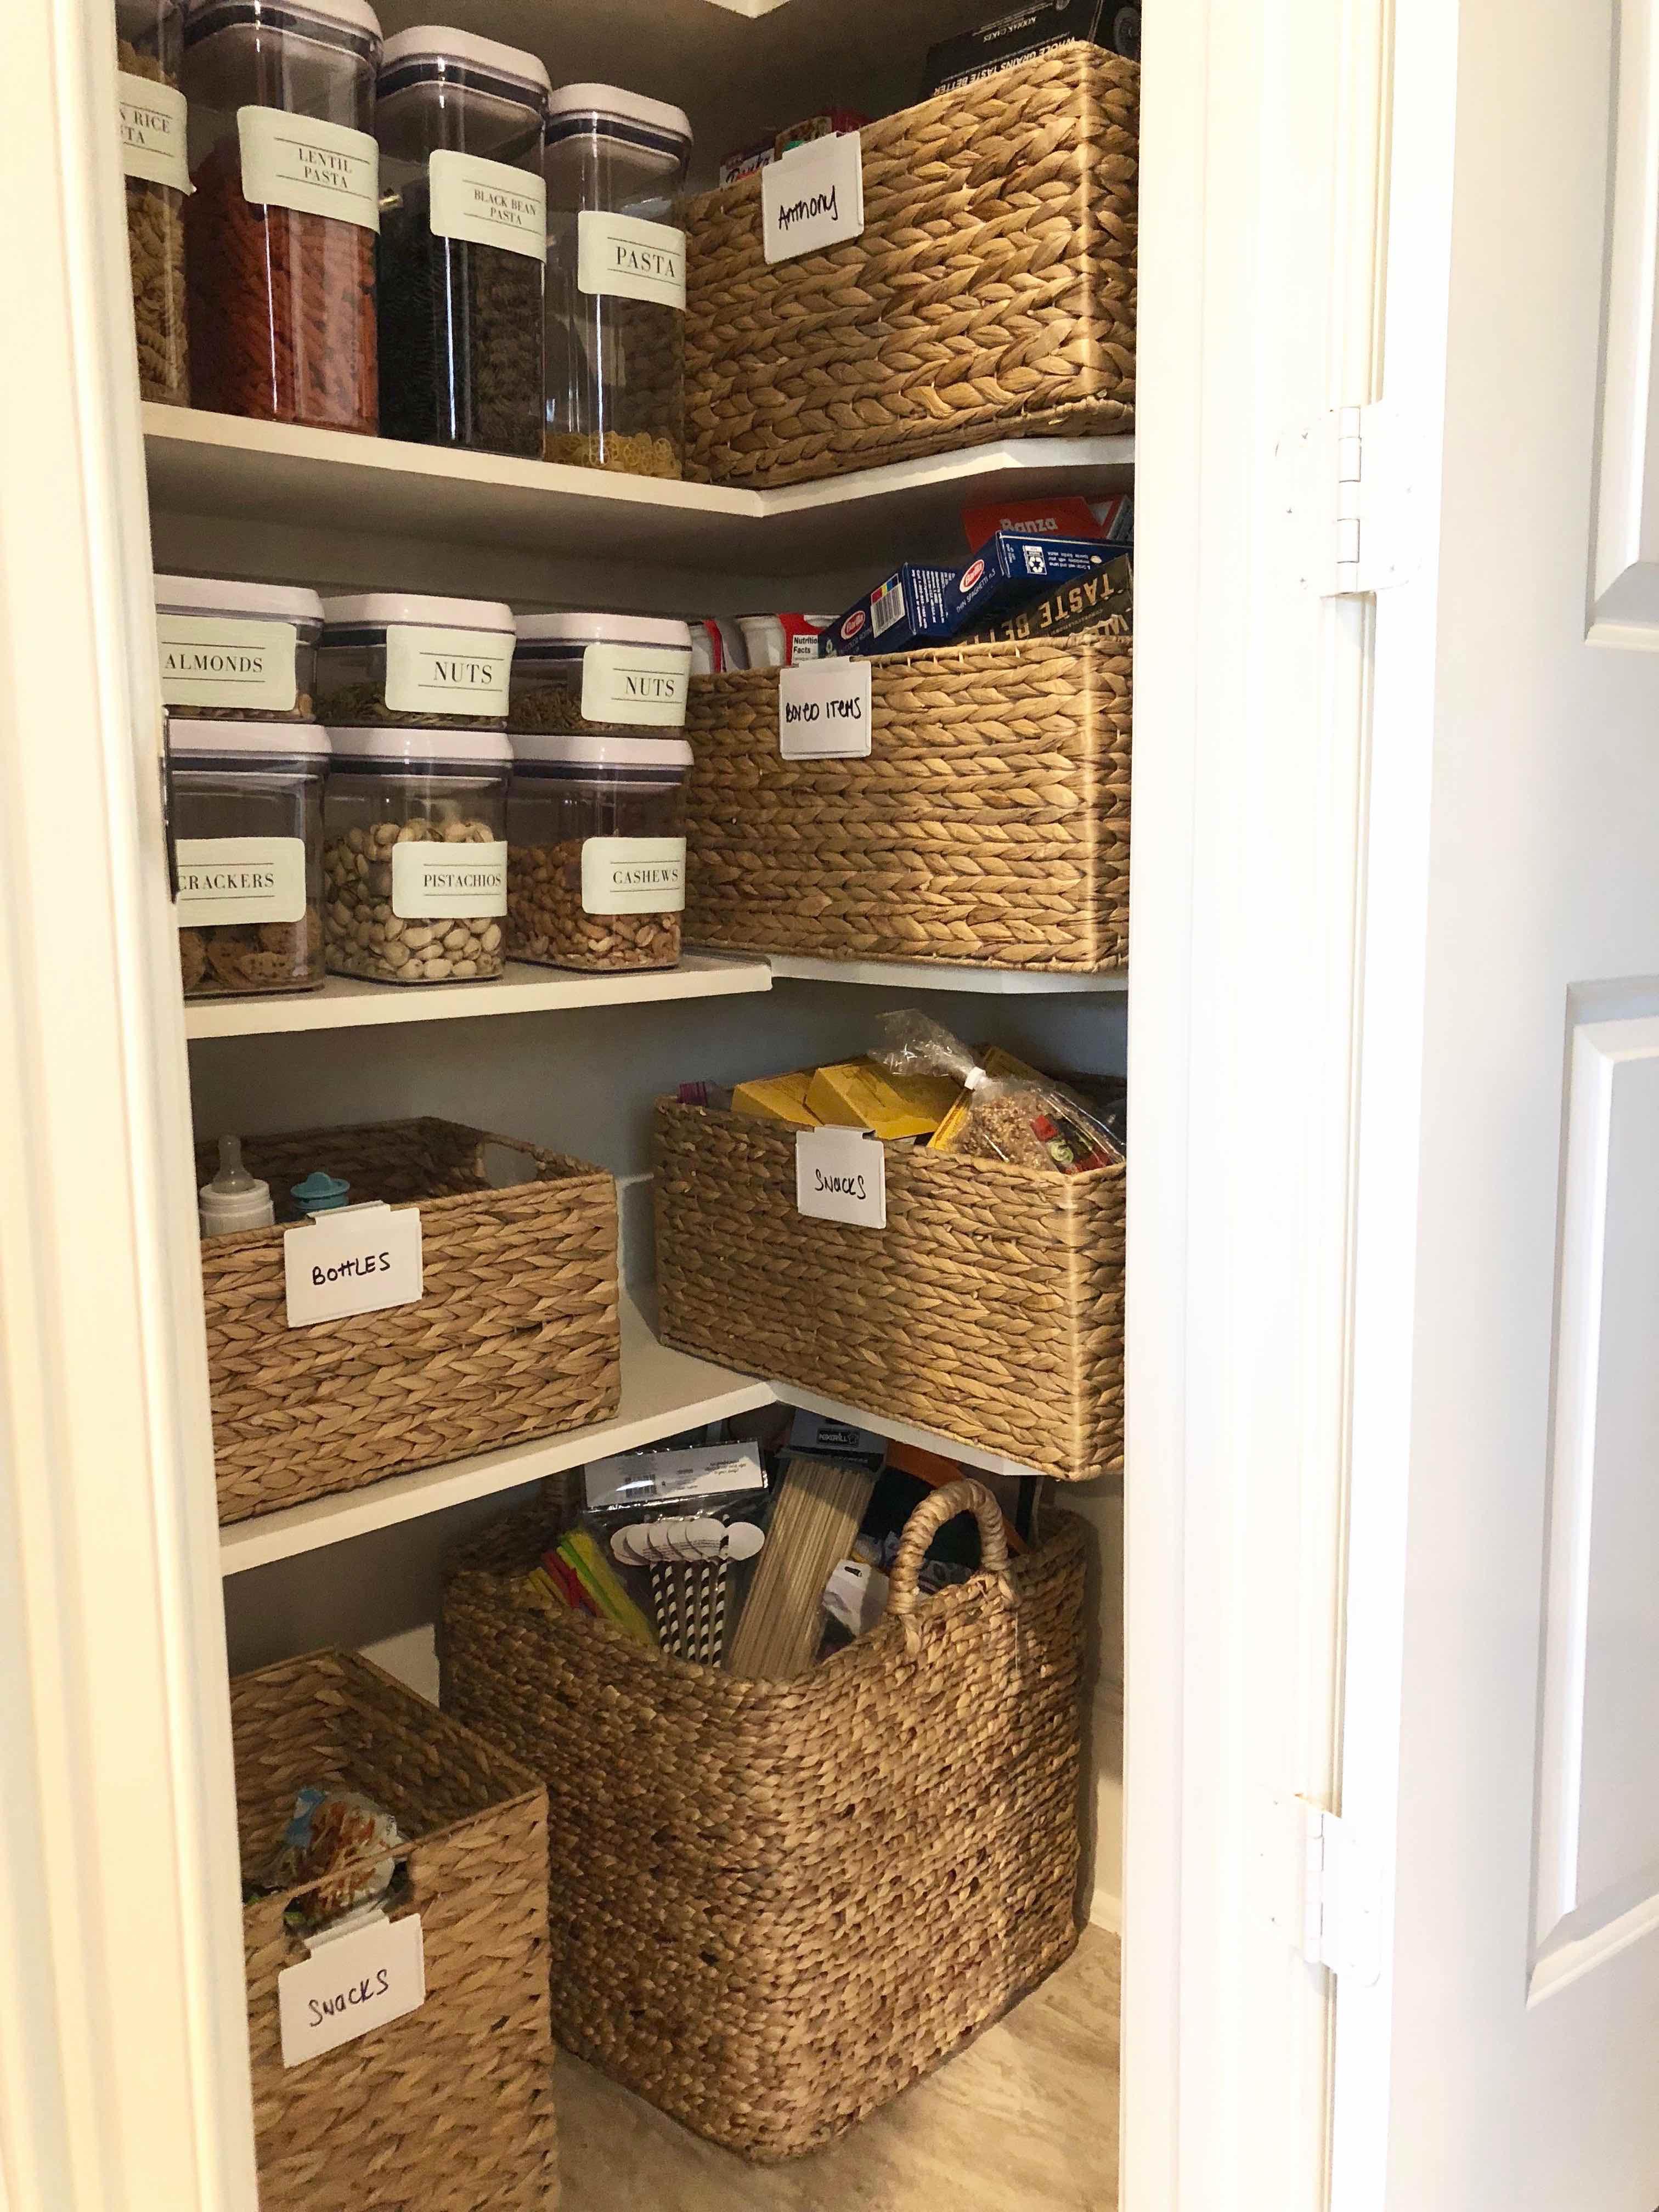
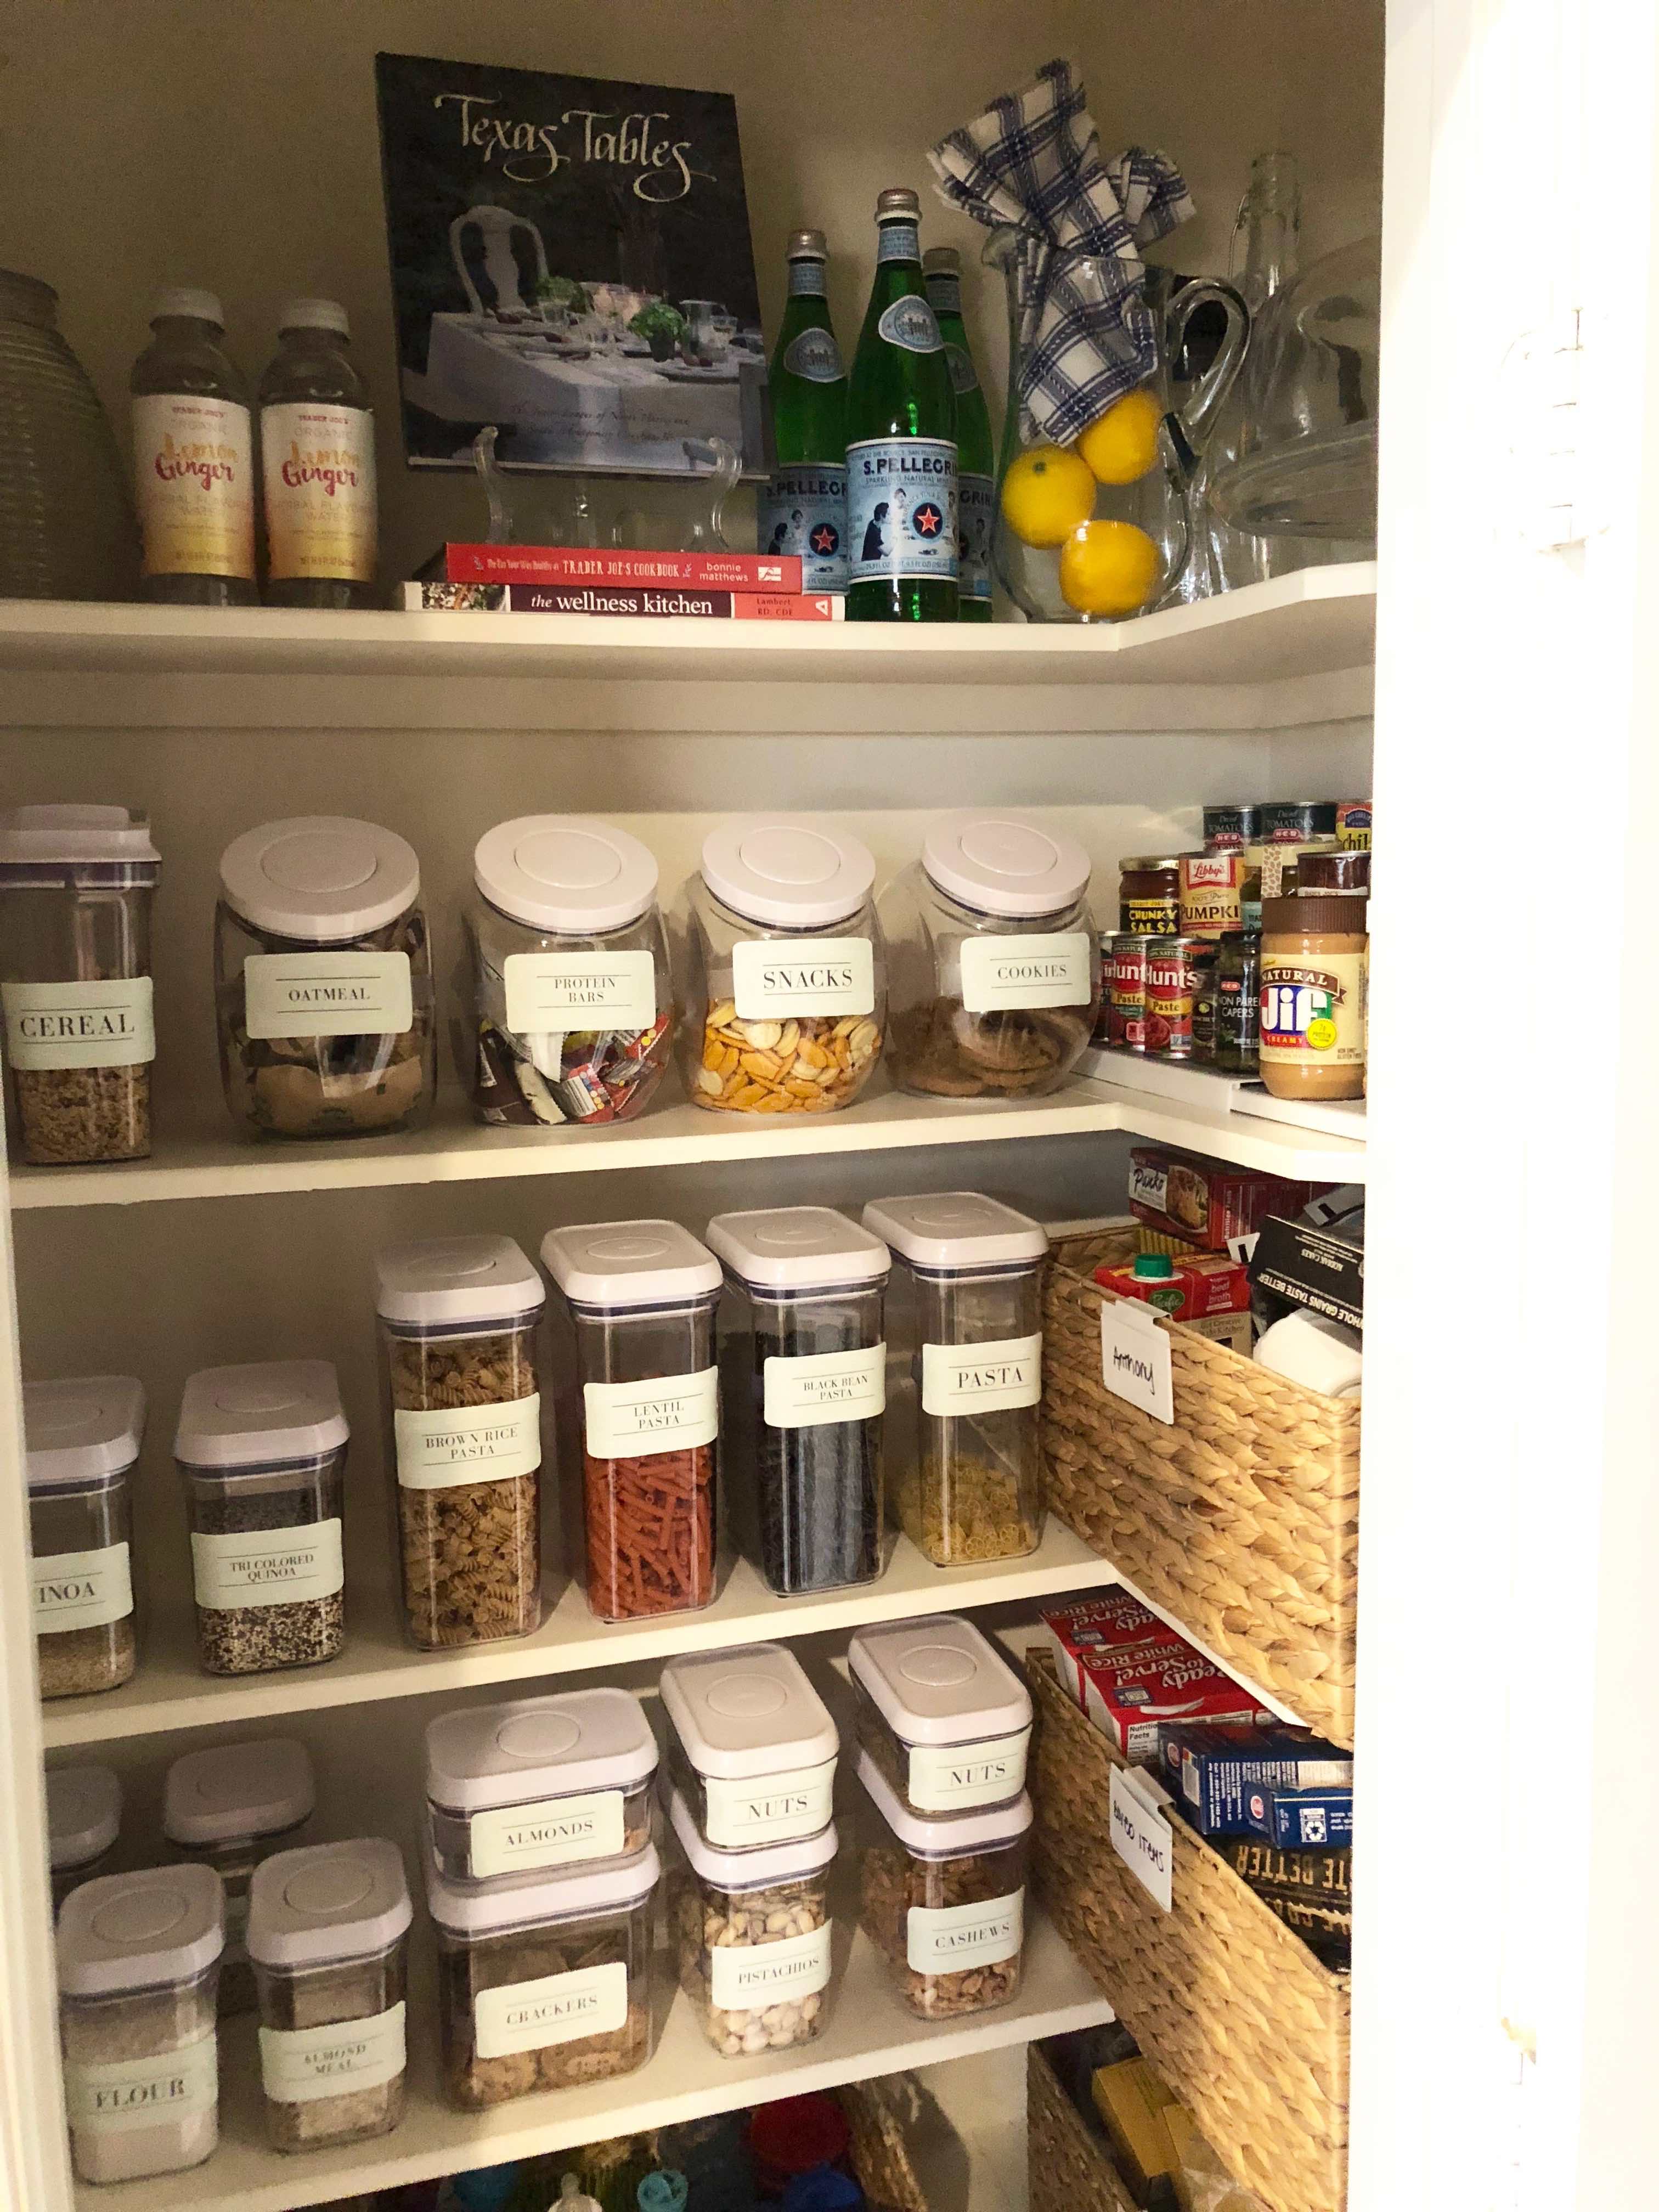
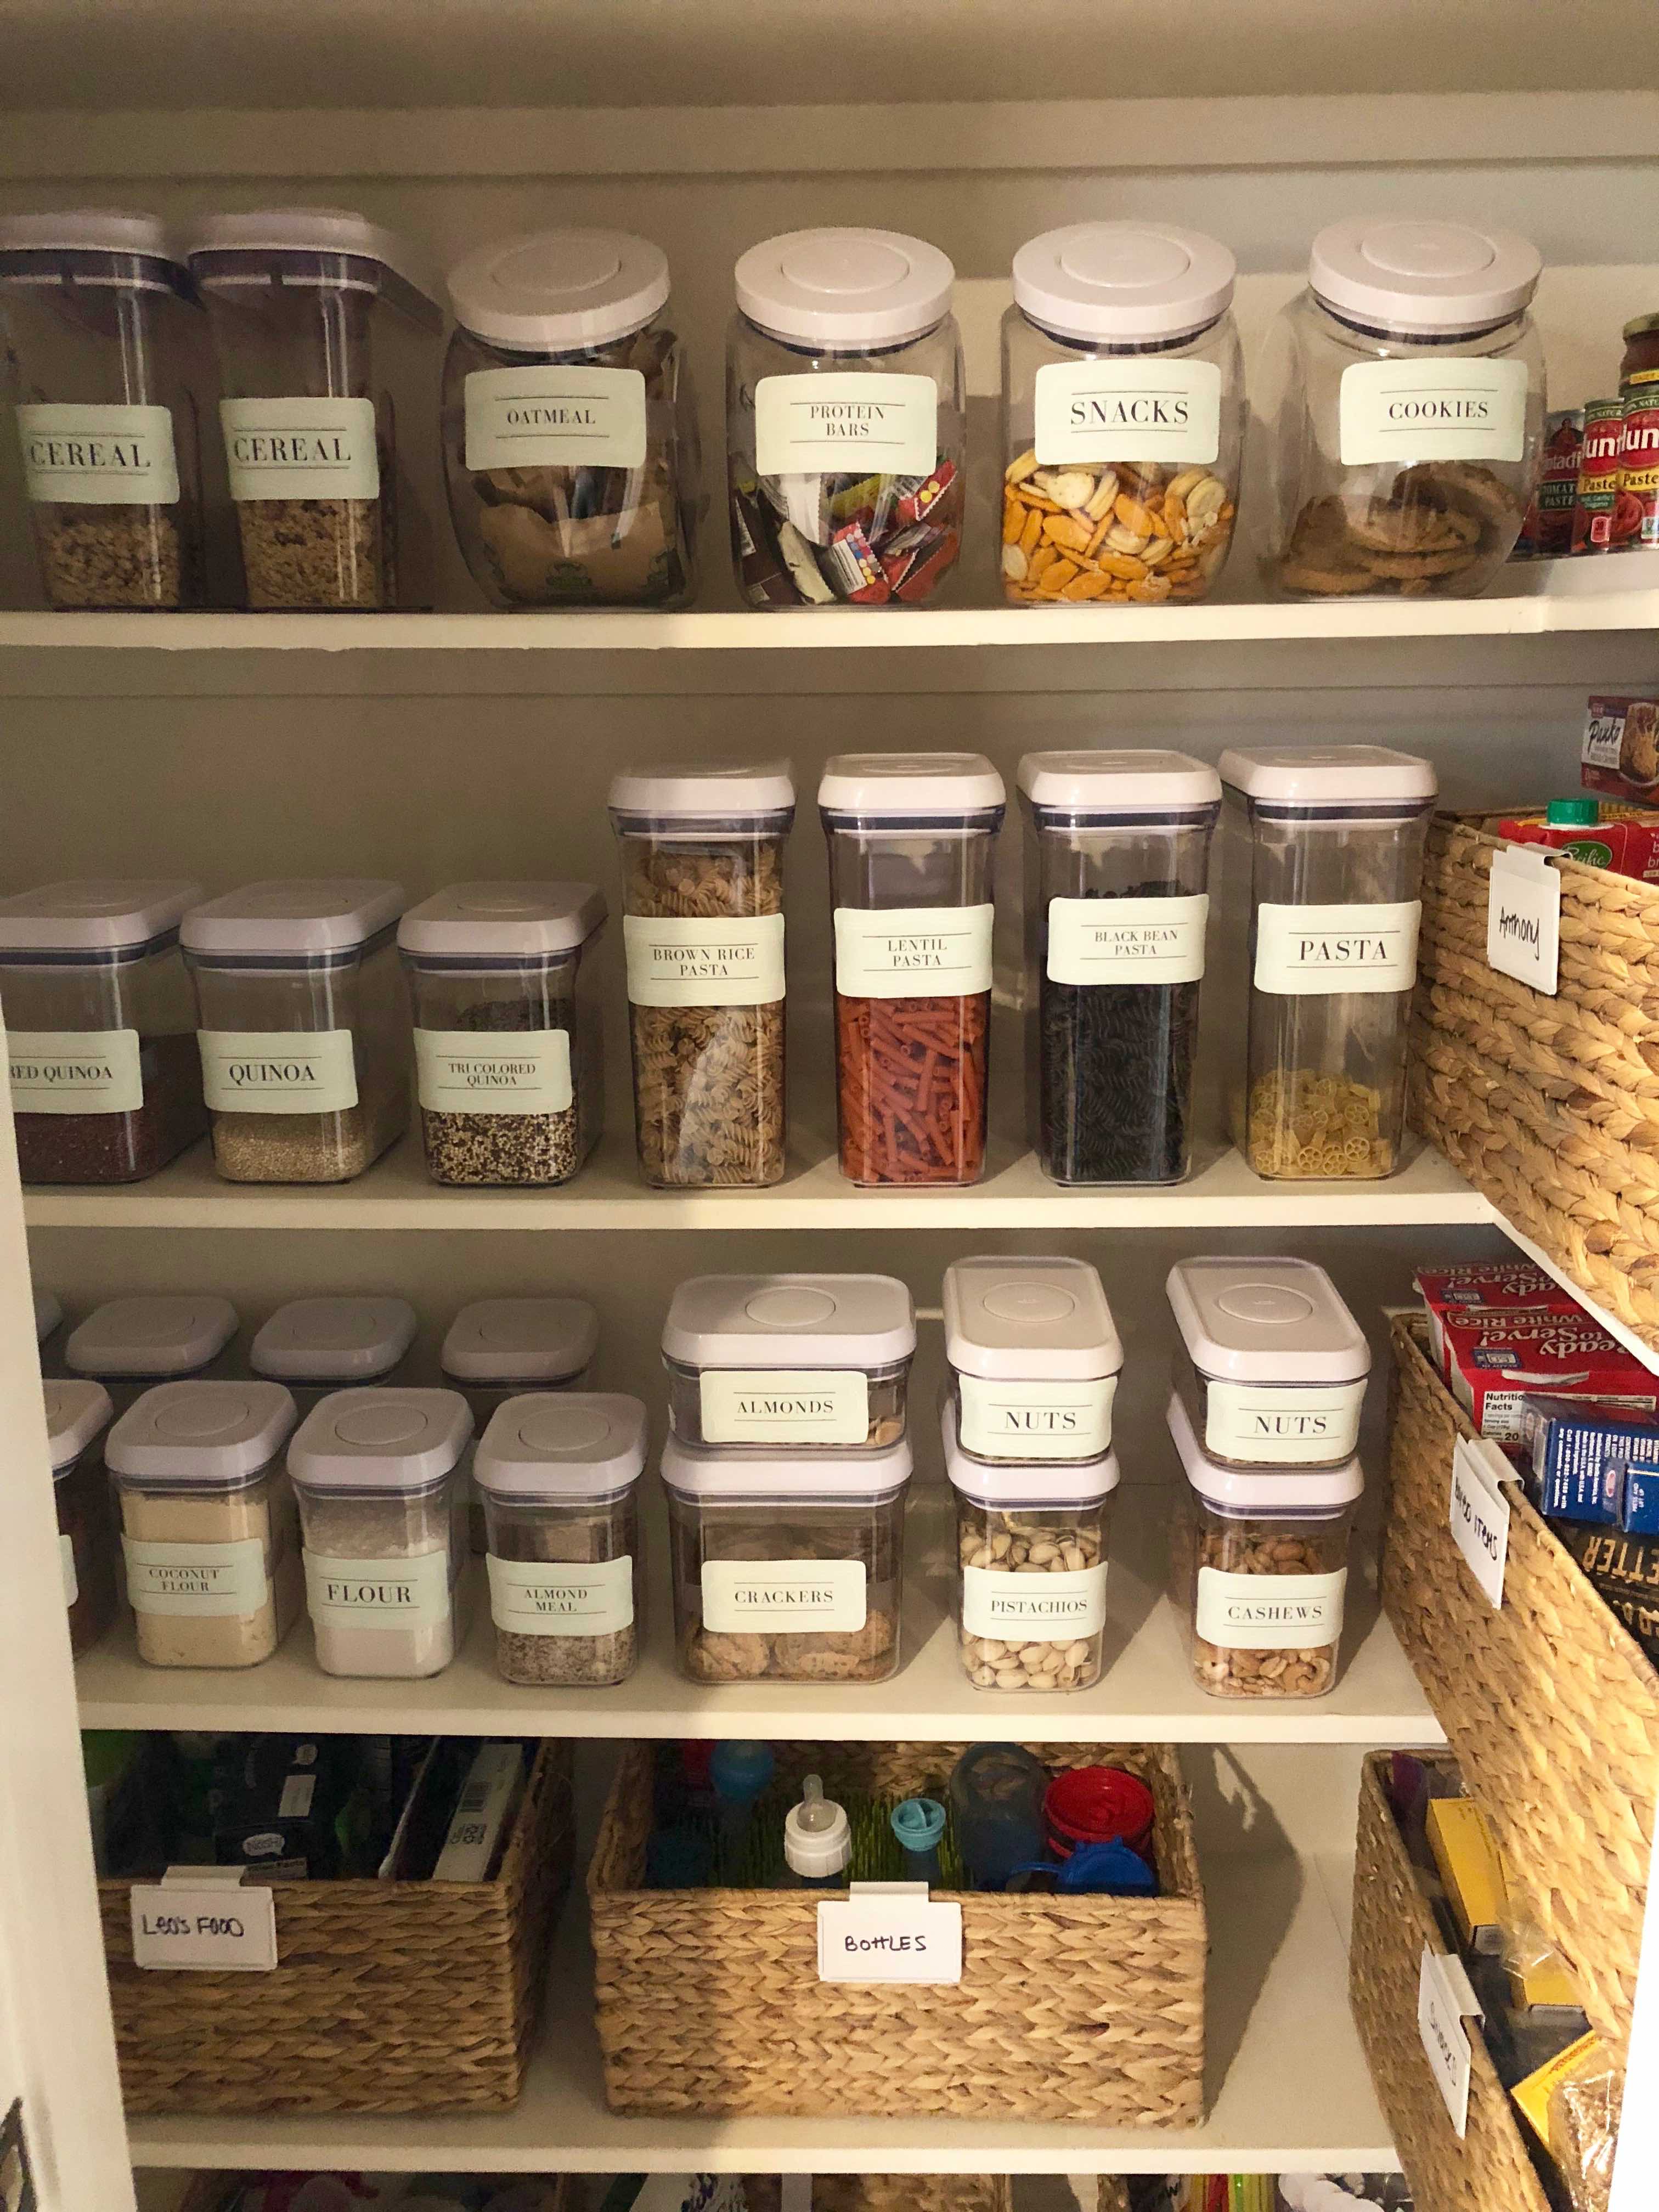
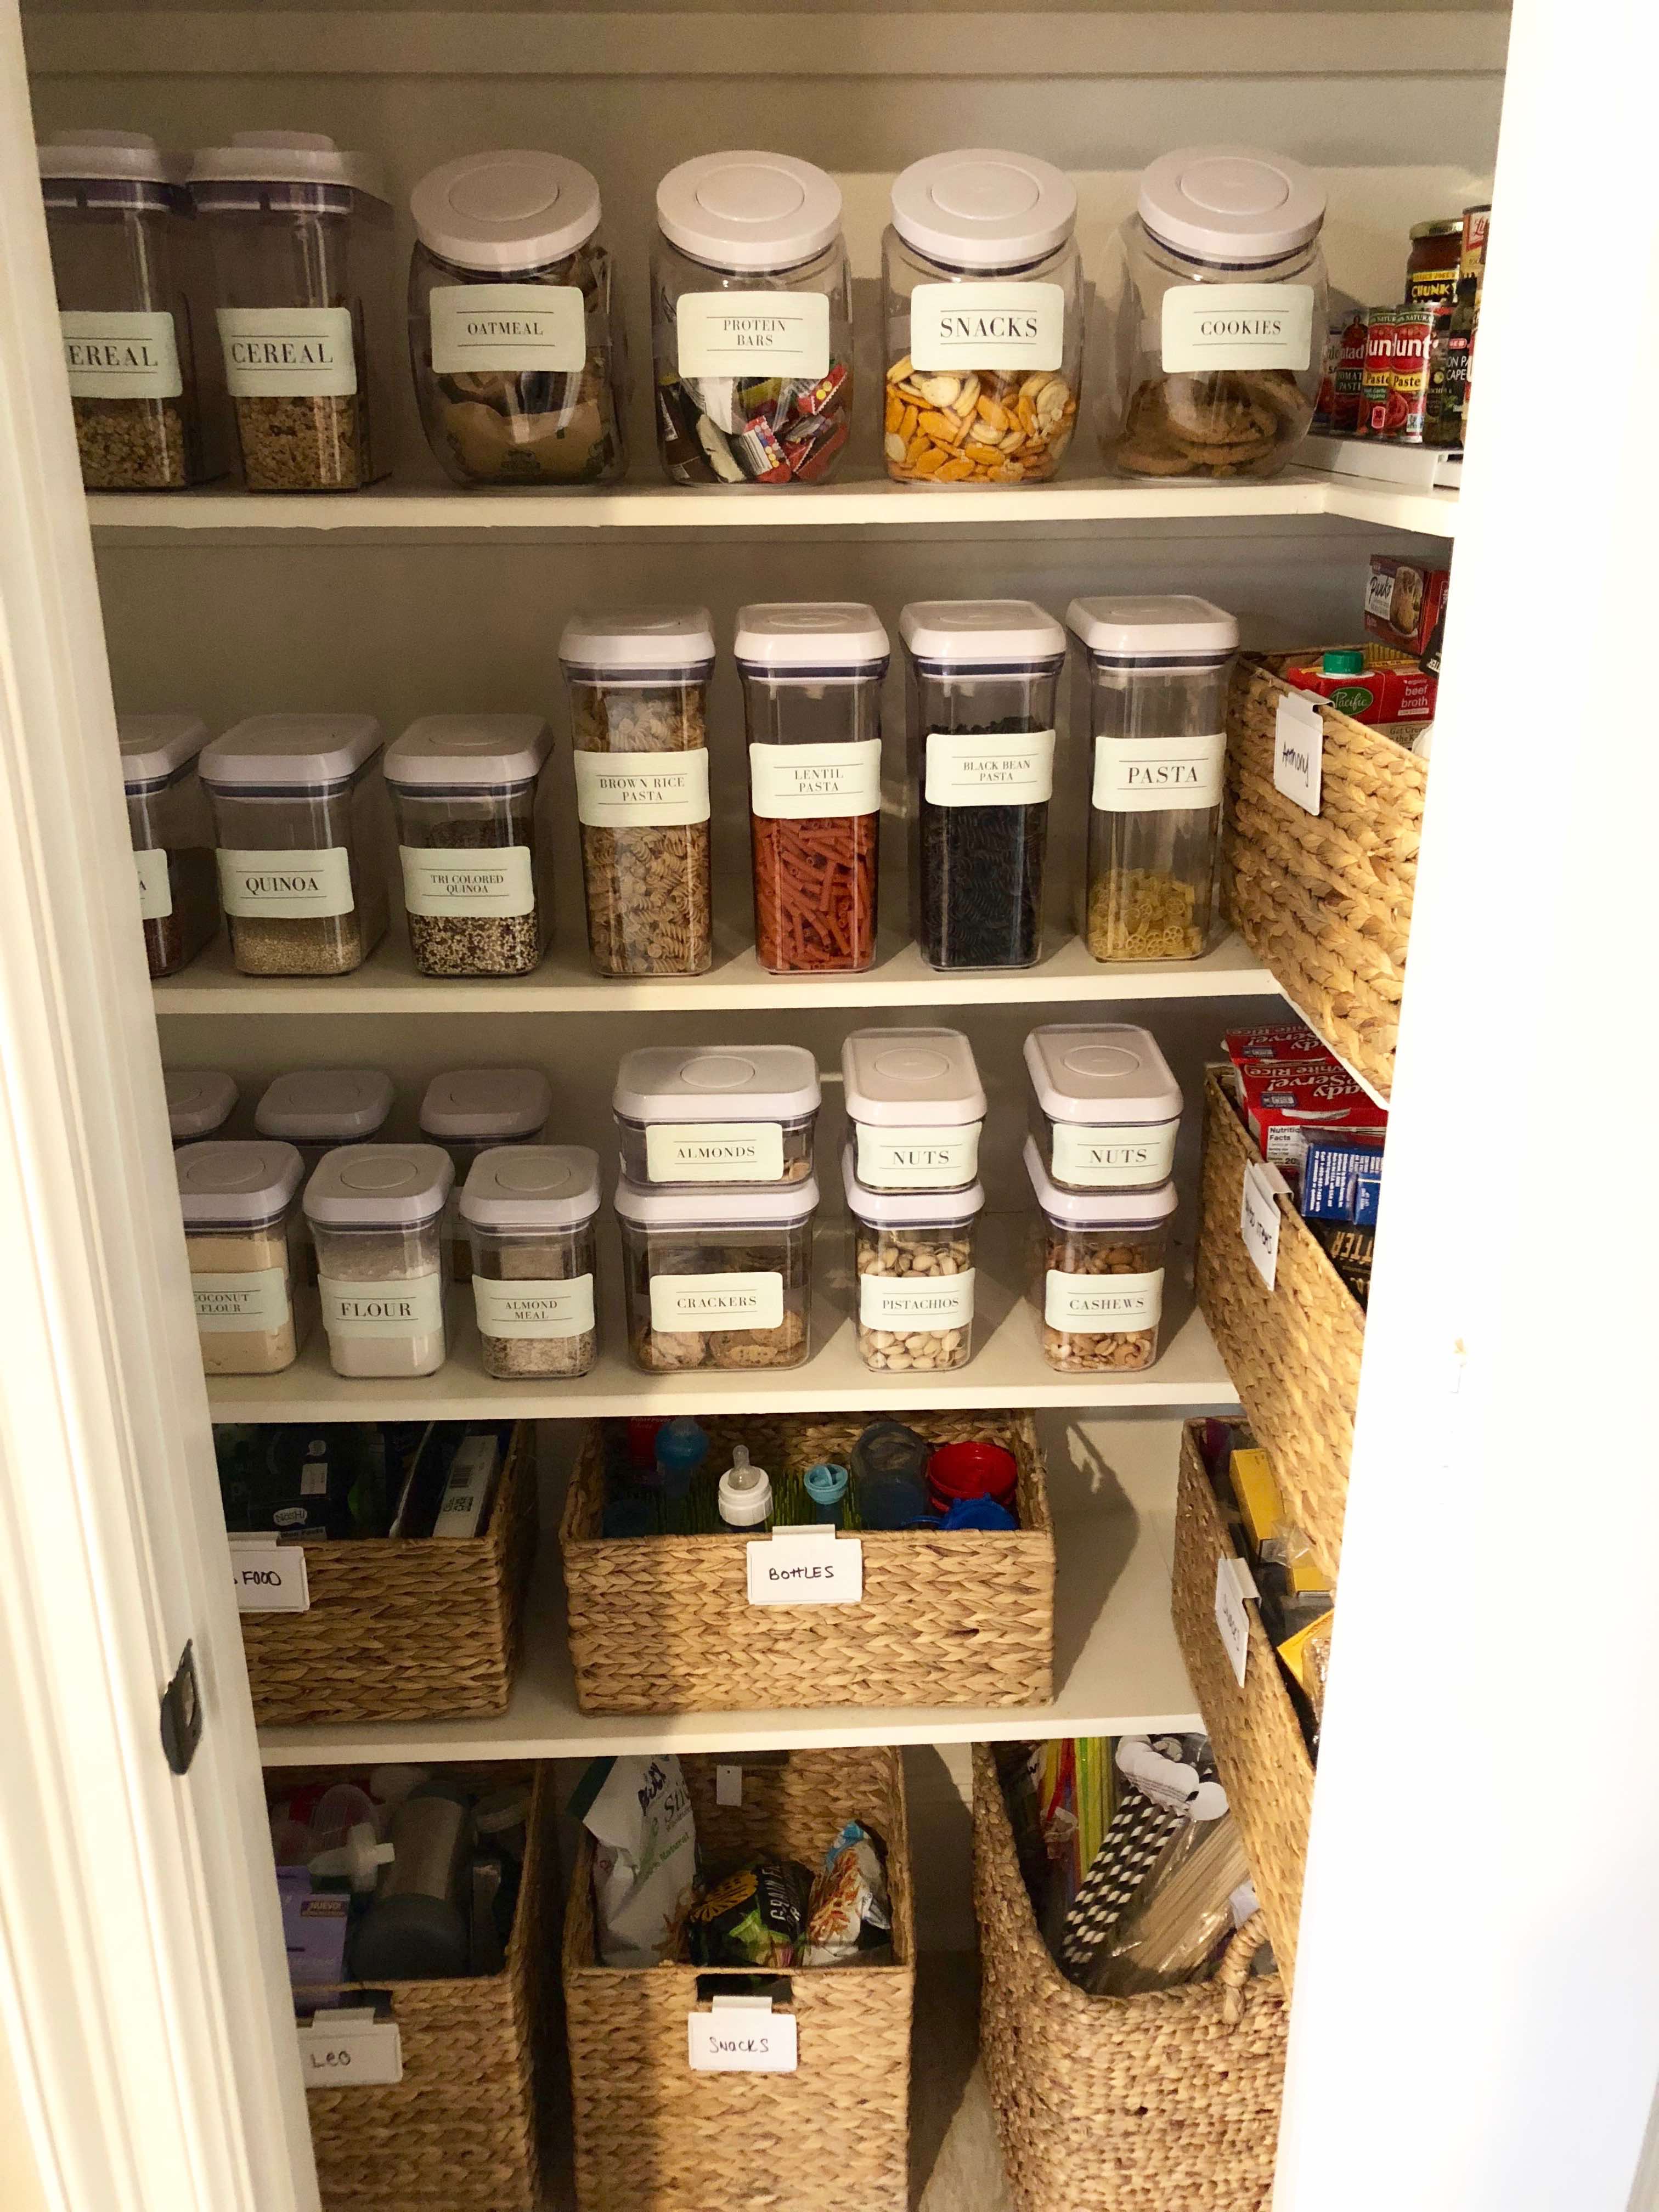
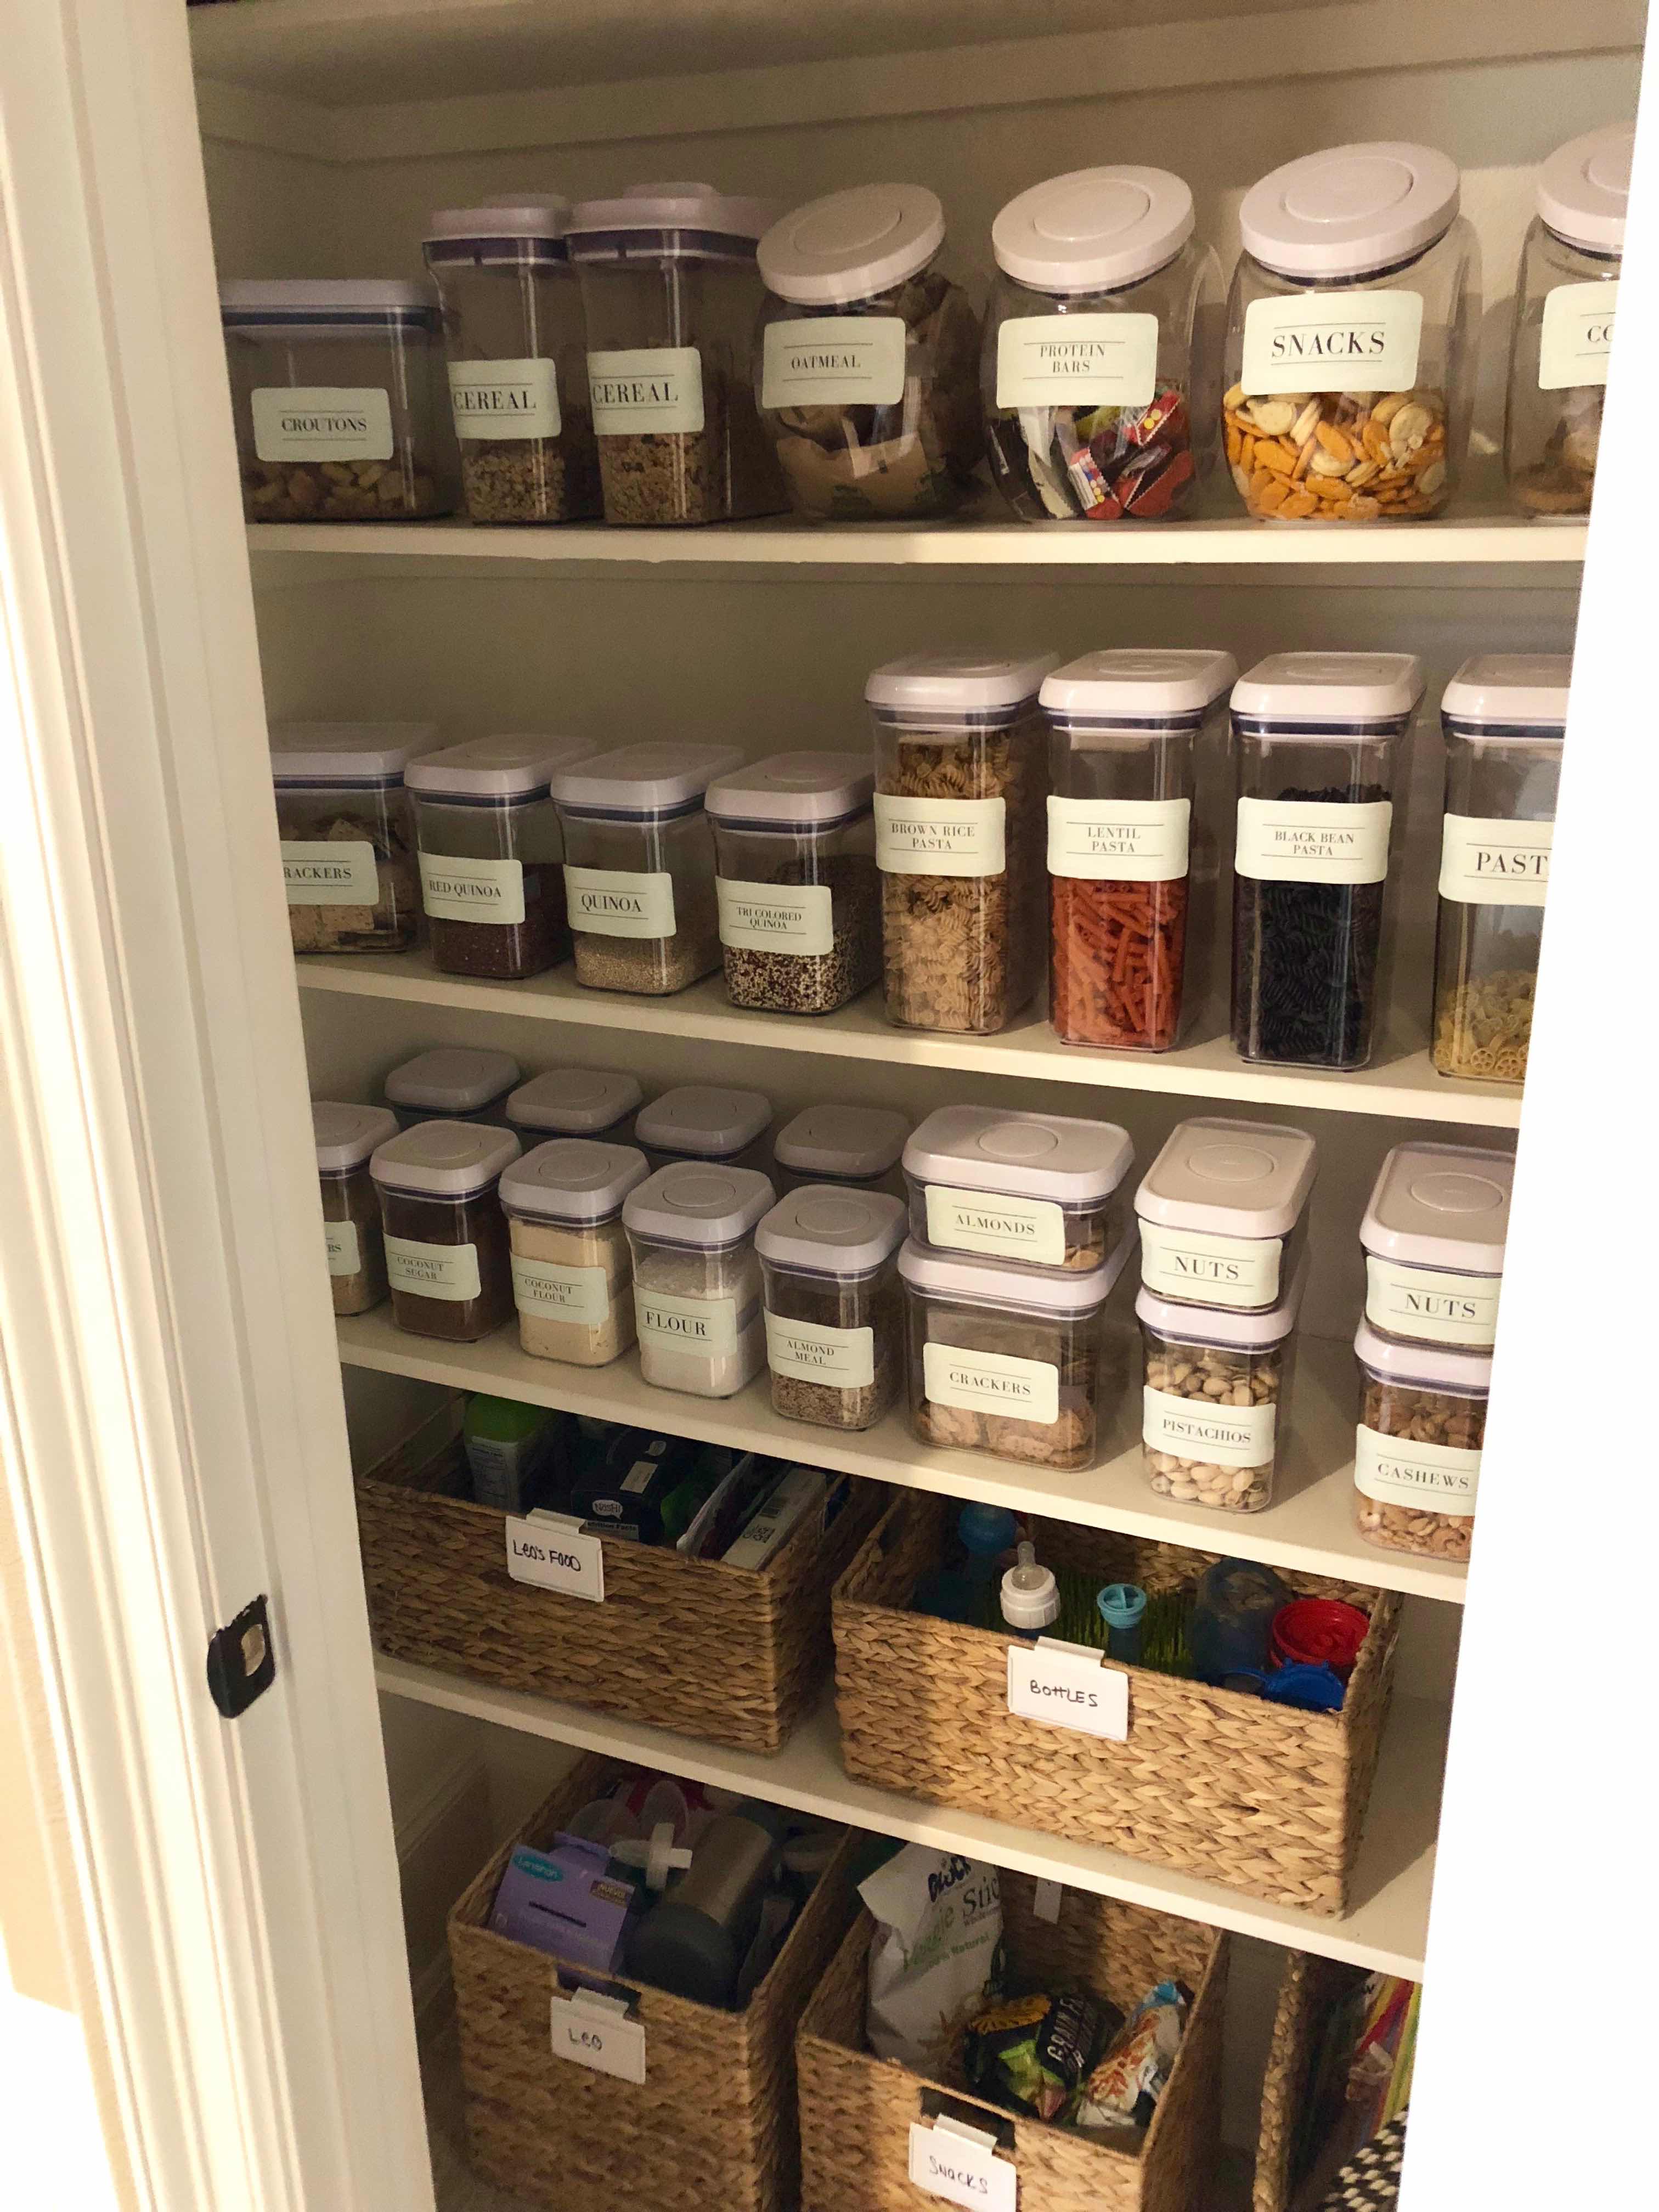
PANTRY LAYOUT
Here is a quick breakdown of my pantry…
TOP SHELF:
Popcorn Maker | Straws | Trader Joe’s Lemon Ginger Water | Cookbook Display | Water | Glassware
2nd SHELF
Cereal | Oatmeal Packets | Granola Bars | Snacks | Cookies | Basket for Misc.
3rd SHELF:
Croutons | Quinoa | Pasta | Basket for Boxed Items
4th SHELF:
Coconut Flour | Flour | Almond Meal | Coconut Sugar | Shredded Unsweetened Coconut | Panko Breadcrumbs | Breadcrumbs | Crackers | Cashews | Pistachios | Sunflower Seeds | Pumpkin Seeds | Almonds | Anthony’s Basket
5th SHELF
Leo’s Food Basket | Leo’s Bottle Basket | Snack Basket
FLOOR:
Leo’s Misc. Bin | Snack Bin | Catchall Bin
ORGANIZE YOUR ENTIRE PANTRY ON A $50 BUDGET
Now, I’m going to show you exactly how to organize your entire panty with a $50 budget. Obviously, I didn’t stick to this $50 budget. After I completed my pantry and was writing this post, I wanted to find budget-friendly options.
I discovered 3 items on Amazon and realized how easily you could dress them up with my pretty pantry labels. Honestly, this would look AMAZING! And for $50… I like it even more!
Here’s what you’ll need…
THESE![]() containers + lids (50 for $12.55)
containers + lids (50 for $12.55)
THESE![]() storage boxes (12 boxes for $24.99)
storage boxes (12 boxes for $24.99)
THESE![]() storage bins (6 for $12.57)
storage bins (6 for $12.57)
TOTAL: 50.11
Instructions:
1. Similar to how I organized my pantry, take note of the items you keep stocked regularly and that are smaller in size… those go in the containers + lids with the associated label (ex: nuts, flour, etc.). Since these containers are smaller, you can use a few per item and stack them.
2. Next, categorize items that vary week to week and that are slightly larger to store in the boxes: boxed items, canned goods, cracker, etc.
3. Finally, use the storage bins for bulky food like chips and misc. pantry items.
4. Print the labels and place them on your bins for a pretty pantry that cost just $50
FREE PANTRY LABEL DOWNLOAD
Get my exact pantry labels… I’ve categorized them by very common items and also created a blank page to allow you to fill in. These print on Avery 8163 2″x4″ labels or use my card stock, cut + sticky tack technique.
[optin-cat id=11627]
Leave a comment